Topic: Style
Project Duration: 2 weeks
Submission Date: 23d November 2020
Project Proposal
The overall intention of the project is style making. Applying various characters into different media will make a new style that I’d not tried before. As media, I will make a simple game using coding. As I don’t have distinctive knowledge and techniques, in the game context, I will make simple games such as running games, which is much easier to make but gives players deep concentration.
As characters in game specifically, I’m aiming to make grotesque and exaggerated facial features and body movements to look more dynamic and make players excited.
As materials, I will use a computer for actual game making and artist research, pen, and paper to draw thumbnail sketches.
Part two – STYLE
Coding game practice – Basic cube game
I thought of making a game with the introduction of a new style. Unlike the way of enjoying the content from the viewer’s position, the game can be a direct experiencer, which increases the immersion of the work, and above all, the development that changes the ending by themselves leaves a greater impression on people.
Basic cording for the main cube
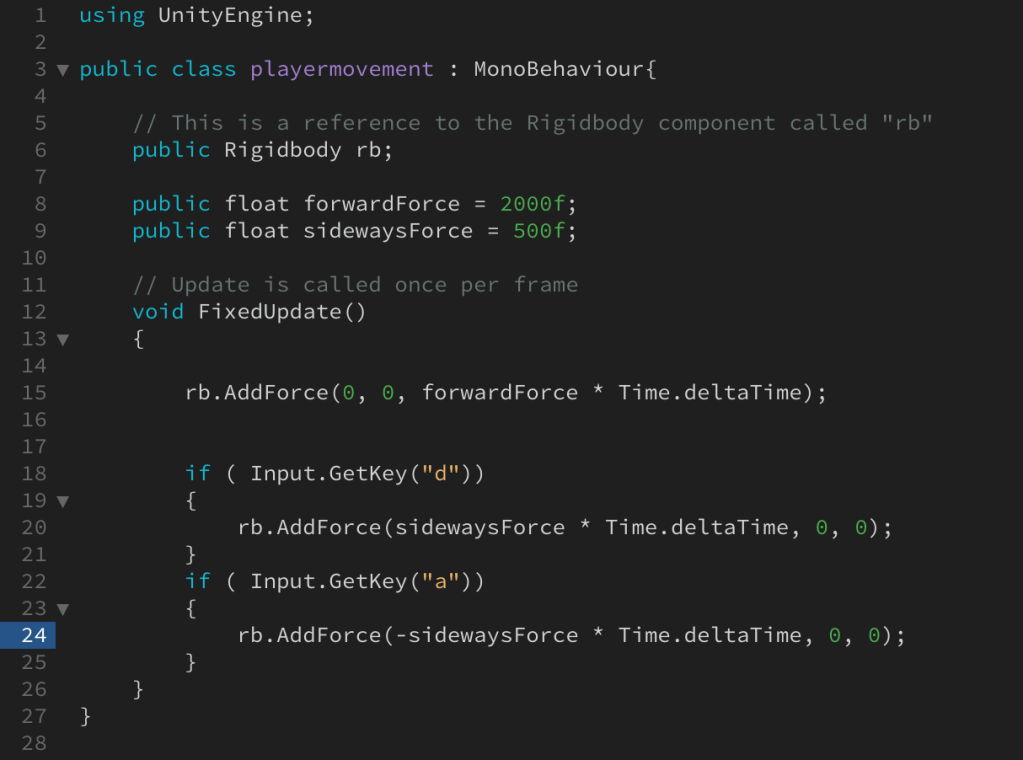
When I first saw the coding screen, the front of my eyes became dark. I believed that a simple cube game could be built without the need for coding-that didn’t happen. There is a language that would appear in some metrics, but as I learned step by step while watching YouTube, I knew the basic principle of operation-
I got all the order and method of coding from the video of YouTuber ‘Brackeys’.
First, coding is a computer language, therefore when I input an language as if I’m talking to a computer, the computer recognizes and applies the selected characteristics to Unity. For example, the above coding is for a box moving. And defaults such as the speed at which the box moves and the direction keys that change the direction the box moves (‘d’ moves to the right and’a’ moves to the left). Are set.
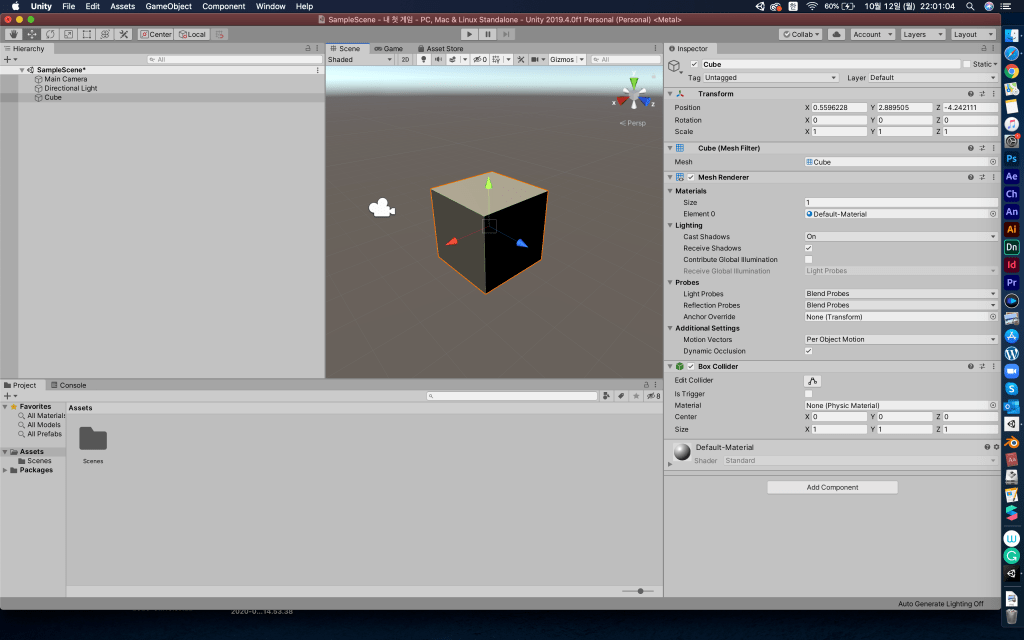

It took a lot of time to understand the boards of the unity engine that seemed complicated. The picture on the left is when I first summoned my first cube from the unity engine. The photo on the right shows me making a game score dashboard. I set the type, size, and position of the font to be used on the scoreboard.
In fact, in order to make this seemingly simple game, I restarted the game over five times. I had to invest a lot of effort and time to keep the time to a minimum in memorizing basic Unity tool positions. Currently, I have produced a game completed in 5 different difficulty levels.
However, since all the coding sources needed for the game were obtained from YouTube, I plan to create the coding sources myself later.
Features of the game: 1. The game starts with a cube and ends with a cube. 2. The player can complete the fast moving blue cube to the end, avoiding obstacles by adjusting the direction by pressing ‘A’ and ‘D’ on the keyboard. However, even if you get caught in an obstacle, you don’t have to worry about losing the game. 3. One drawback is that the cube does not die if it falls outside during play-in this situation, you have to restart the game. 4. There is a level up stage in the middle, but this is the starting point where the difficulty becomes increasingly difficult. 5. The developer (Seokwon) kindly made the menu screen by coding. When you press the ‘START’ button, the game starts. 6. There is a score dashboard. If you survive long, you can get a high score-the moment you fall, your score no longer rises.
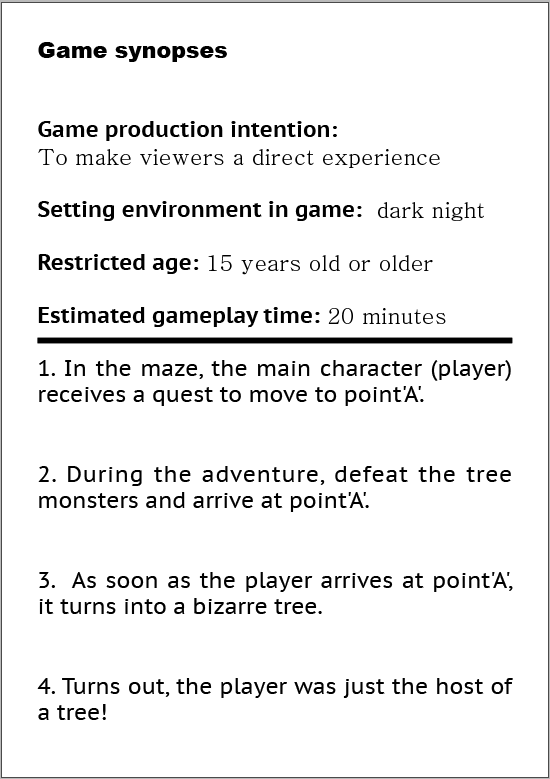
Game synopses for my first game
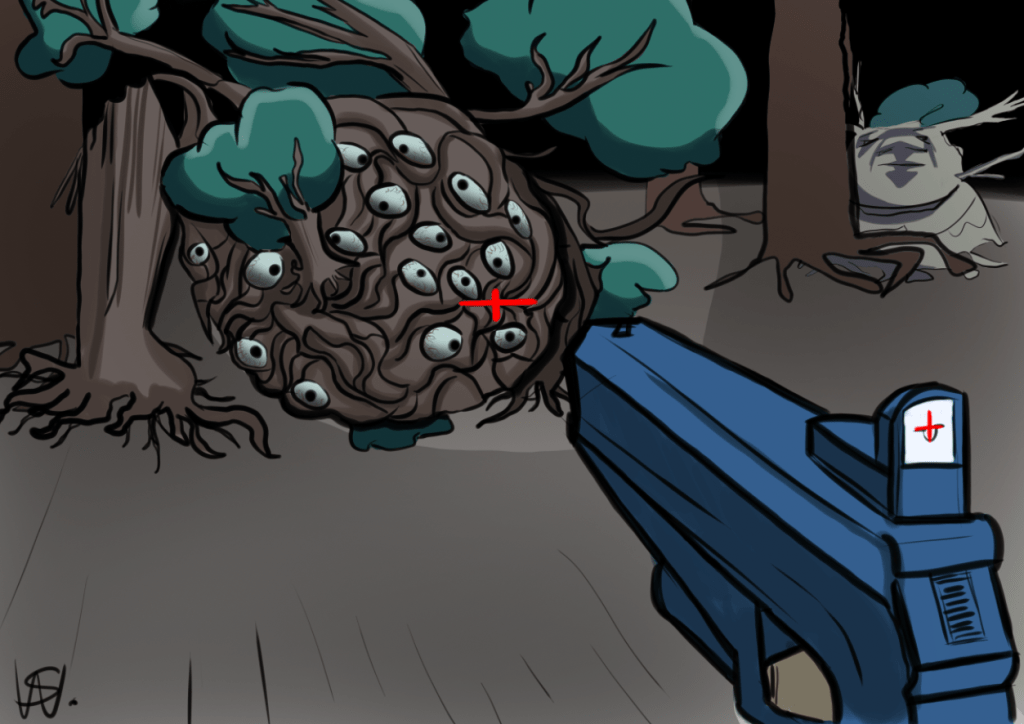
Concept Art
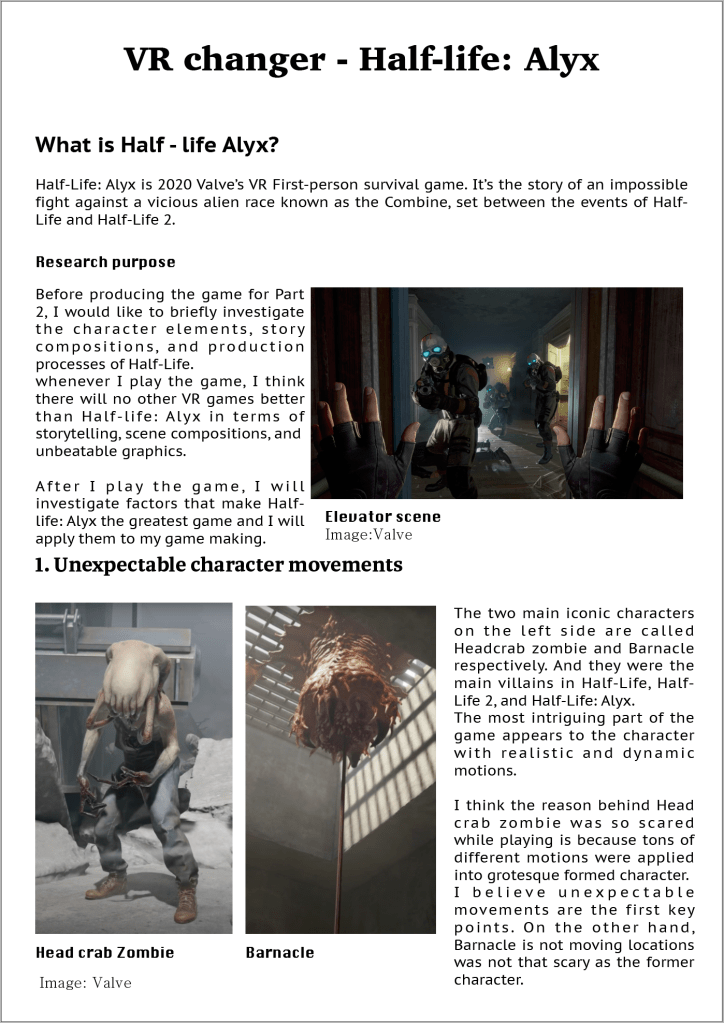
3D character – Inspiration
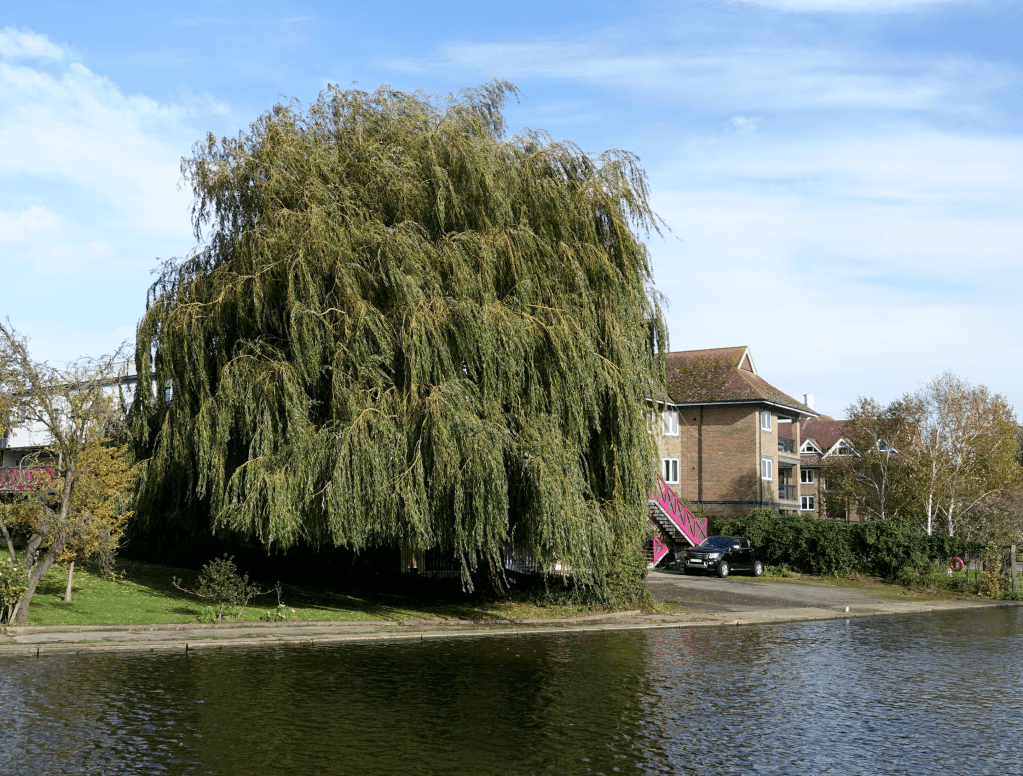
If I take a walk along the river Cam, I can see a zelkova tree. I don’t know how Zelkova trees are interpreted in Europe, but in Korea they are sometimes referred to as ‘ghosts’. I’m not sure why, but I think it’s because it’s sobbing. In my personal opinion, I felt like a tree was washing its hair in front of the water. The picture above is a picture I took with a digital camera in the summer, but it is currently being cut for pruning.
My designed characters
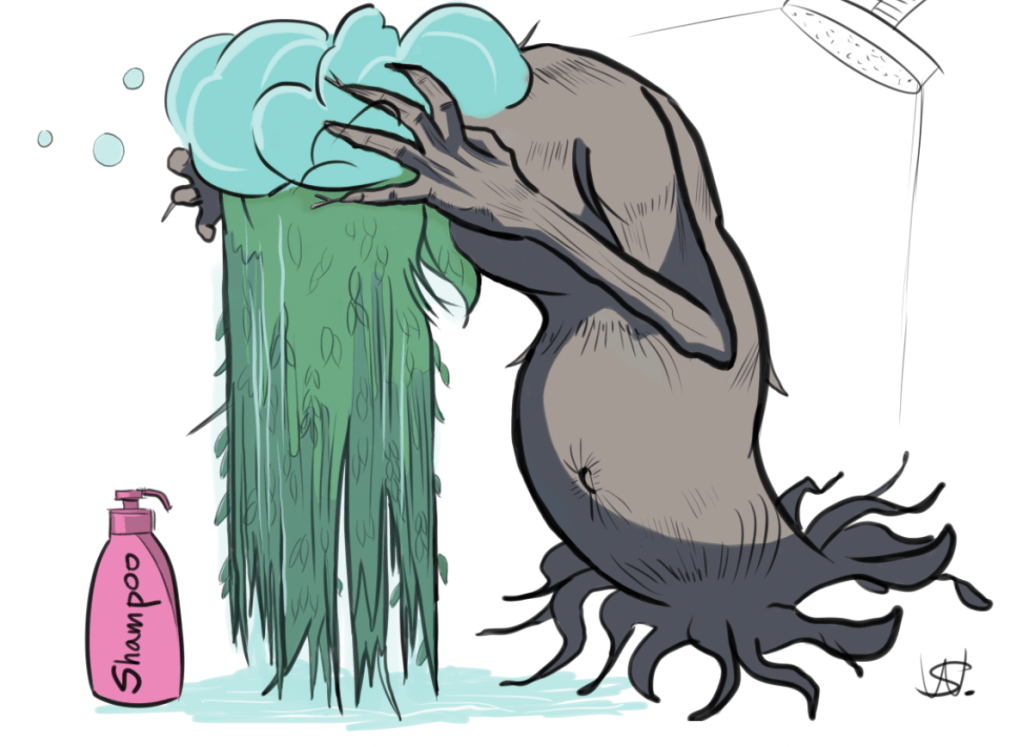
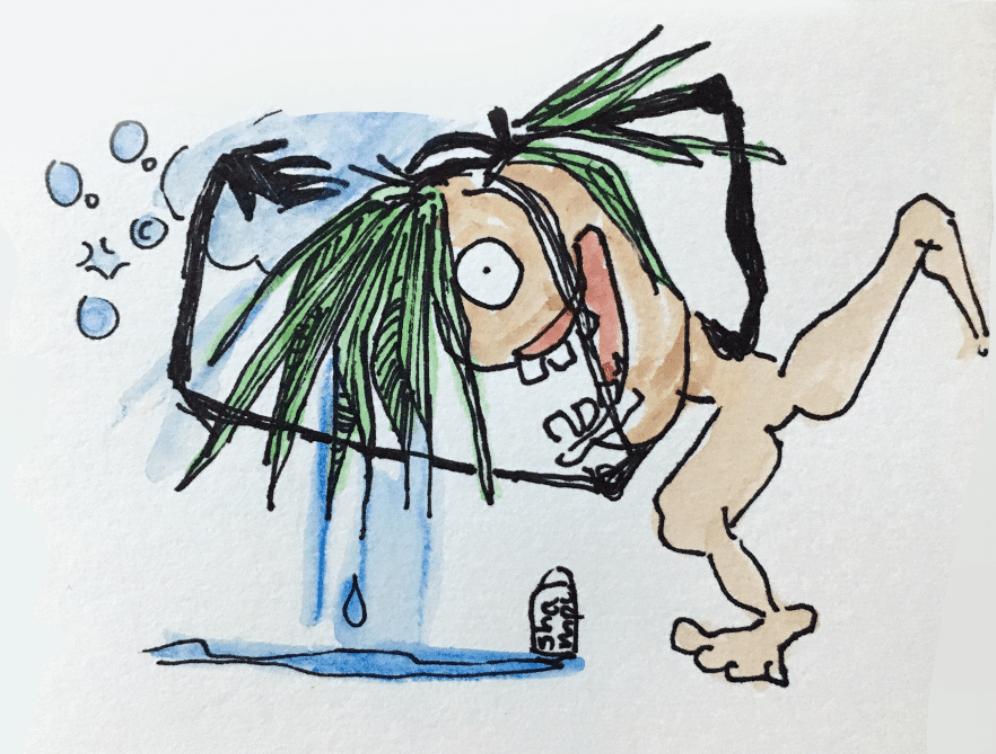
I know the two illustrations above are ridiculous. However, when I see the trees standing in front of the river, I drew it as if they are washing their hair. The picture on the left was digitally drawn, and the picture on the right is a picture that I drew with watercolors and ink pens on paper when I did part one, climate change.
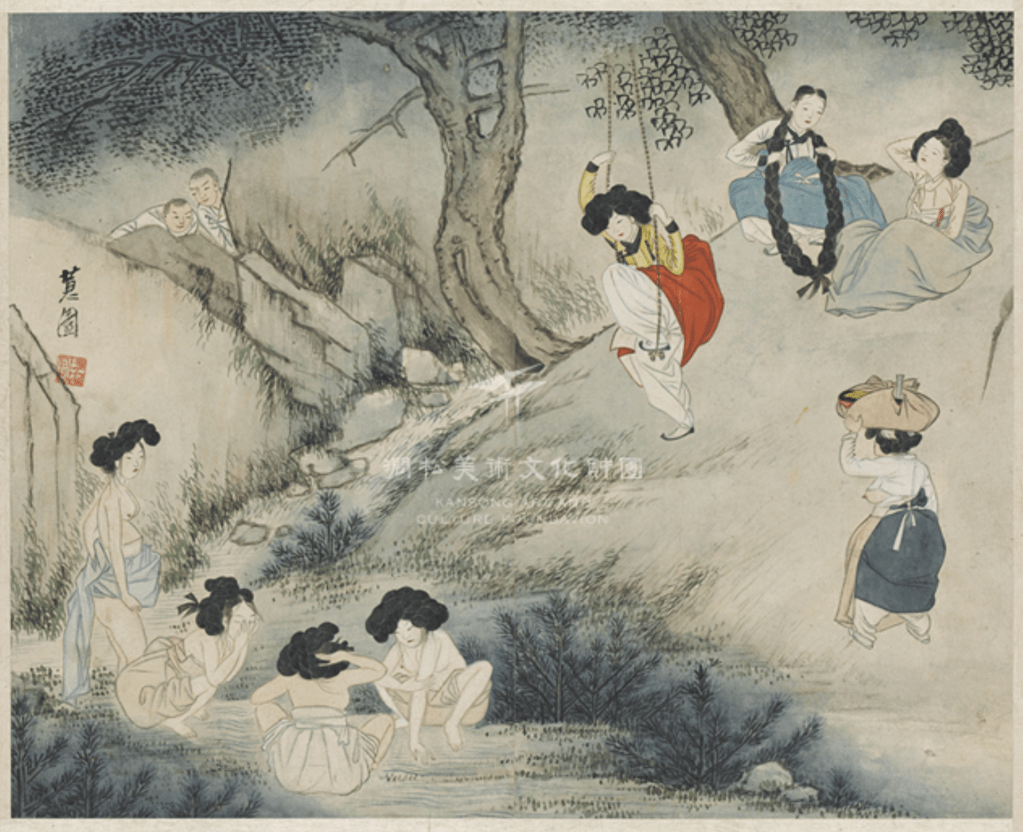
The above oriental paintings were painted in the early 19th century by a famous Korean painter called Shin Yun-bok. The women who wash their hair in front of the river were like the trees in front of the river that I took, so I put them on the blog.
Interesting point: Two monks are watching bathing in the background.
Kansong.org. 2020. 단오풍정 | 간송미술문화재단. [online] Available at: <http://kansong.org/collection/danopungjeong/>.
Final devil character
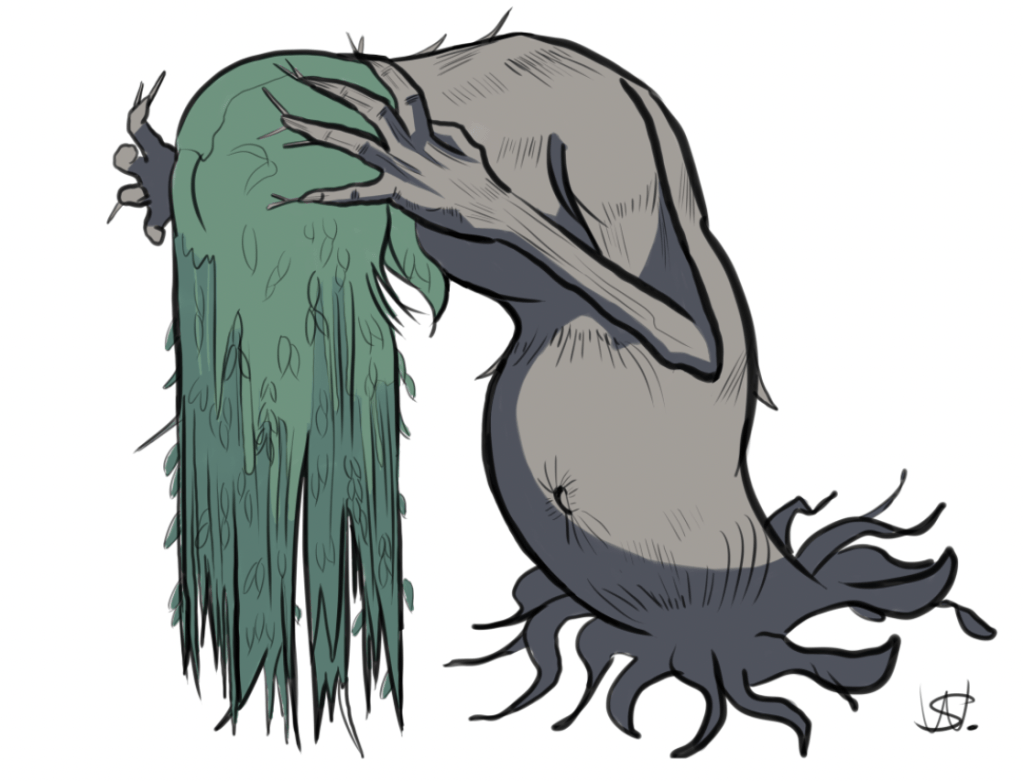
Made the final wood monster. At first, I drew the wood monster washing his hair as pose, but I erased it because it would disturb the bizarre atmosphere of the game. If implemented in a game, I thought of a concept of inserting an AI zombie to pursue and attack the main character.
Monster Sculpting – Blender

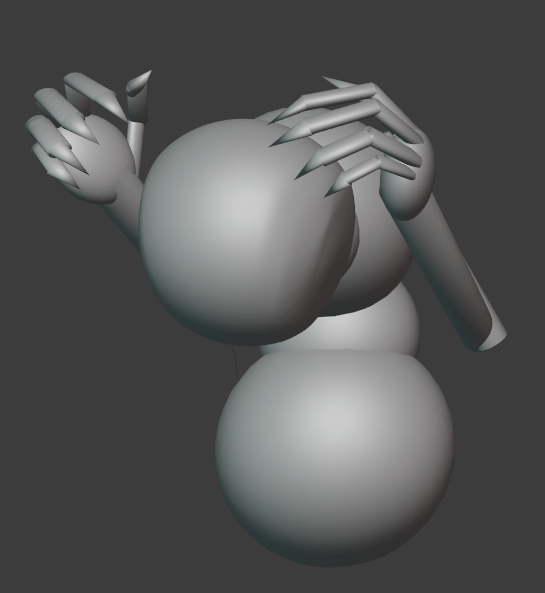
I started sculpting monsters using free 3D software called ‘Blender’. Also, at first, several spheres were combined to make them look like a single creature. To save time, the left arm was made by copying and pasting after making right-side arm. The root part is the trunk part of the tree, rotated 180 degrees to make it look like a root
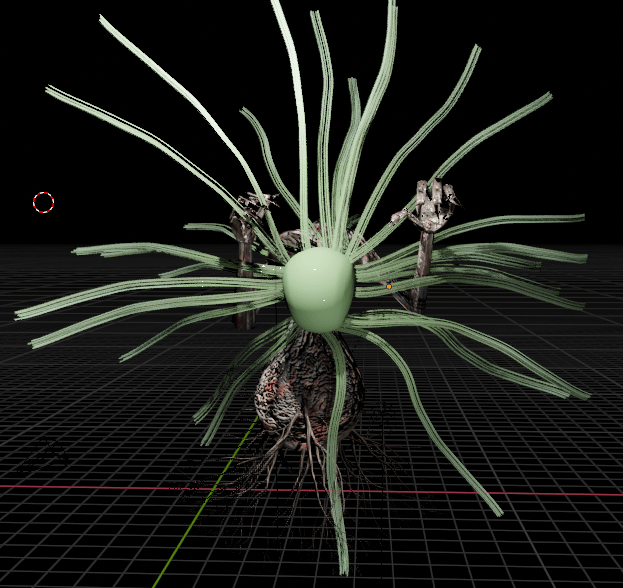
Failed hair
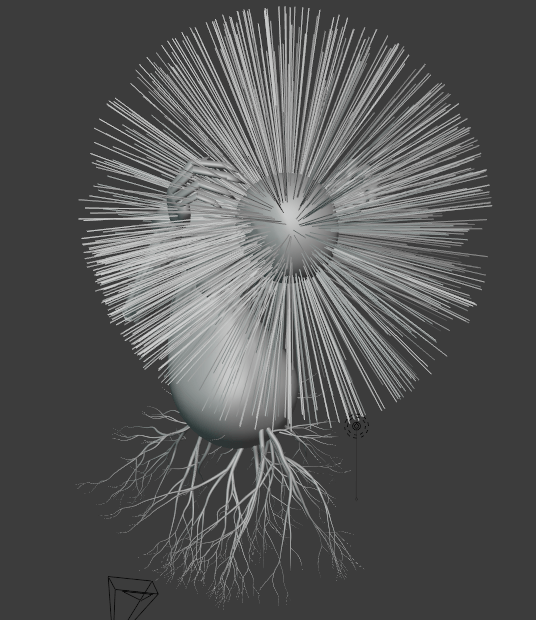
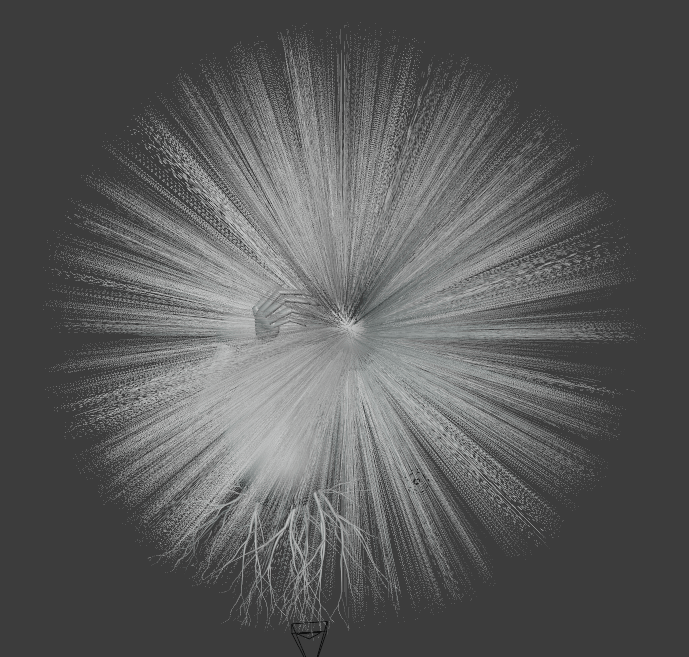
Anyone can make the same mistakes when planting hair for the first time. To prevent this mistake, I need to select a part to plant monster’s hair in advance. After that, I can set the thickness, length, and style of wood monster’s hair.
Hair – coloring
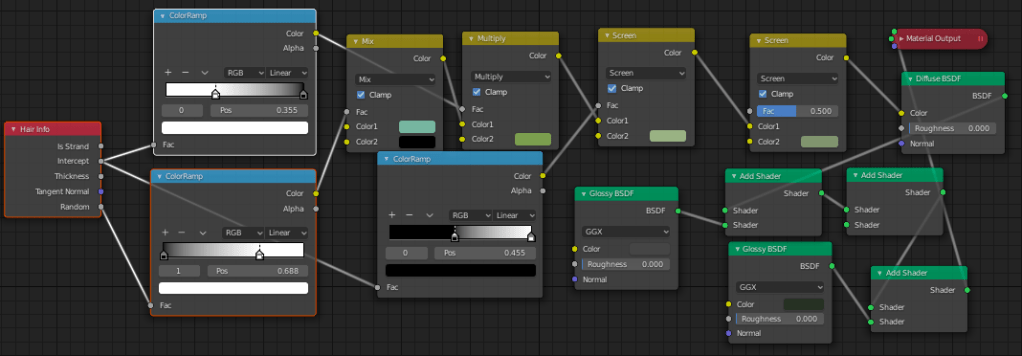
Texturing

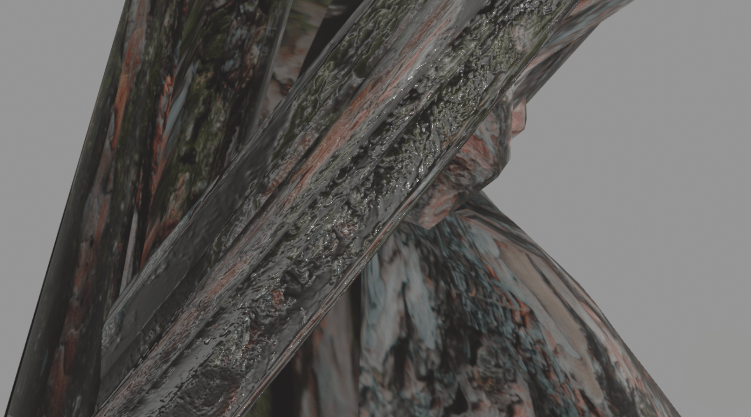
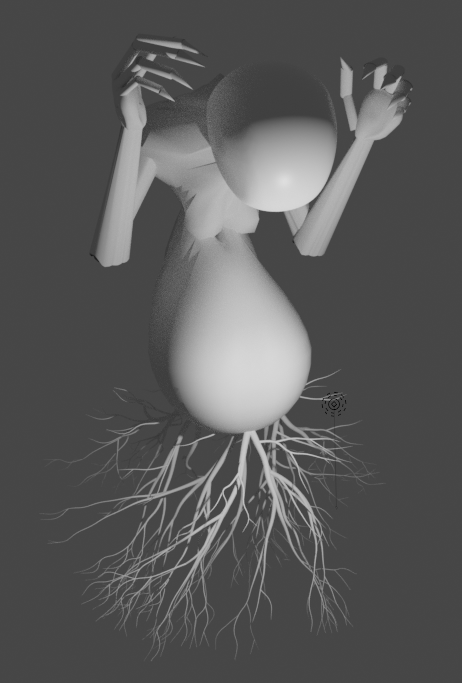
In order to express the monster that looks a little flat into the real wood texture, a picture of the actual bark was uploaded from’Blender’ and then textured. A very satisfactory texture was produced.
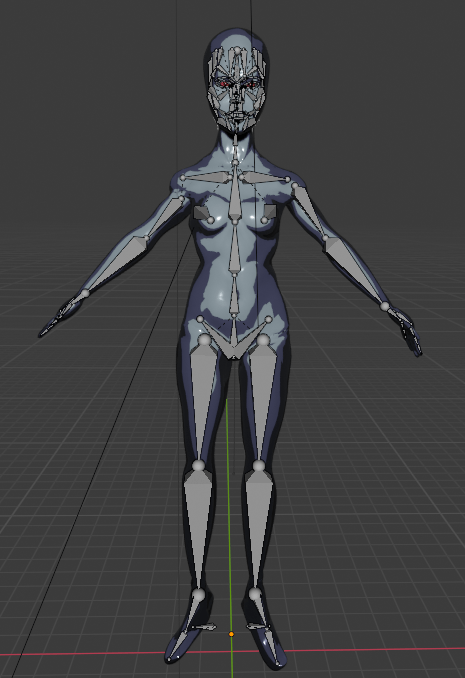
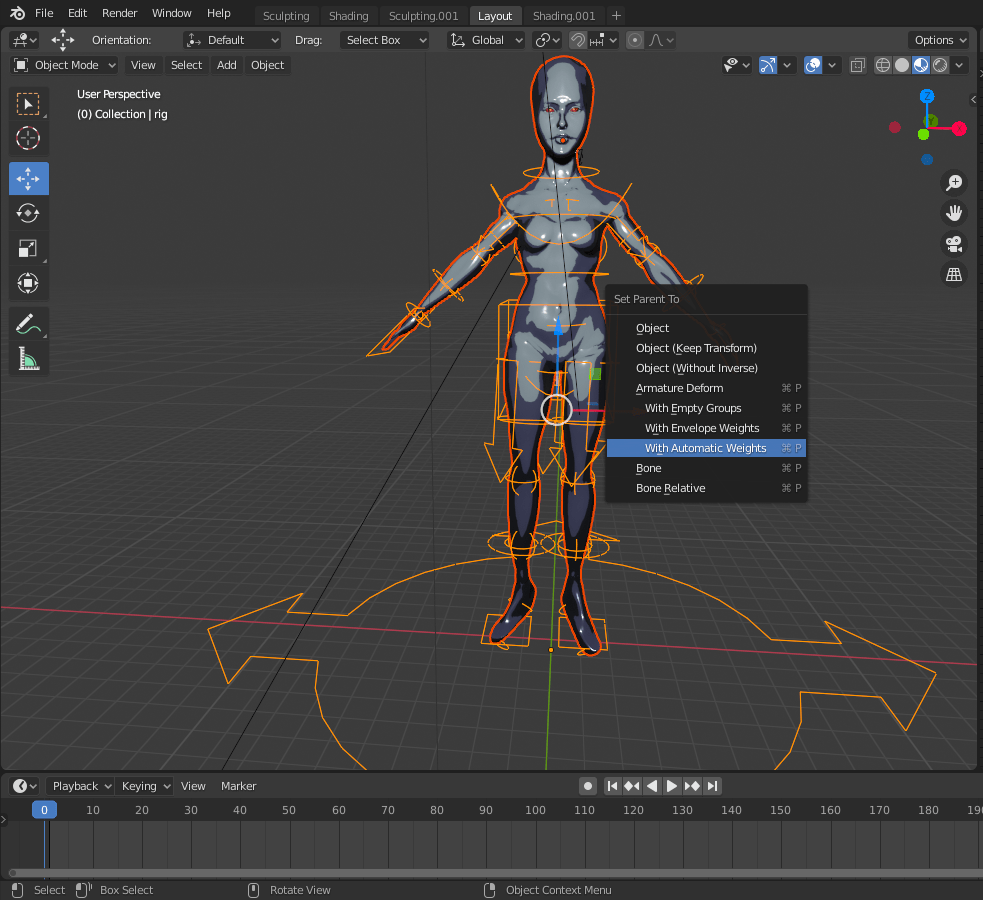
Rigging
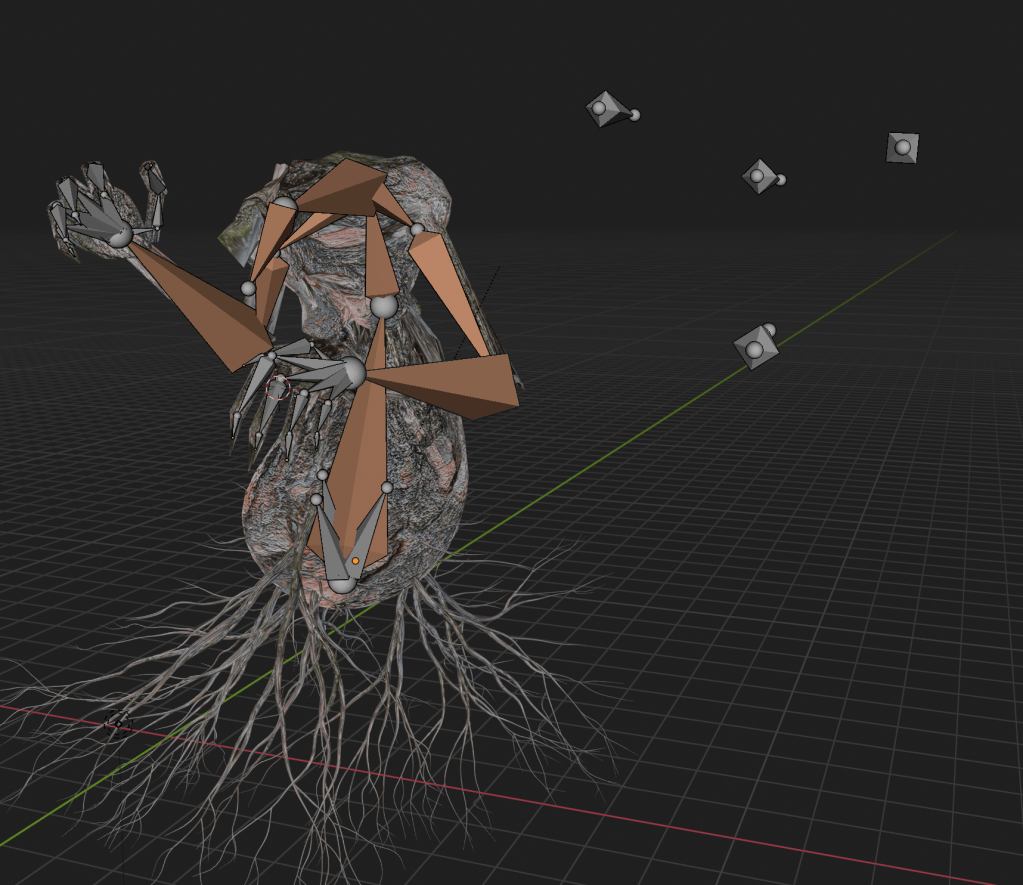
The final 3D monster was designed. However, in order to make it alive, it must go through a process called ‘Rigging’. In simple terms,’Rigging’ can be understood as a process of inserting a bone into a muscle. I can create bones of the size and amount I want in ‘Edit Mode’, then press ‘Command’ +’P’ (Macbook only), then press ‘With automatic weight’ to attach the bones and flesh! *If ‘With automatic weight’ does not work, an error occurs because the mesh (muscle) is made of too high quality, so the quality should be lowered.
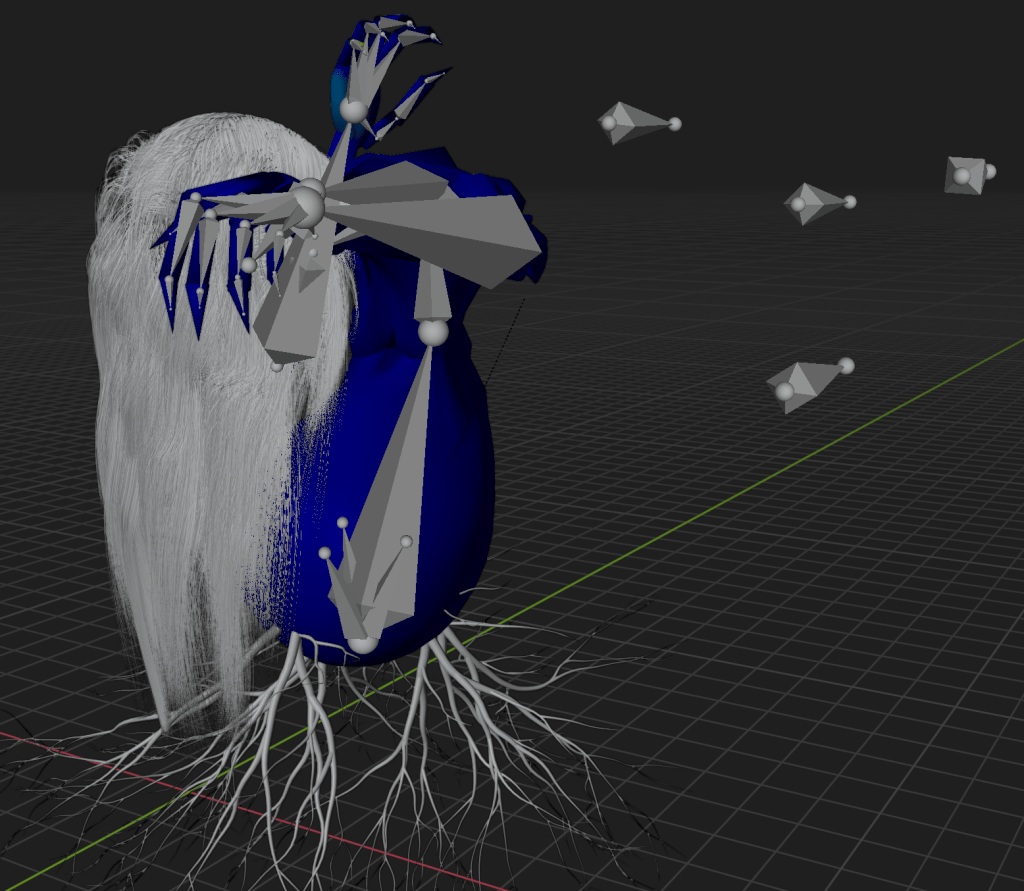
Hair physics Failure
Final wood character animation
There have been countless, truly incredibly many failures to get to this process. But finally, I succeeded in producing animation in ‘Blender’!
The bizarreness and dynamic movements that I expected were all implemented. If you look at the animation, you can see the monster swinging only his left hand. In fact, in the process of inserting the bone in the right hand, defects occur, and when the right arm is stretched, the entire body is disturbed.
Sound adding

Blender to Unreal
In fact, sending the blender file to unreal was the most difficult and complicated part. Usually, I need to send the blender file in OBJ or FBX format. In this process, I need to select the object size, storage method, and file type. Also, the order of changing the concept of Bone (the concept of Blender) to the concept of skeleton (the concept of Unreal) is necessary.
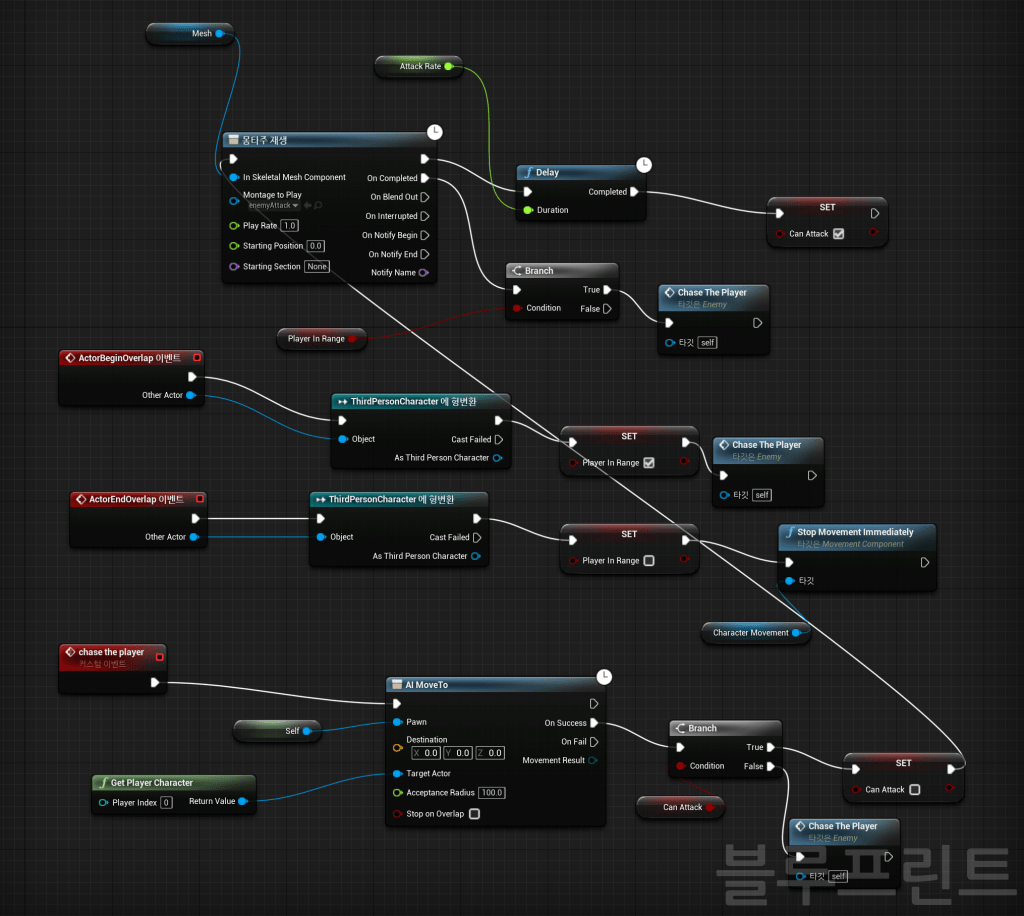
Zombie AI monster
I applied AI to my monster character and made the monster follow me.
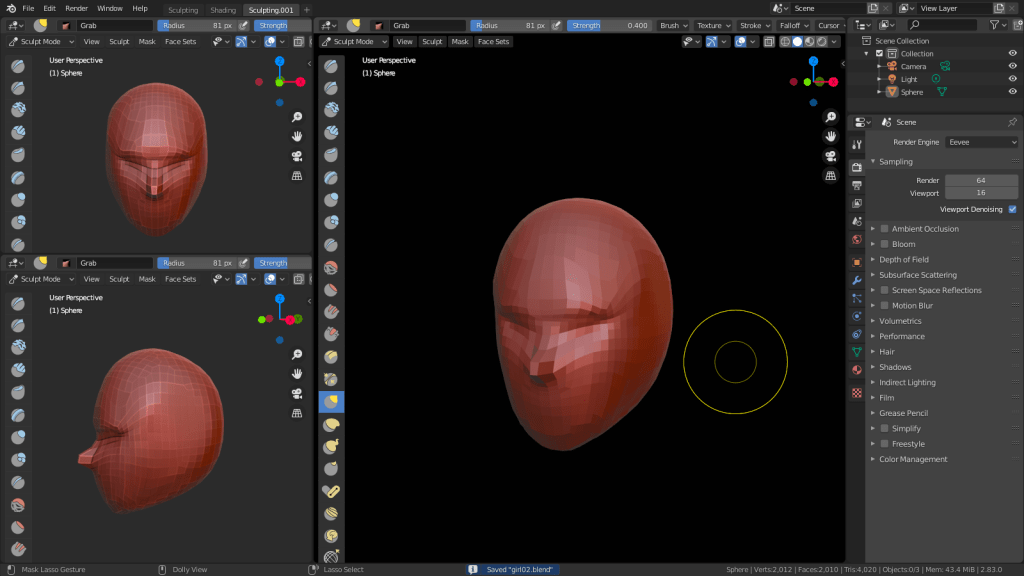
First sculpting – Main character
1 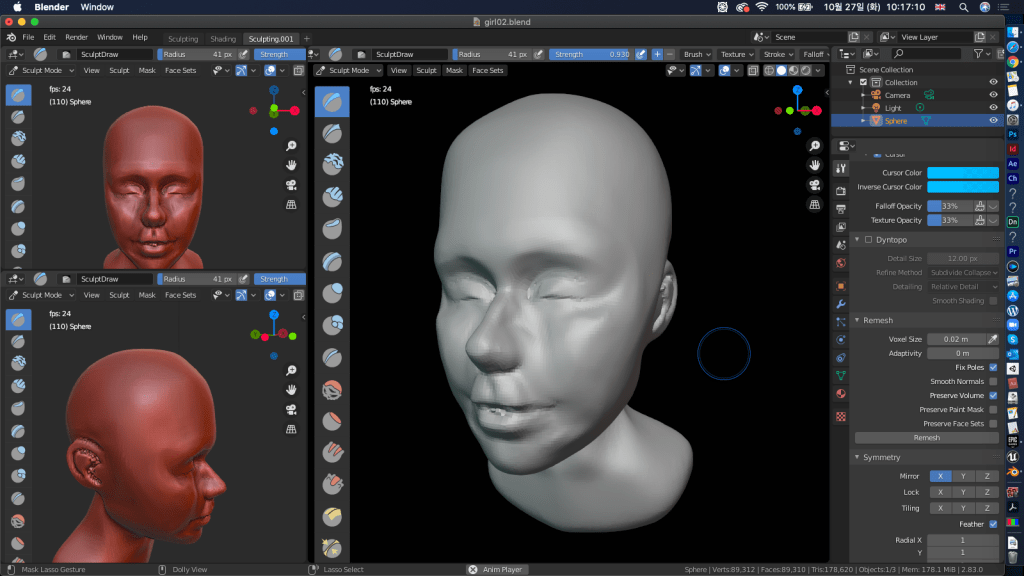
2 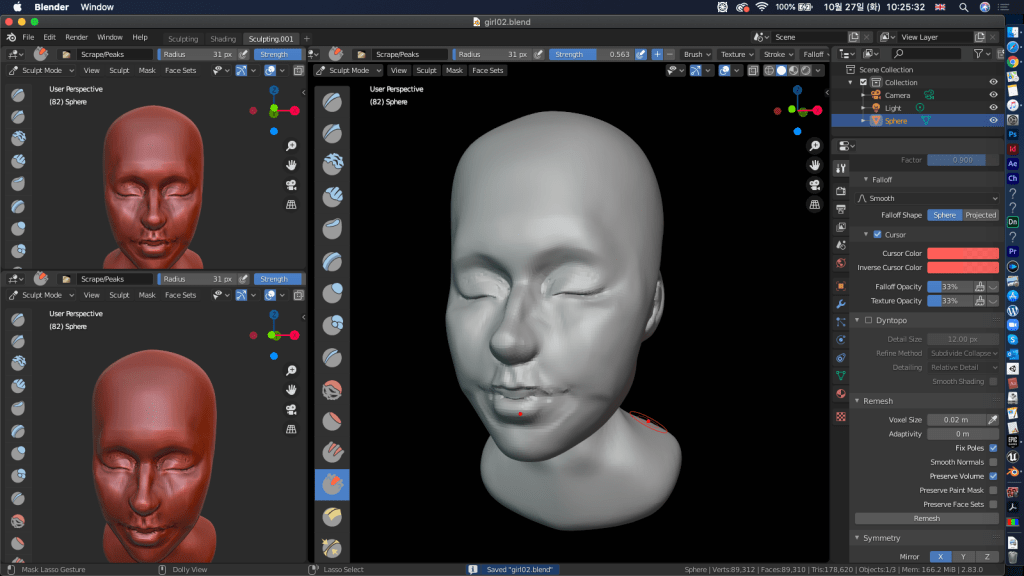
3 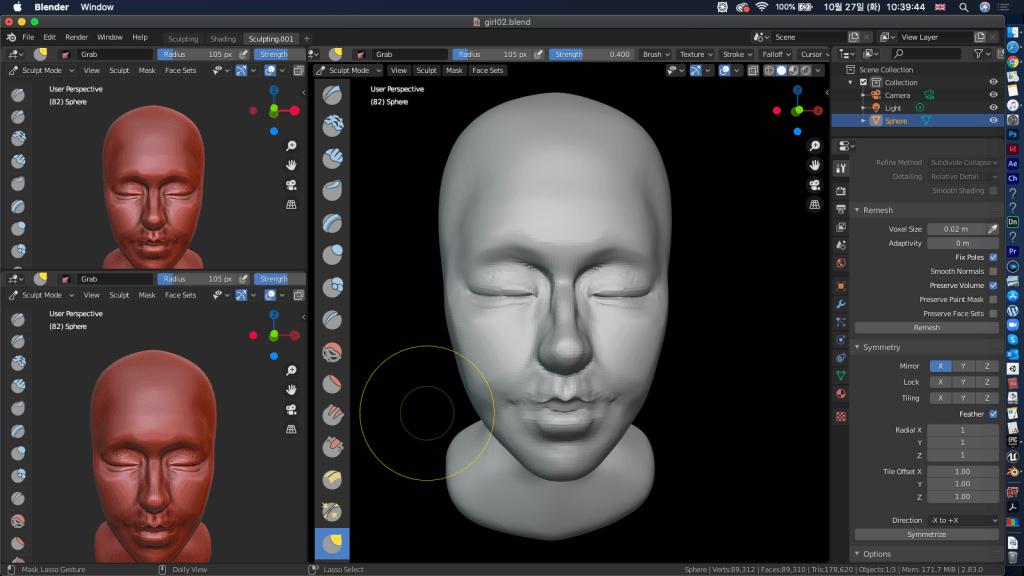
4 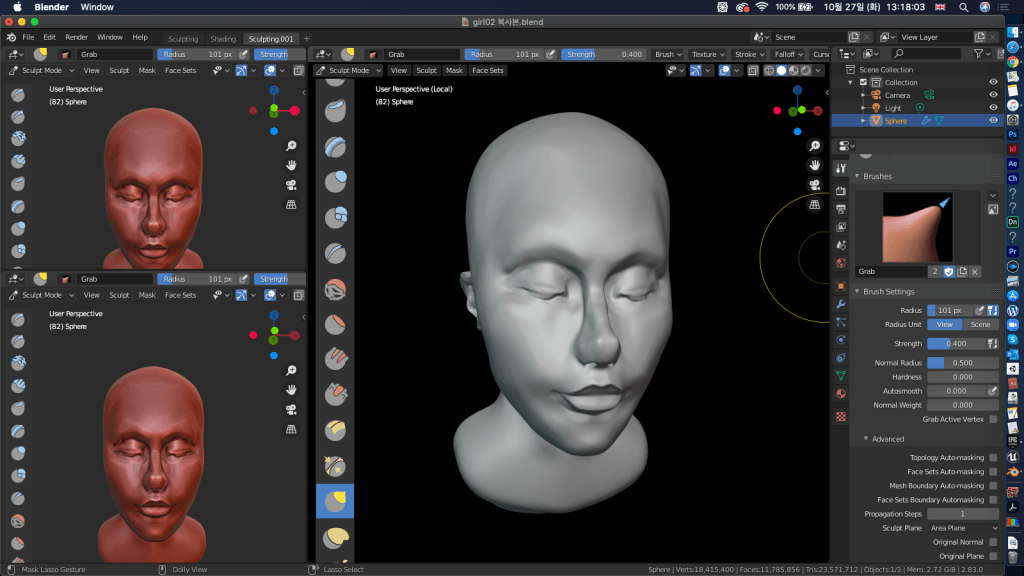
5
Using the blender ‘sculpting’ mode, I sculpted the basic face shape. First I brought the sphere, applied’Shade flat’, and tried to increase the quality by gradually increasing the density of the sphere.
Error – File disappeared
While working, I changed from’Sculpt’ mode to’Object’ mode, but the file could not be loaded. In addition, it is almost as if the file has been blown away because no further modification is possible.
It took me half a day to sculpt my character.
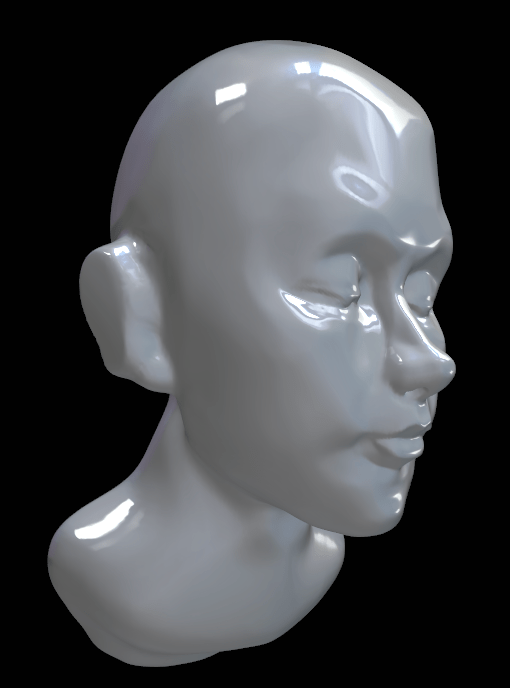
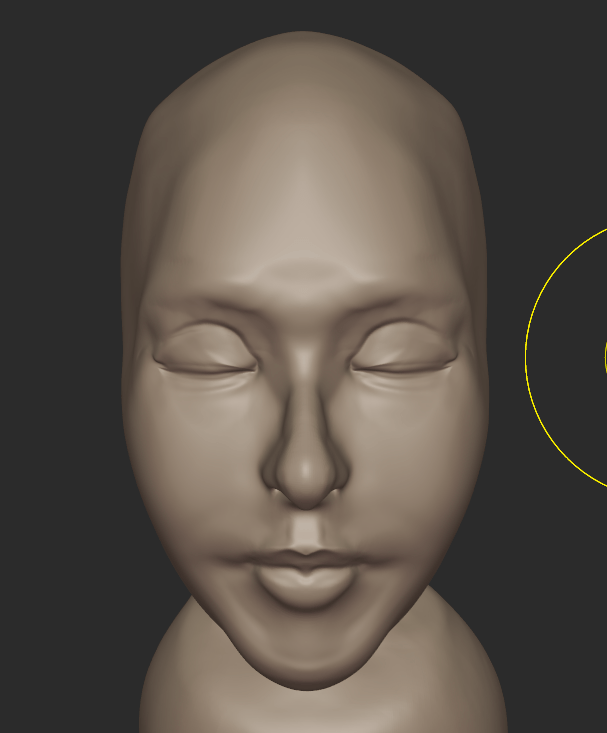
Second sculping
1 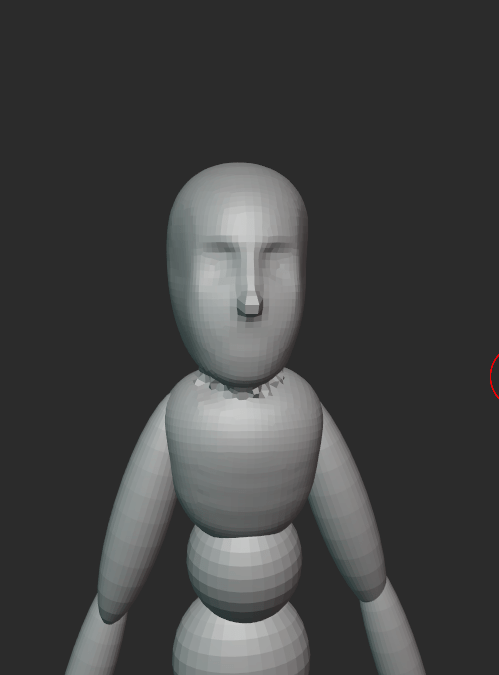
2 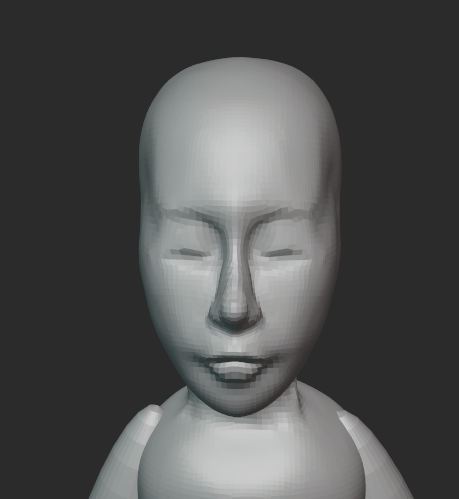
3
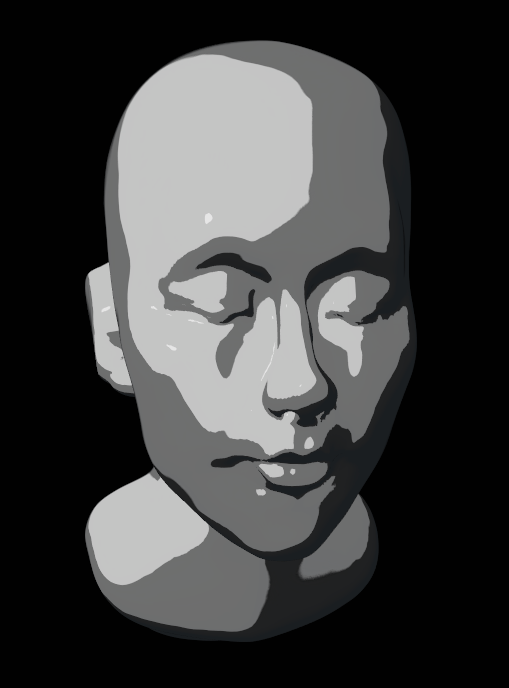
I sculpted based on the whole body so that the file would never fly again.
4 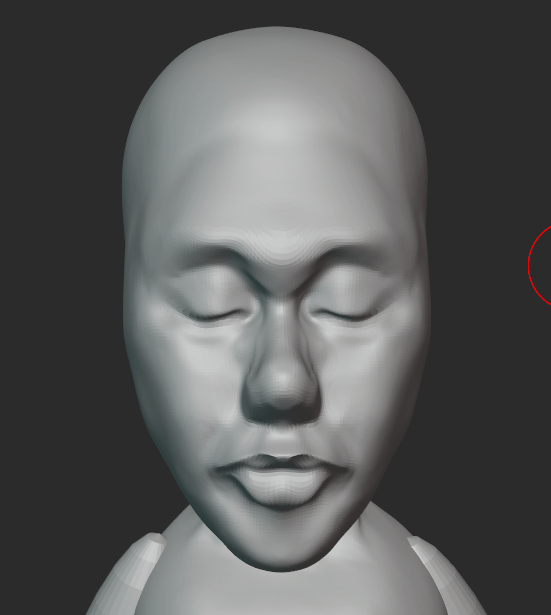
5 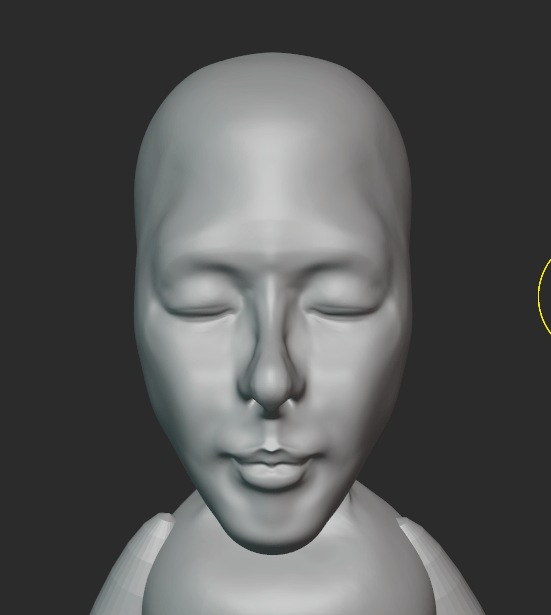
6
6 
7 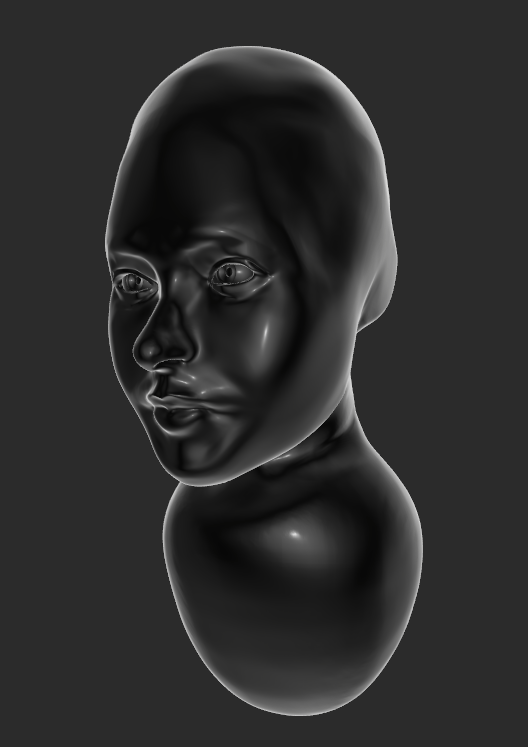
8
9 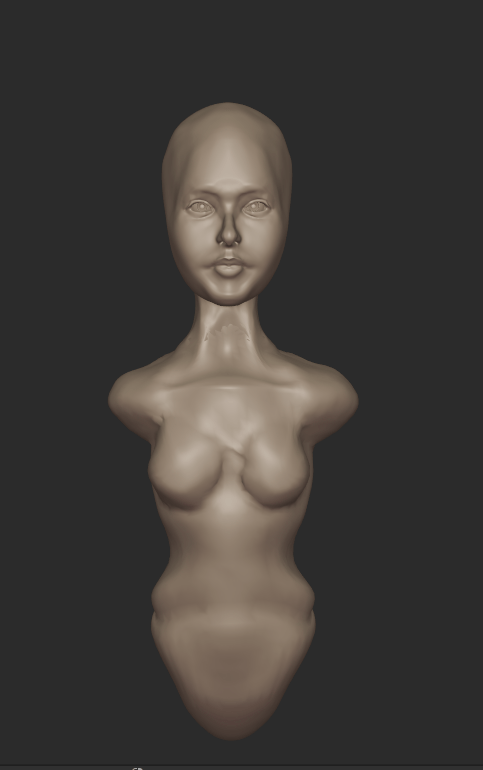
10 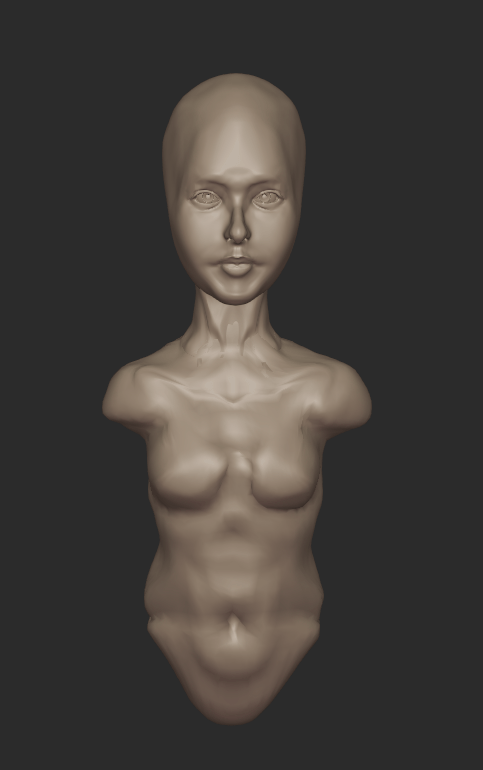
11
After the face was completely sculpted, the pelvis and spine were sculpted. The body is thin, but I made it muscle.
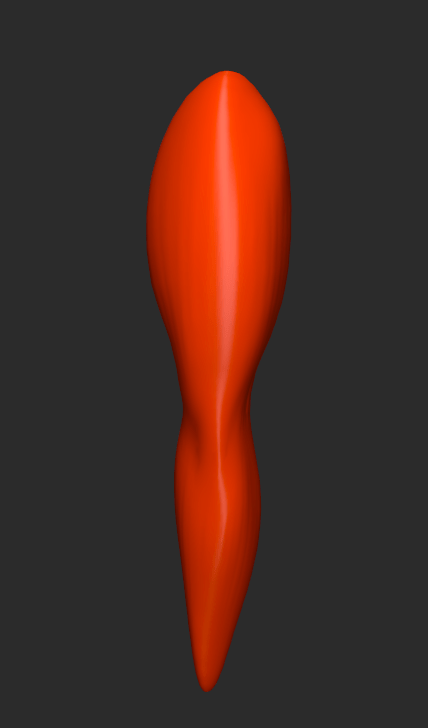
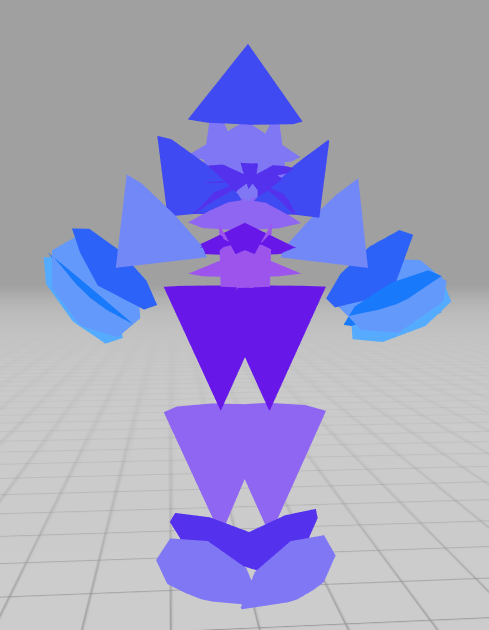
Making separate physical parts
Leg 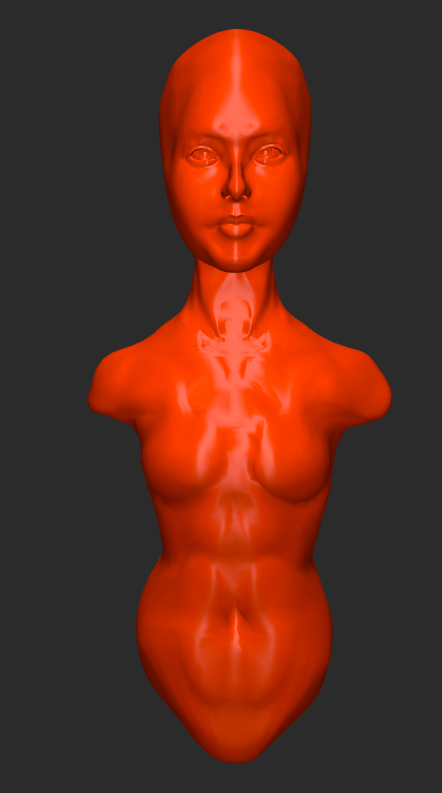
Bust and pelvis 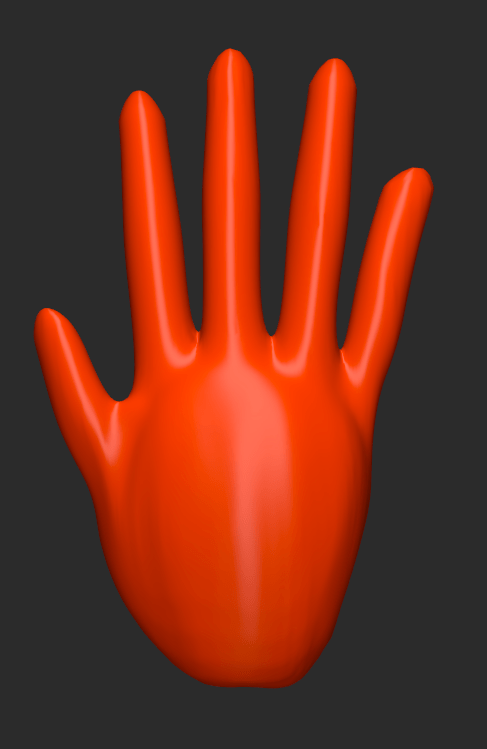
Hand
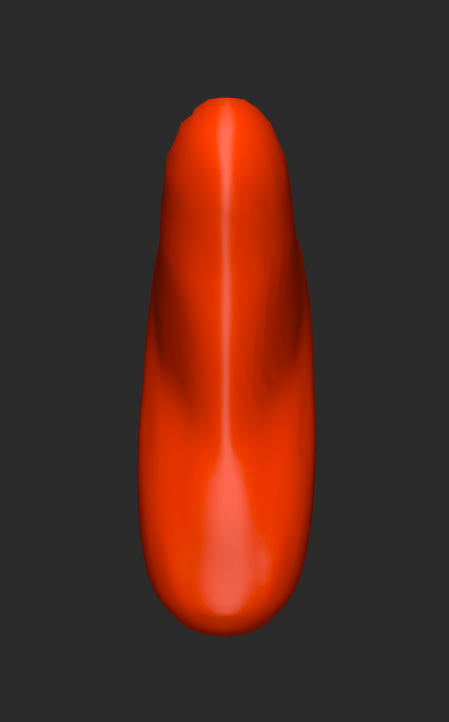
Foot 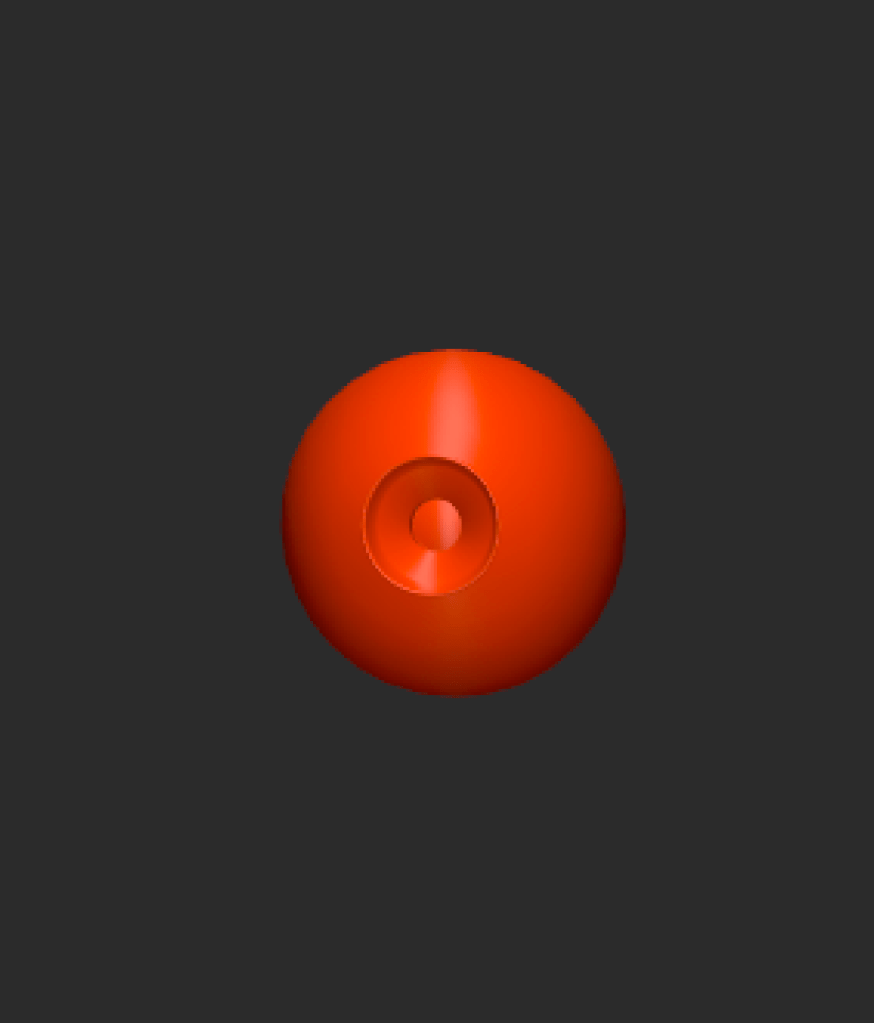
Eye 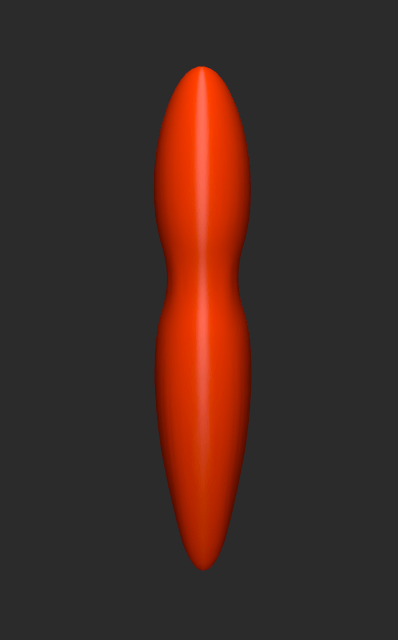
Arm
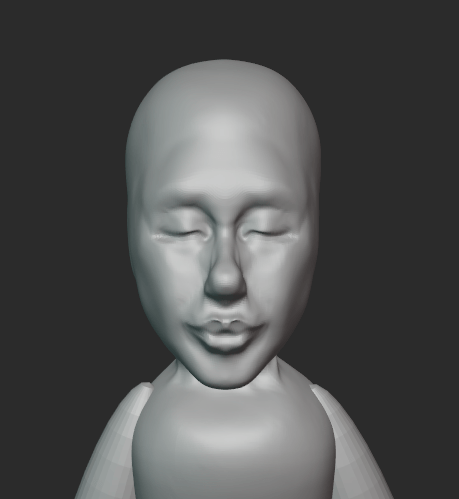
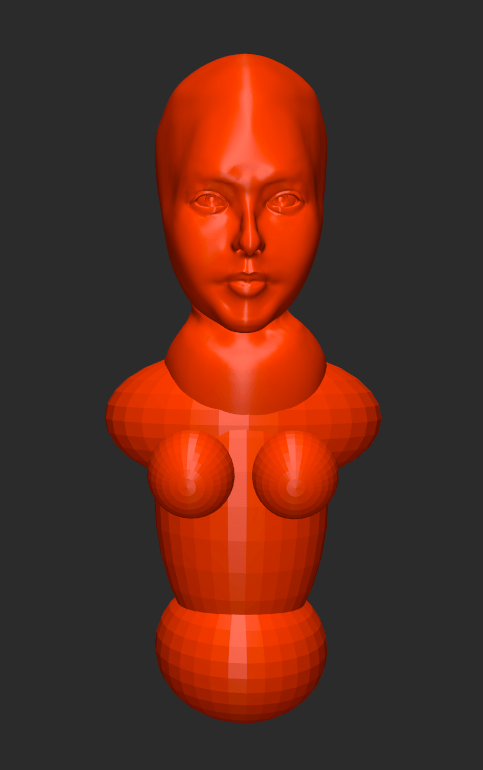
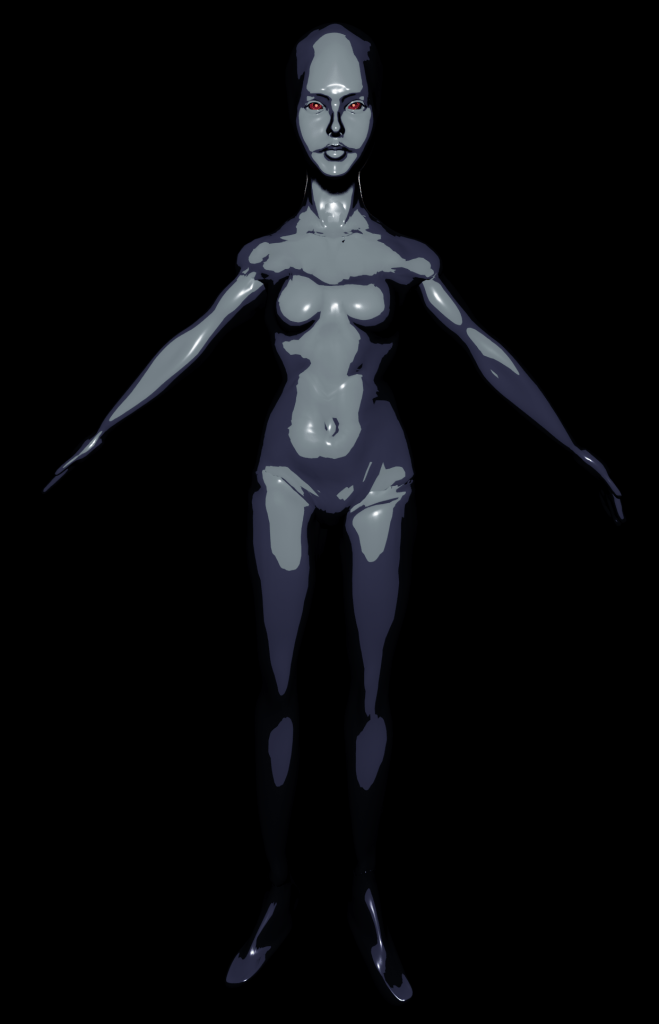
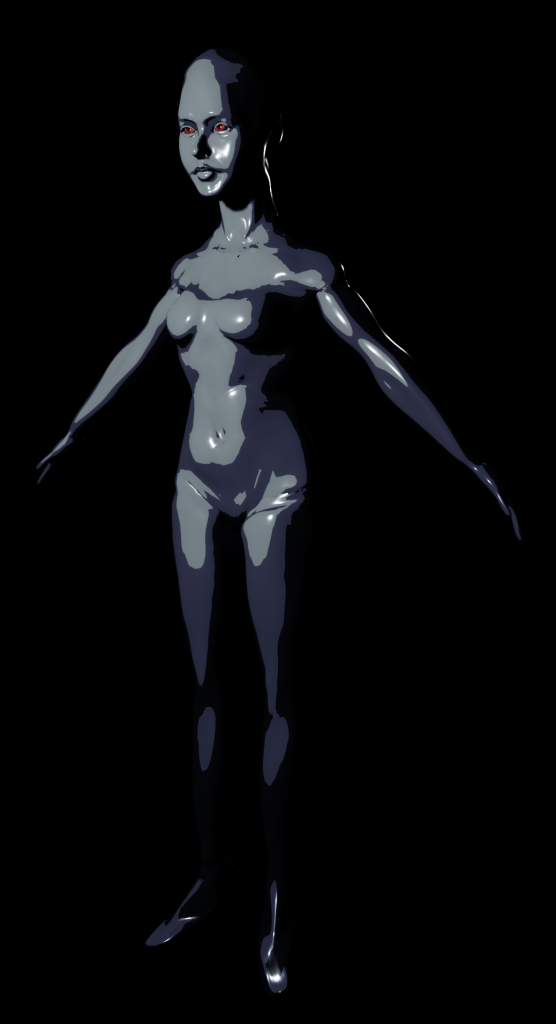
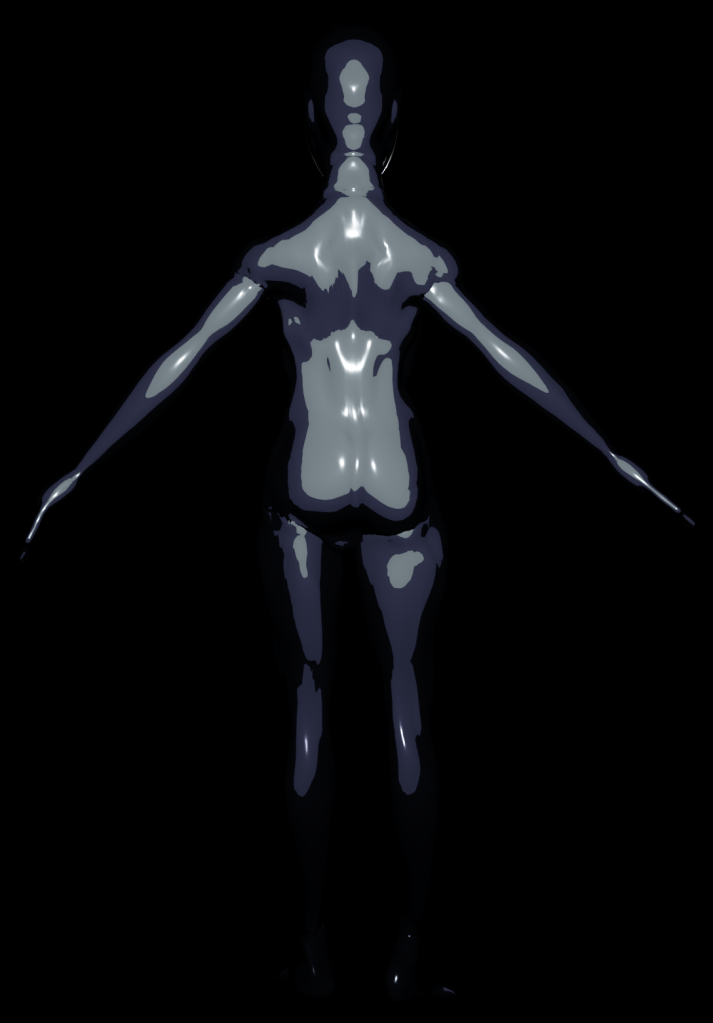
Assembling
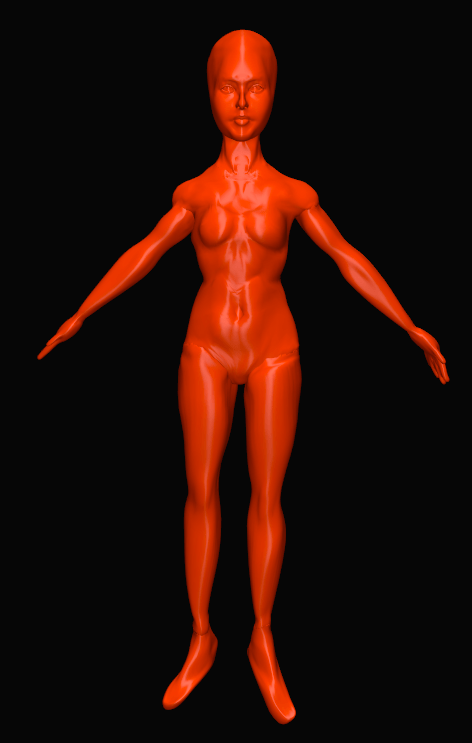
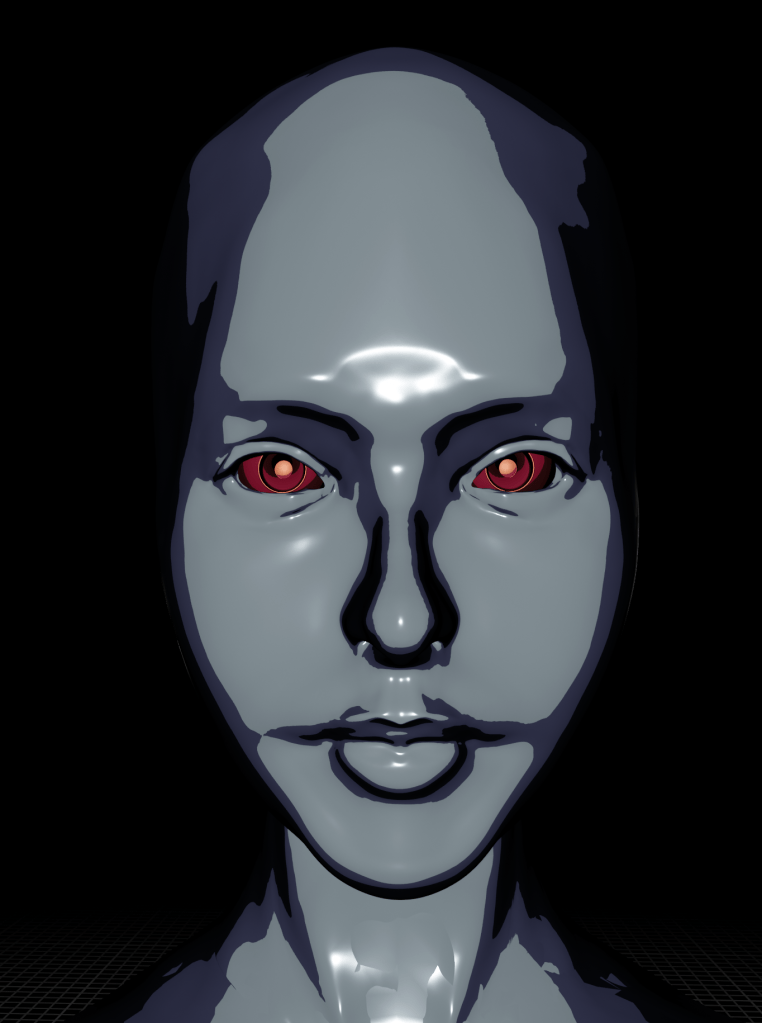
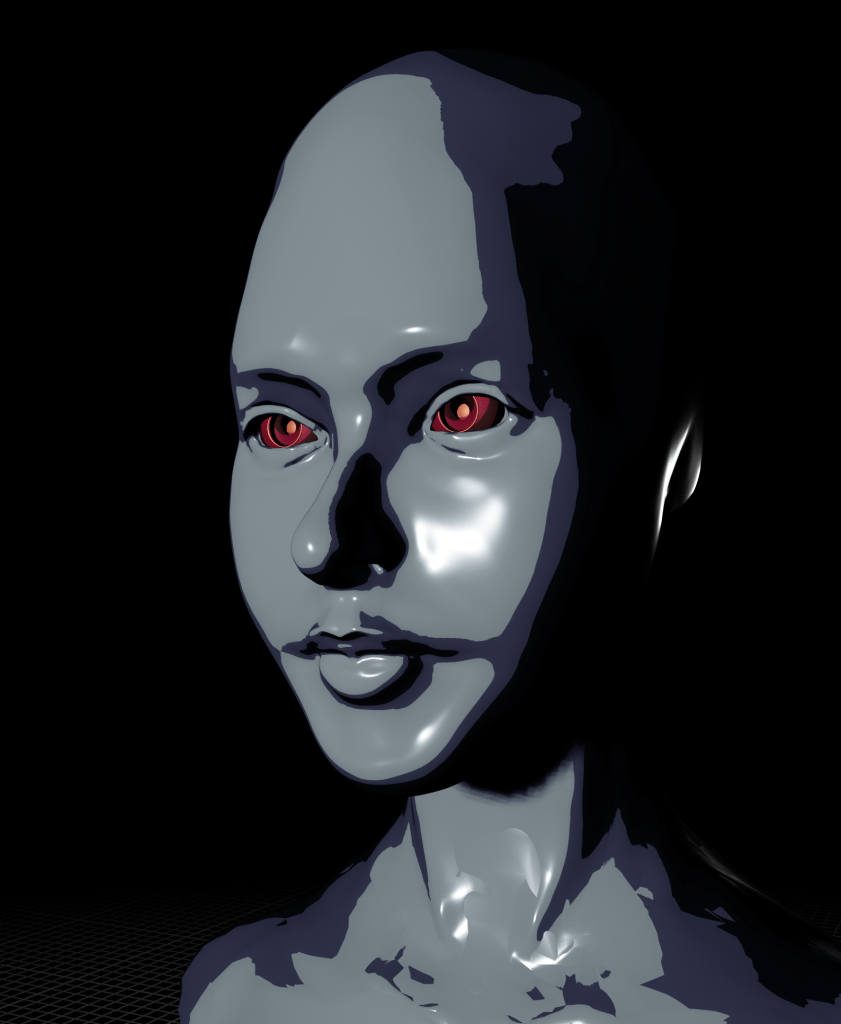
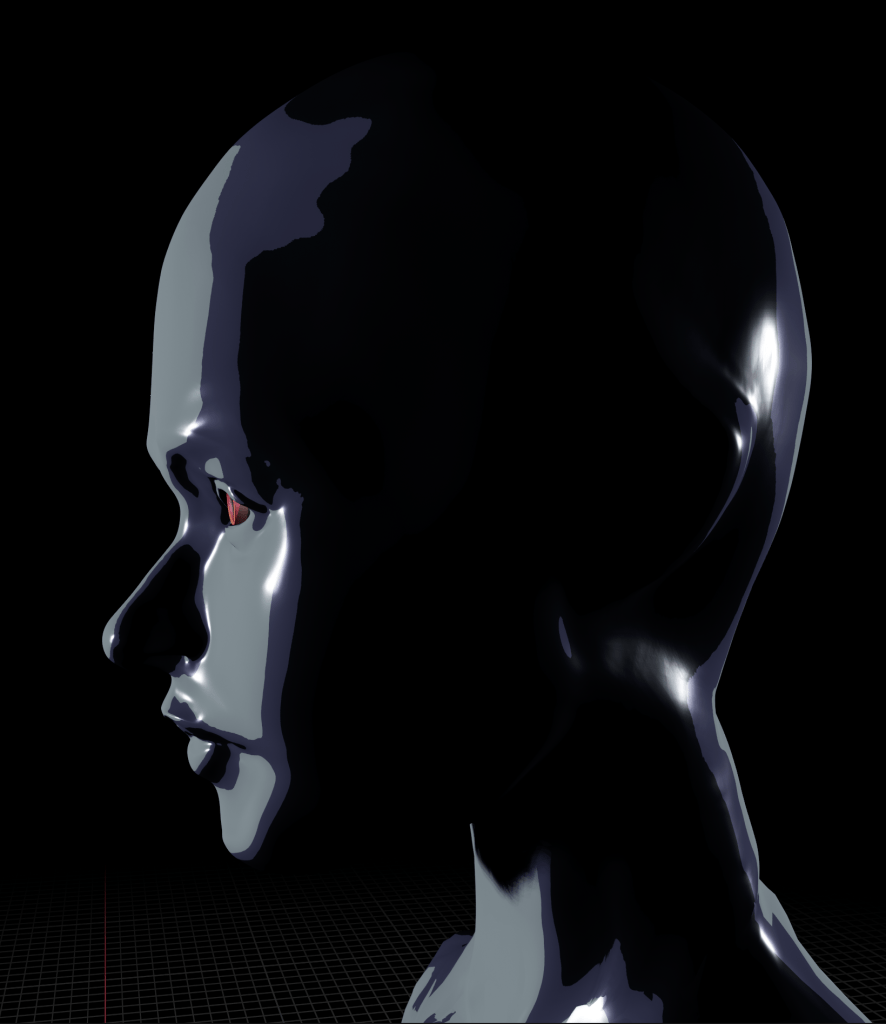
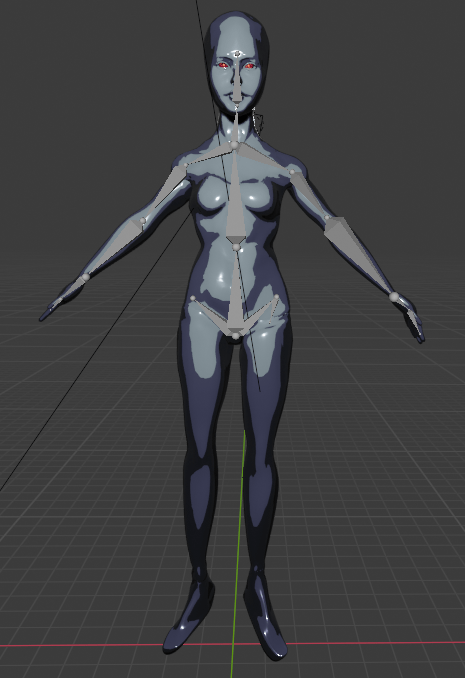
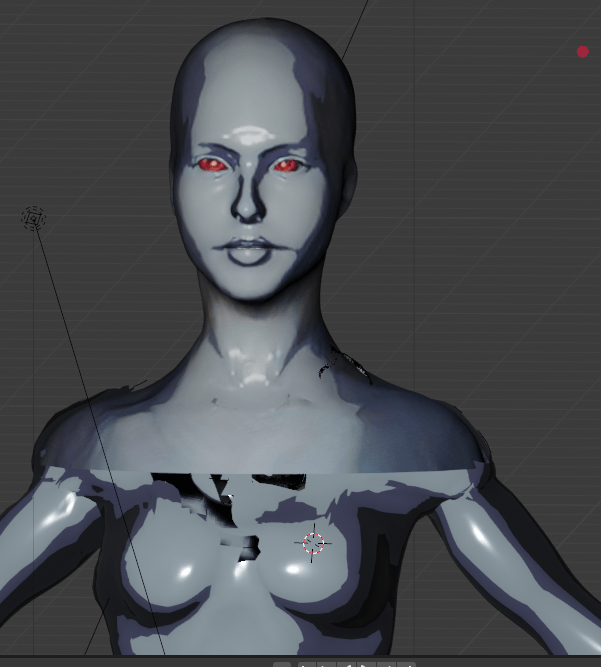
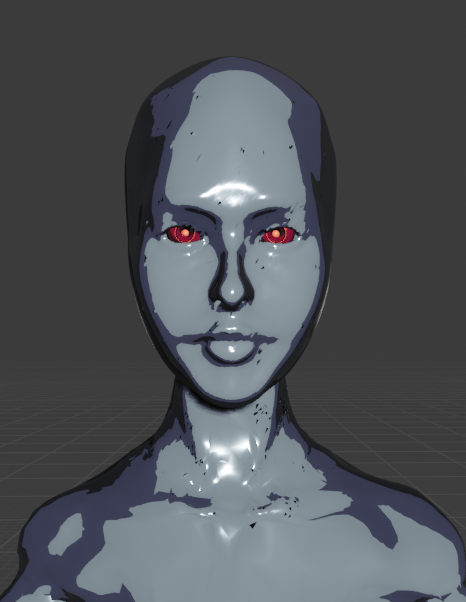
The final 3D character was created. Her head got a little bigger, so the overall proportions weren’t perfect, but in the end I’m very satisfied.
Shading

Skin material Settings 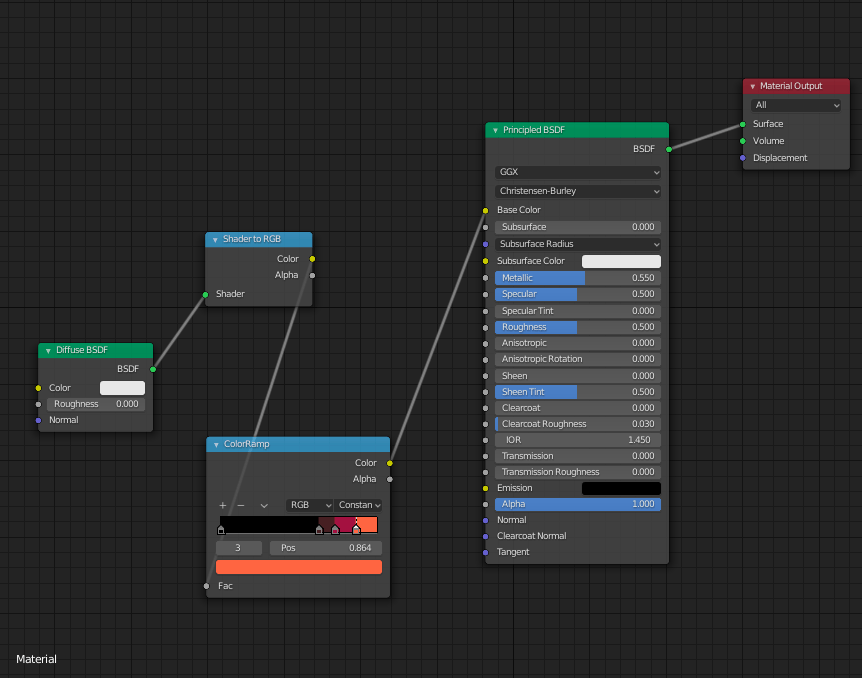
Eyes material Settings
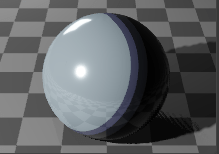
Body material 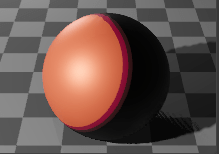
Eyes materials
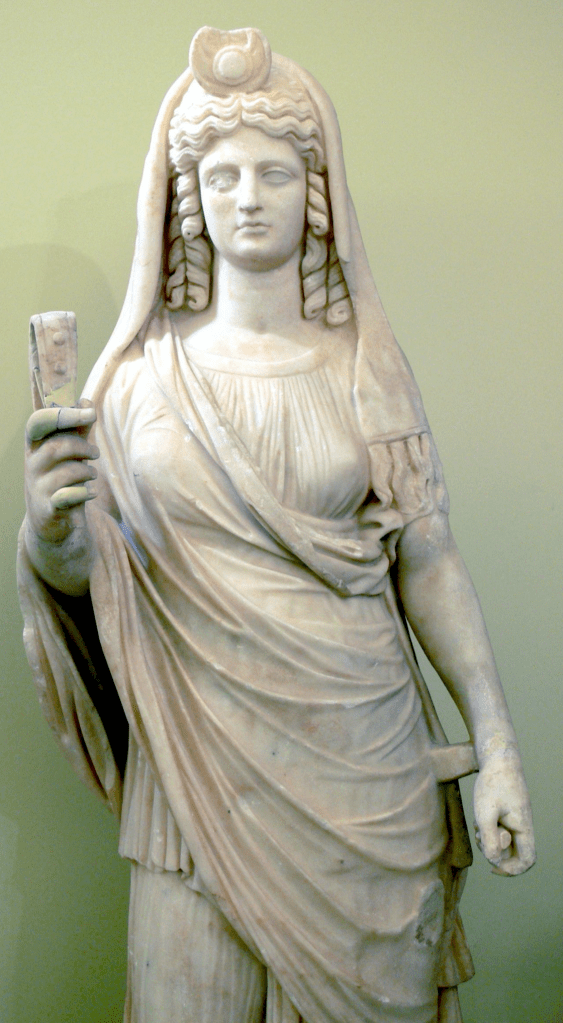
My character was inspired by the Greek Roman mythology Persephone. She is the goddess of seeds and farming. However, she is taken to hell by Hades, the god of hell, and becomes Hades’ wife. This results in the destruction of farming in the human world.
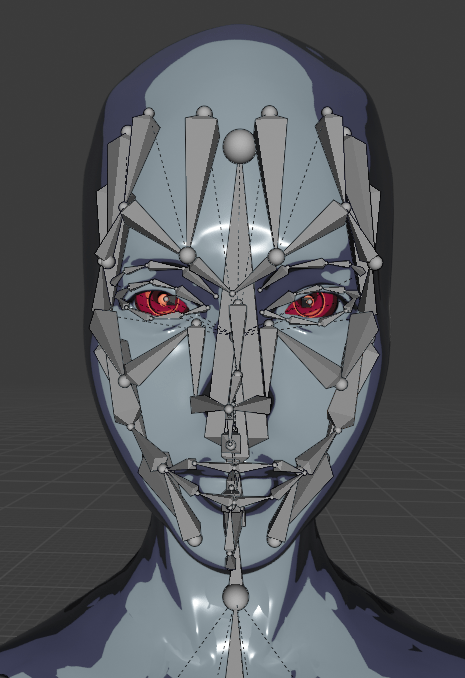
Rigging Problem
Failed solution 1
Failed solution 2
Failed solution 3

Great solution
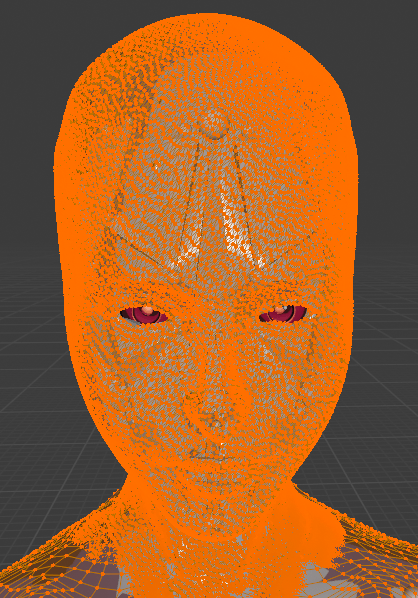
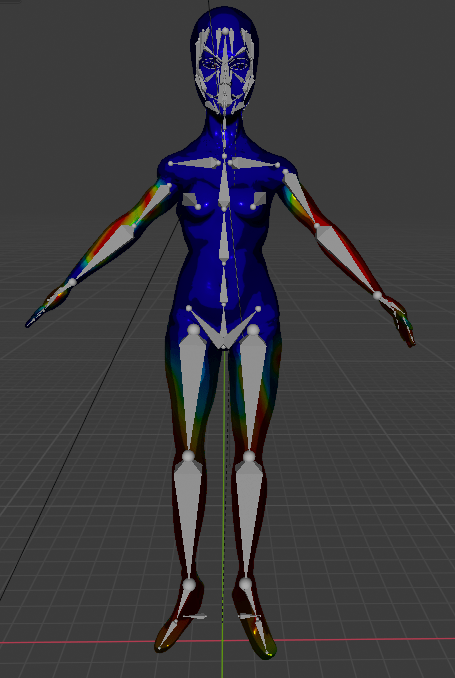
After several tries, I found the best way to solve the’Rigging problem’. Here’s how: Every mesh in Blender is made up of small dots. Reducing the density of these dots helps the computer work in a smoother environment. Although, as in the picture on the upper right, the quality is bound to deteriorate. It should be set to the best quality the computer can withstand to do ‘With automatic weight’.
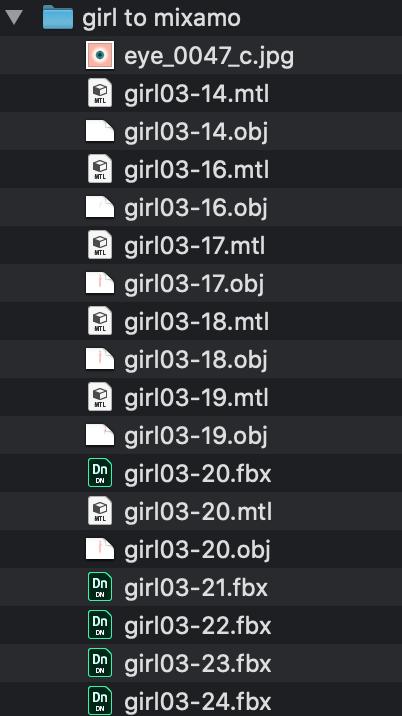
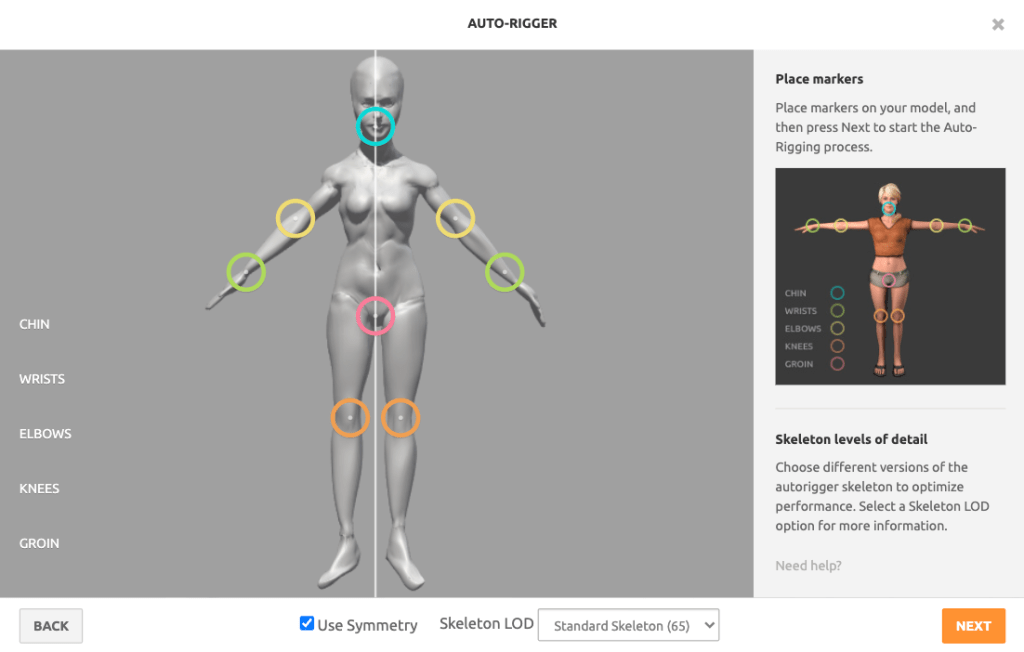
Auto rigging problem – Adobe Mixamo
What’s her name?
I gave her name ‘Persephone’ who was Goddess of seeds, spring and agriculture in Greek and Roman mythology. Hades, god of death kidnap her and make her his wife.
I lost my file again
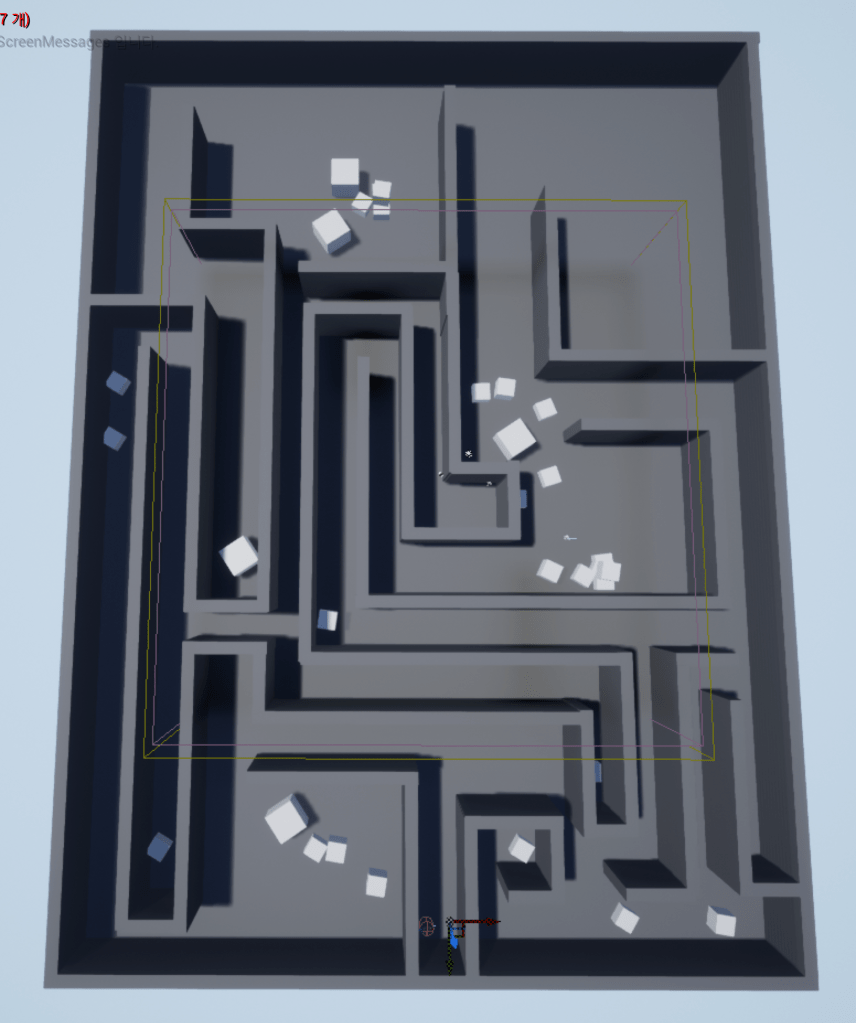
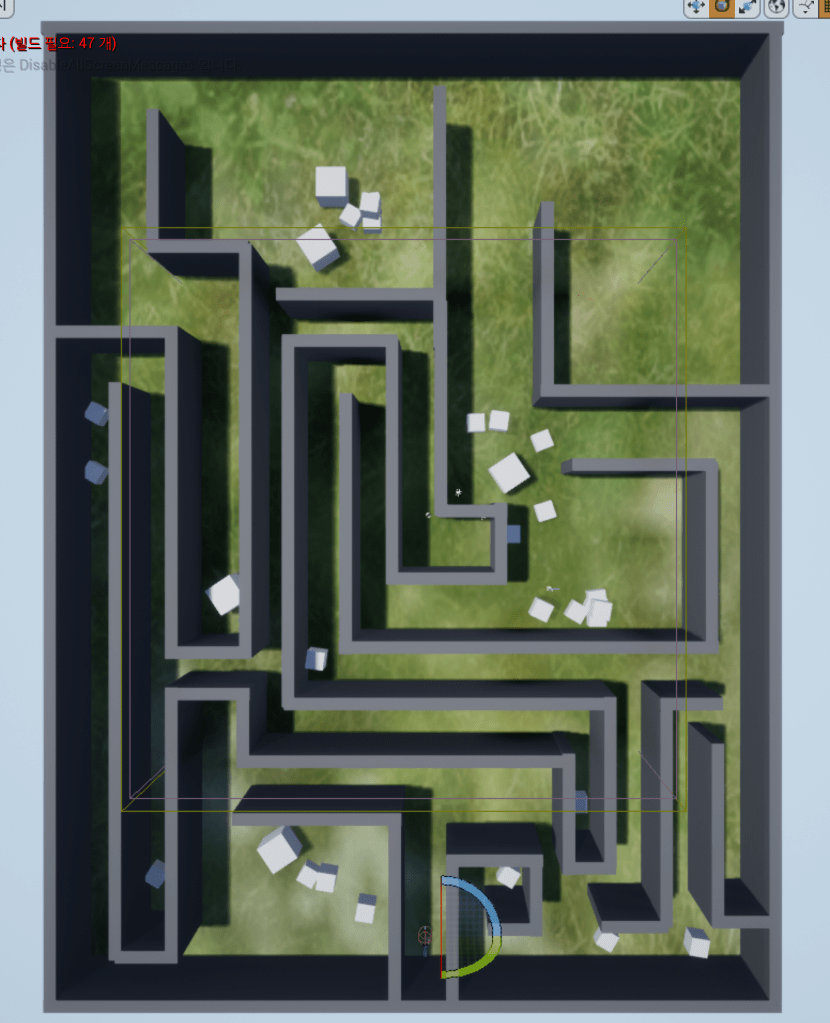
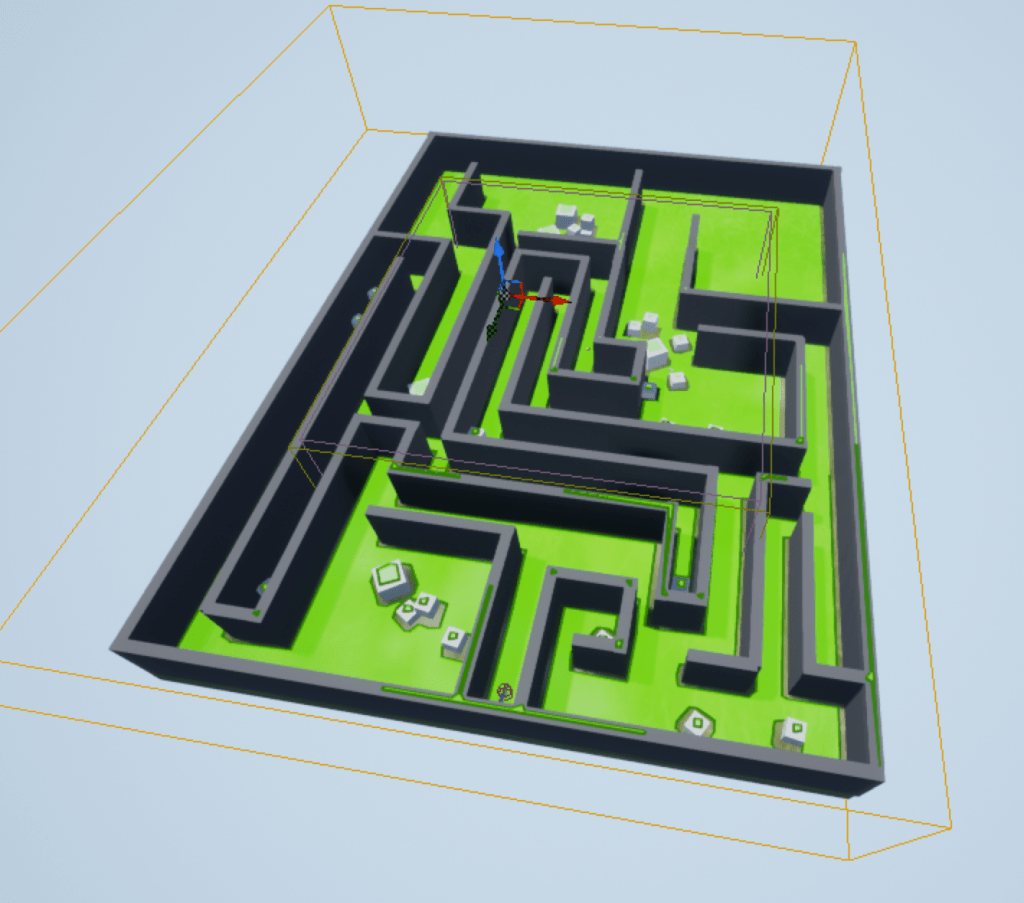
Final game
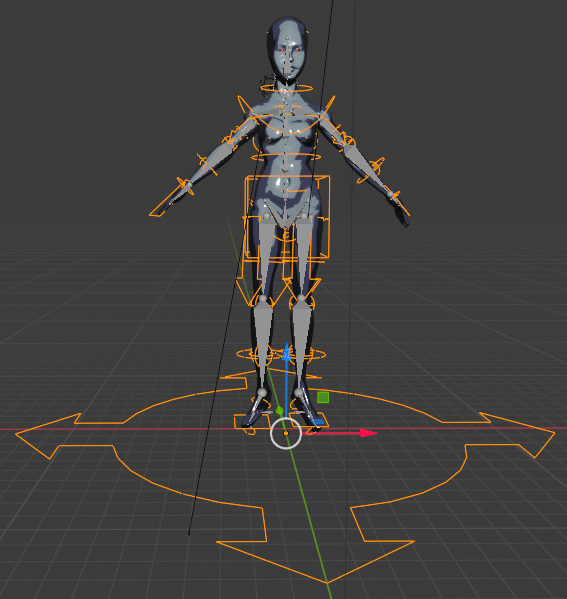
In order to control the characters I created in Blender in Unreal, I created a map(?).
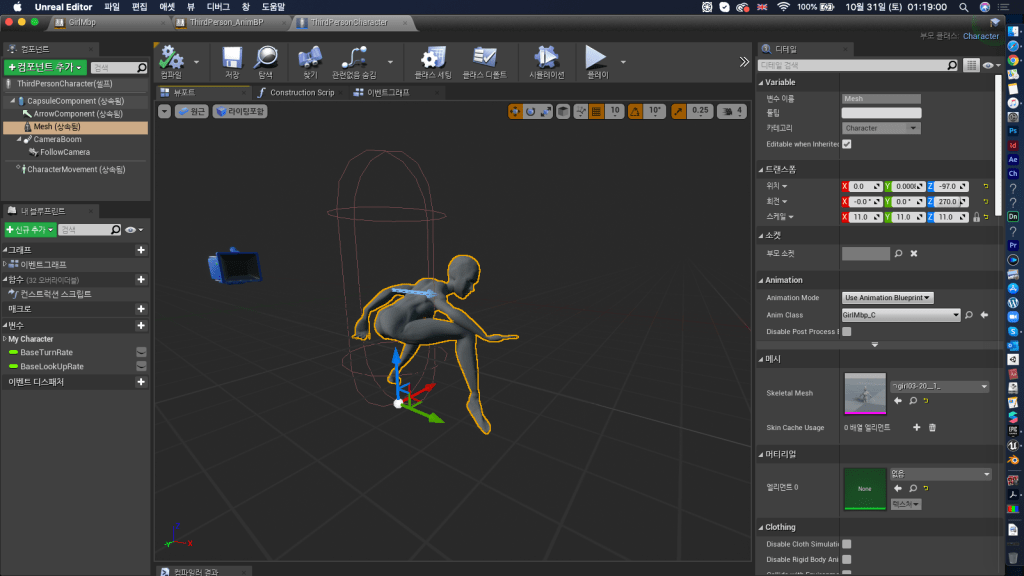
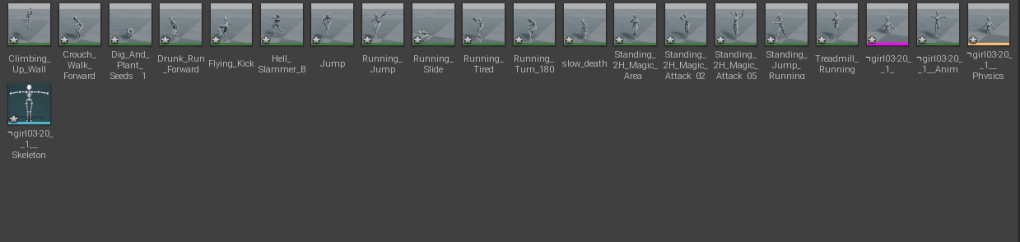
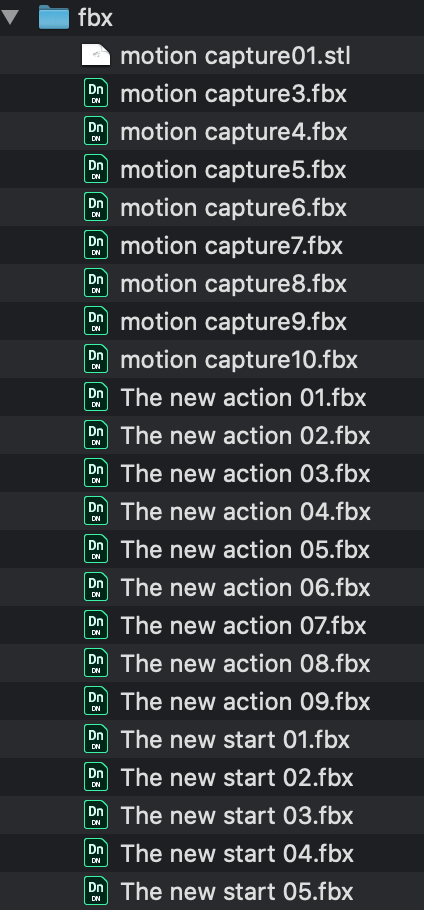
All the actions downloaded from adobe mixamo were moved to the Unreal Engine to make the game characters move. There are various movements such as dancing, running, walking, kicking, falling, etc.