Topic: Skill Research
Project Duration: 3 Weeks
Submission Date: 14th February 2021
Basically, I made VR game in my previous project, Unit 12 – PART I. However, as the game isn’t refined yet, I want to develop it further. Through the unit, I will research the subject of UI design and UX design. The final goal of this project is to explore more detailed skills of coding and UI,UX design. In coding, even I’ve made four games using coding and blueprints, I don’t know what exactly the coding is. I want to learn the way of writing coding script for myself. In final week of the project, I would like to publish my first VR game in Steam if it is possible. To achieve the entire goal, I would have to make the timetable and the project proposal and specific project goal.
In Unit 12, the project was undertaken under the theme of ‘surveillance’ in ‘nightmare’. I made a virtual reality game based on Unity Engine. The final goal of the game was to remove the chicken coop using a vr controller. However, I haven’t create a character that contradicts with the game player from completing the mission. Therefore, I plan to design a CCTV to monitor and interfere with game players.
Book reading
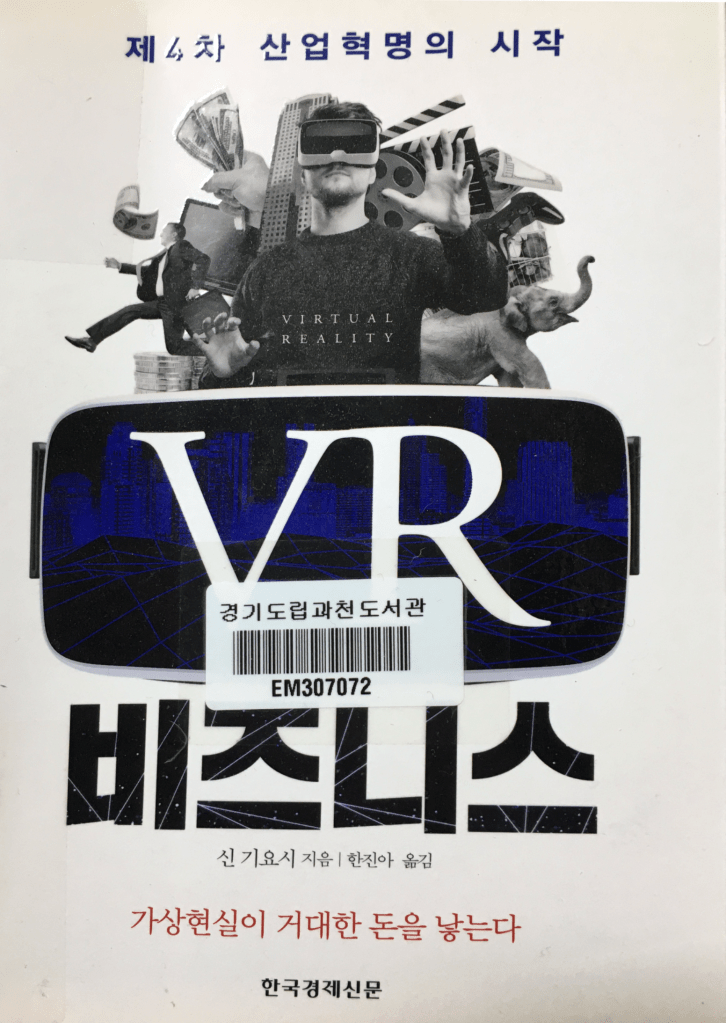
VR business
Shin Kiyoshi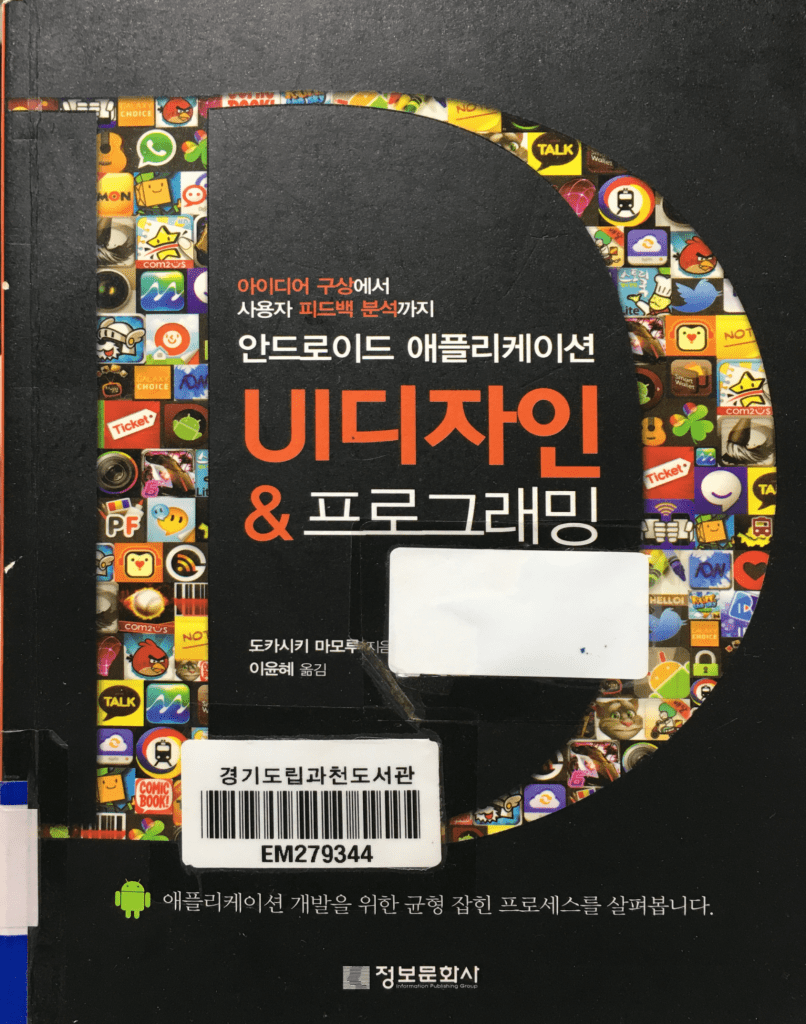
UI design & programming
Tokashiki Mamoru
Character sculpting
‘Mesh’ is usually made up of numerous particles. There is no big problem when sculpting with Blender. However, if the mesh is implemented in the game engine, the game cannot be played at a smooth game speed, and the volume of the game will also increase. * Game engine is software with tools for making games.
There are two ways to reduce the number of mesh particles.
How to reduce particles in mesh?
1 – Merge by distance
Complicated mesh includes a lot of particles
Created by Seokwon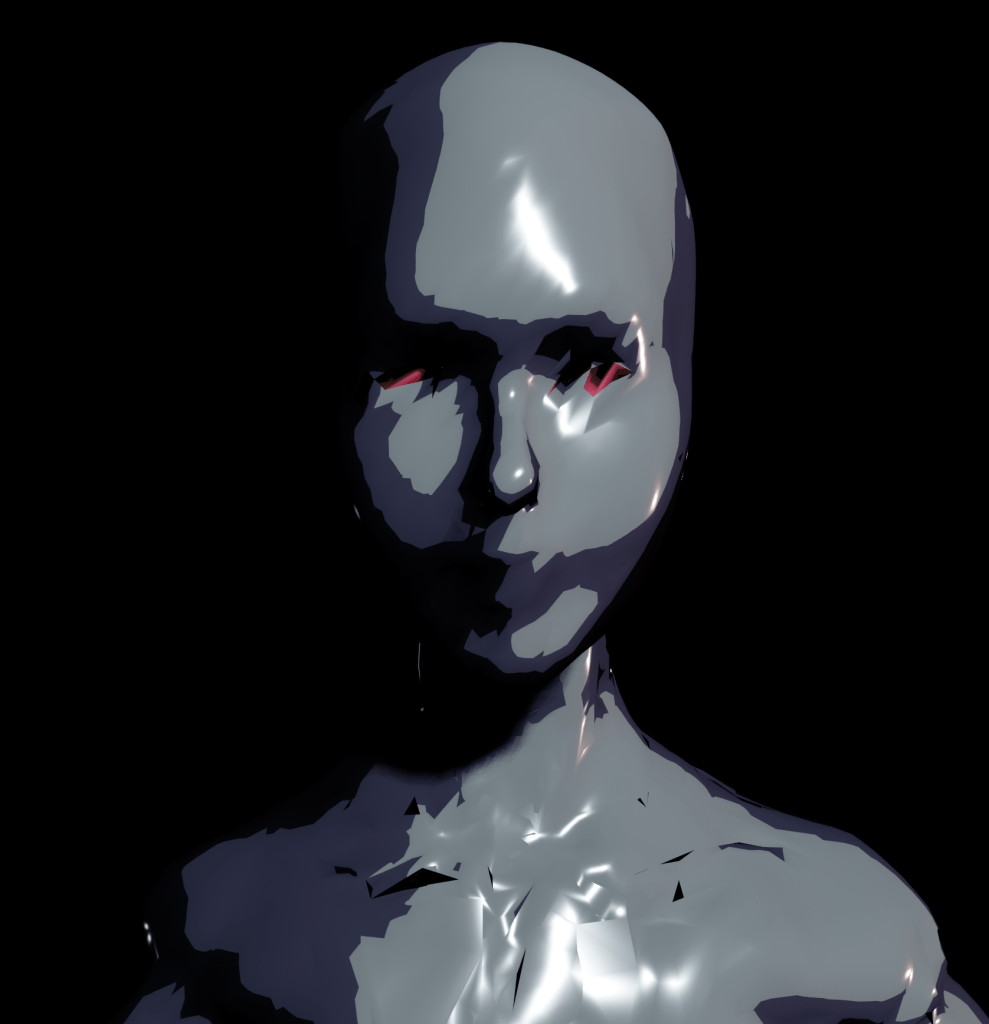
Decreasing the number of particles by doing ‘Merge by distance’
Created by Seokwon
This made it possible to have a rigidbody (insert bone into the character) on a Persephone mesh which had a large amount of particles. However, it was a setback that the facial features and body structure of Persephone, which I sculpted over a long time, were not properly implemented.
2 – Retopology
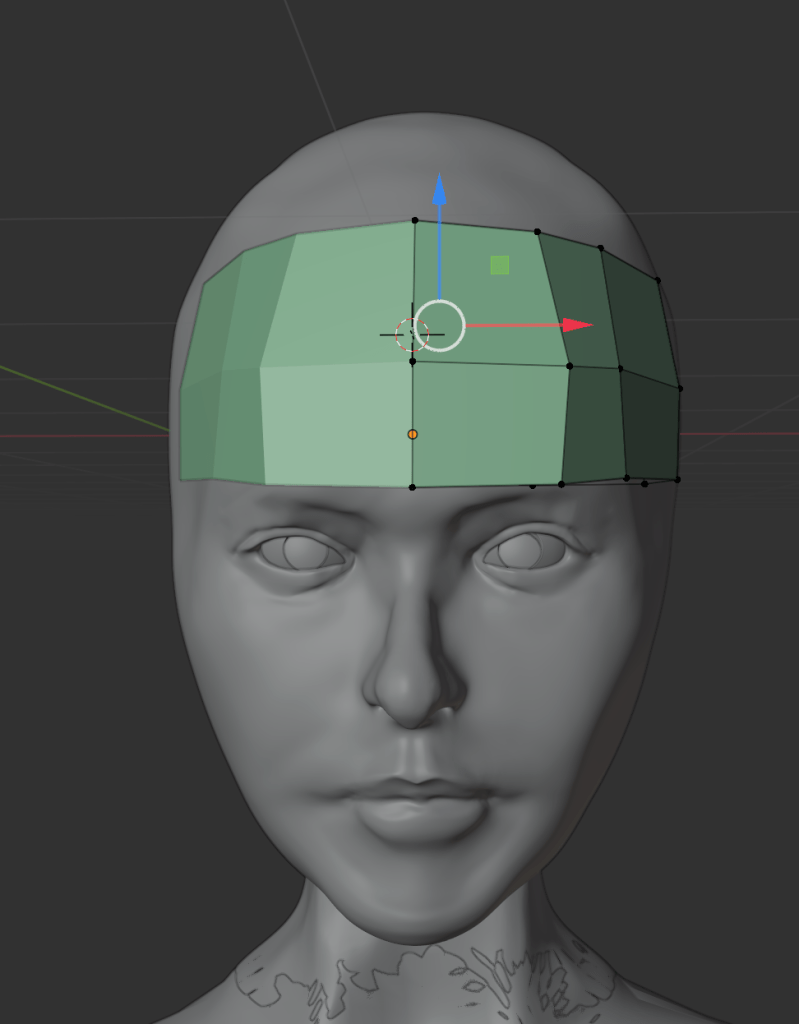
1 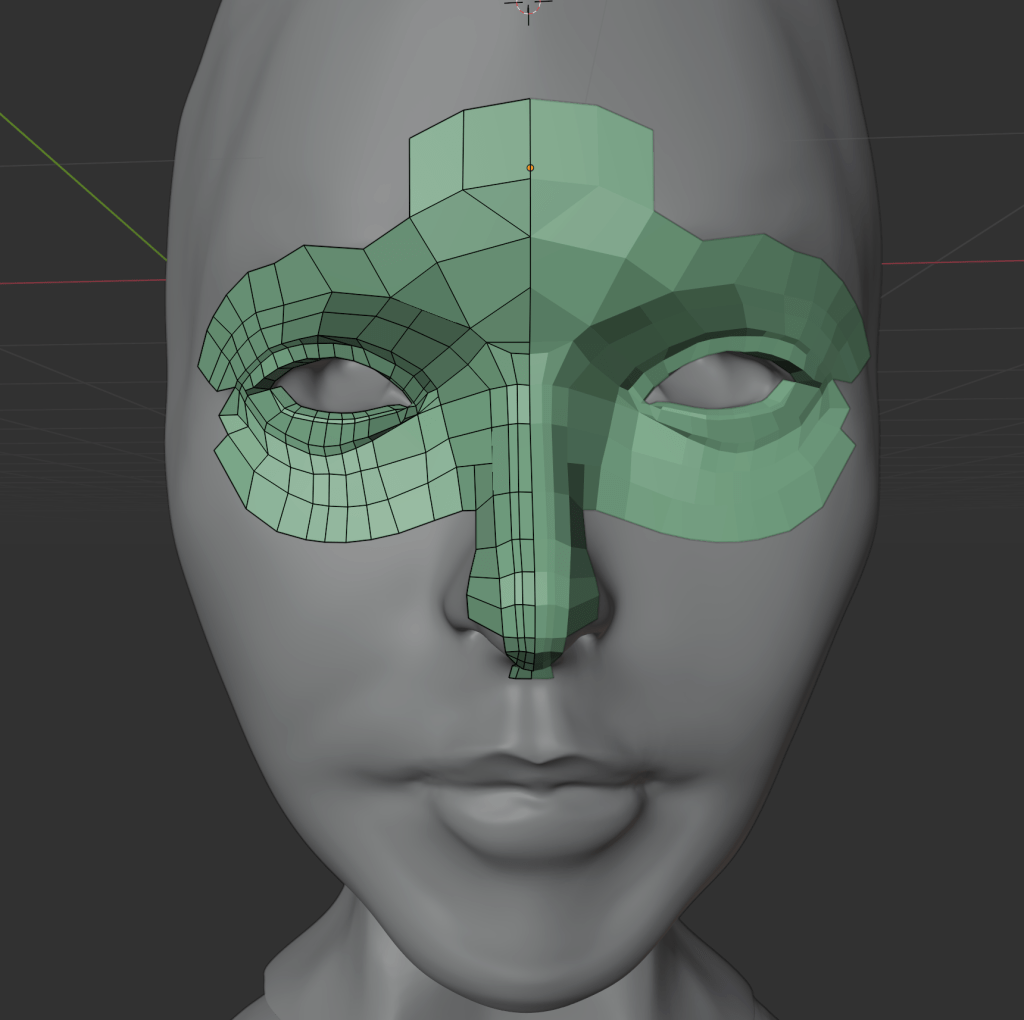
2 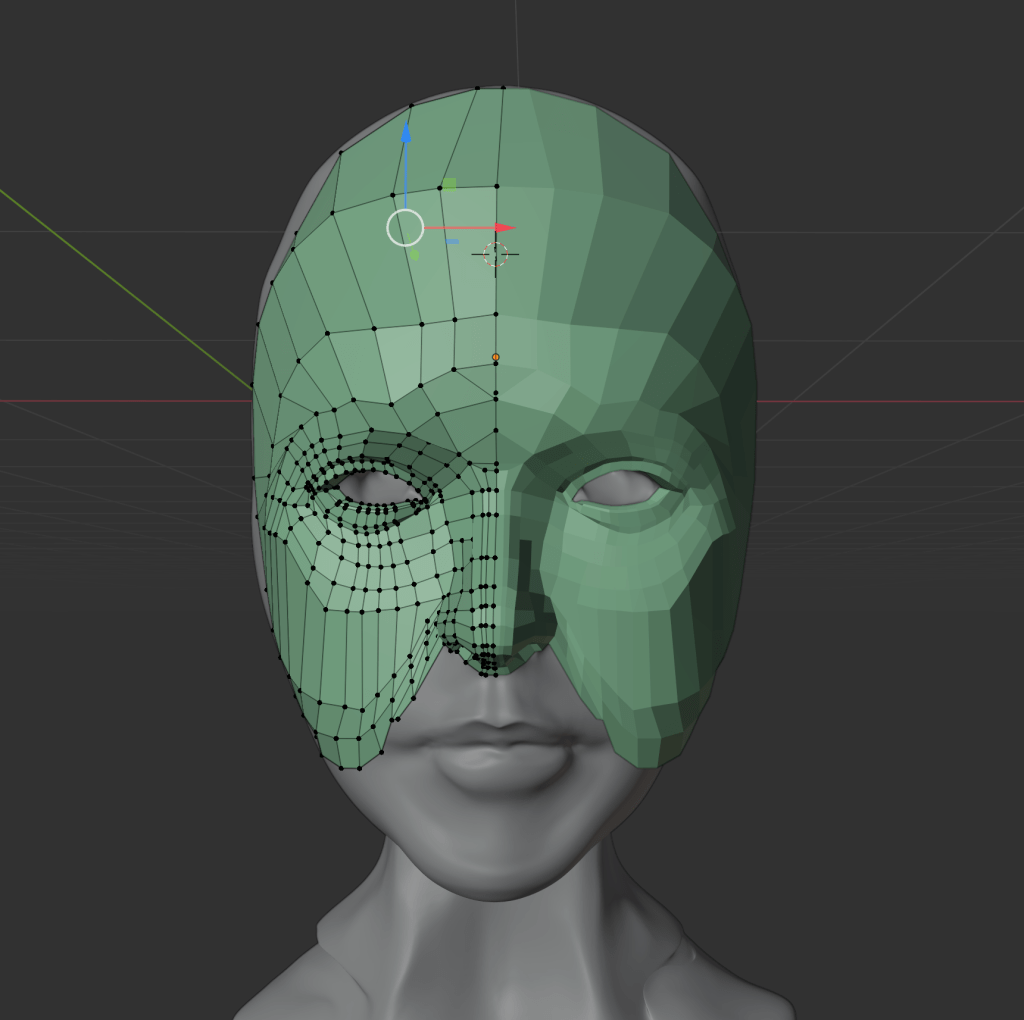
3 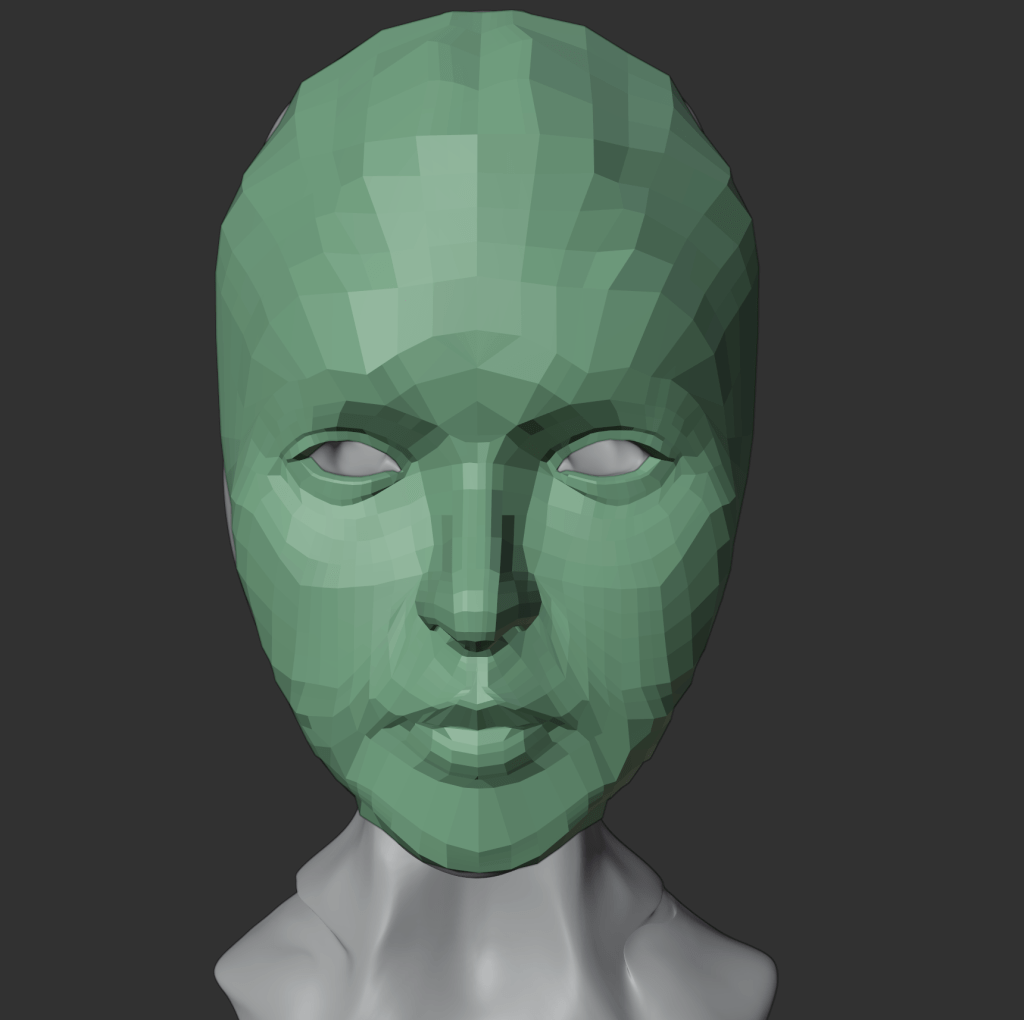
4 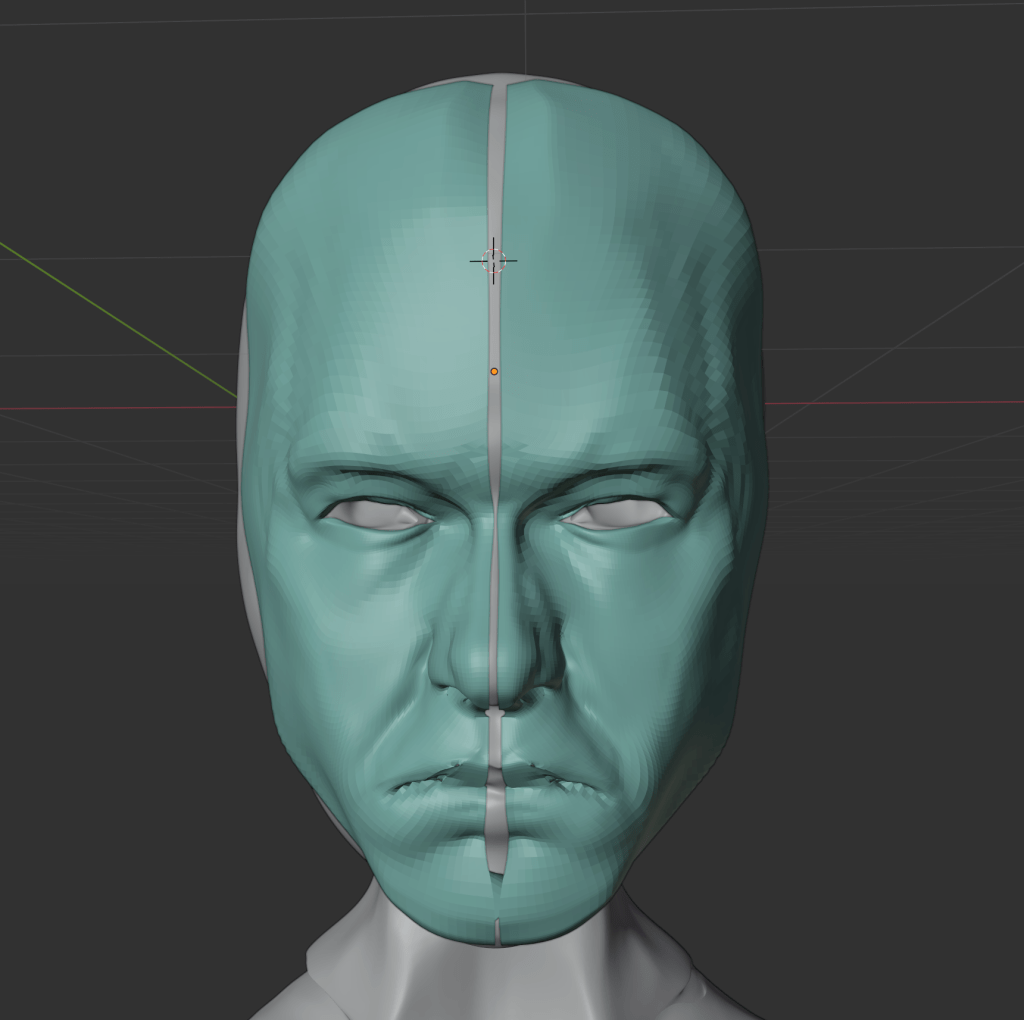
5 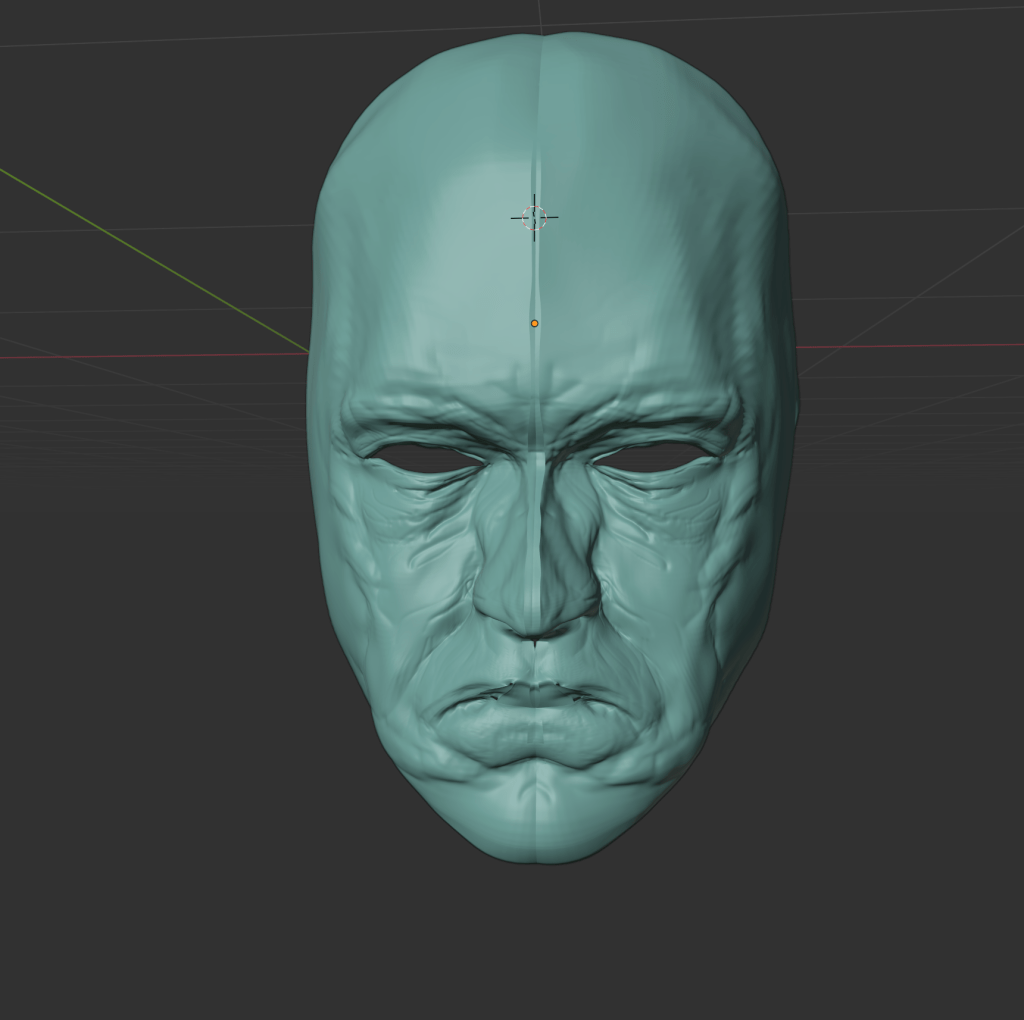
6
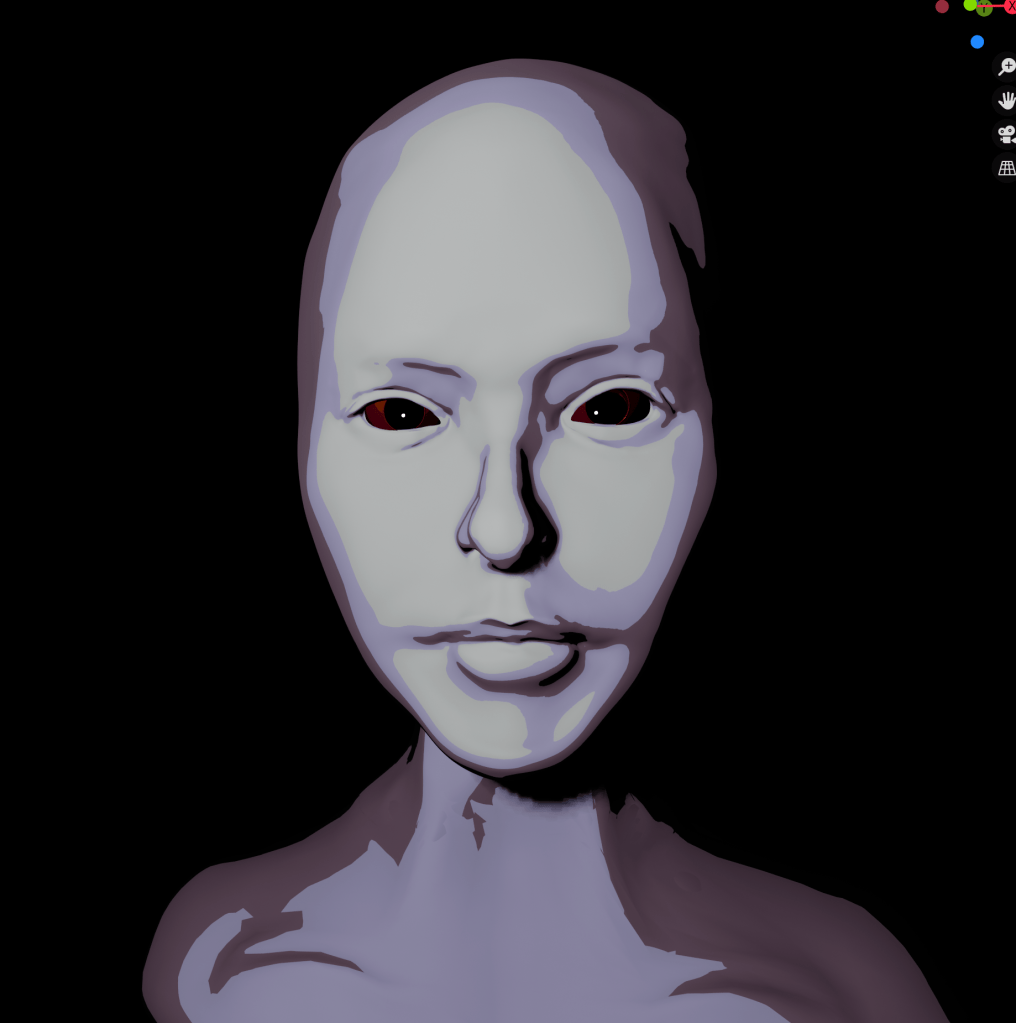
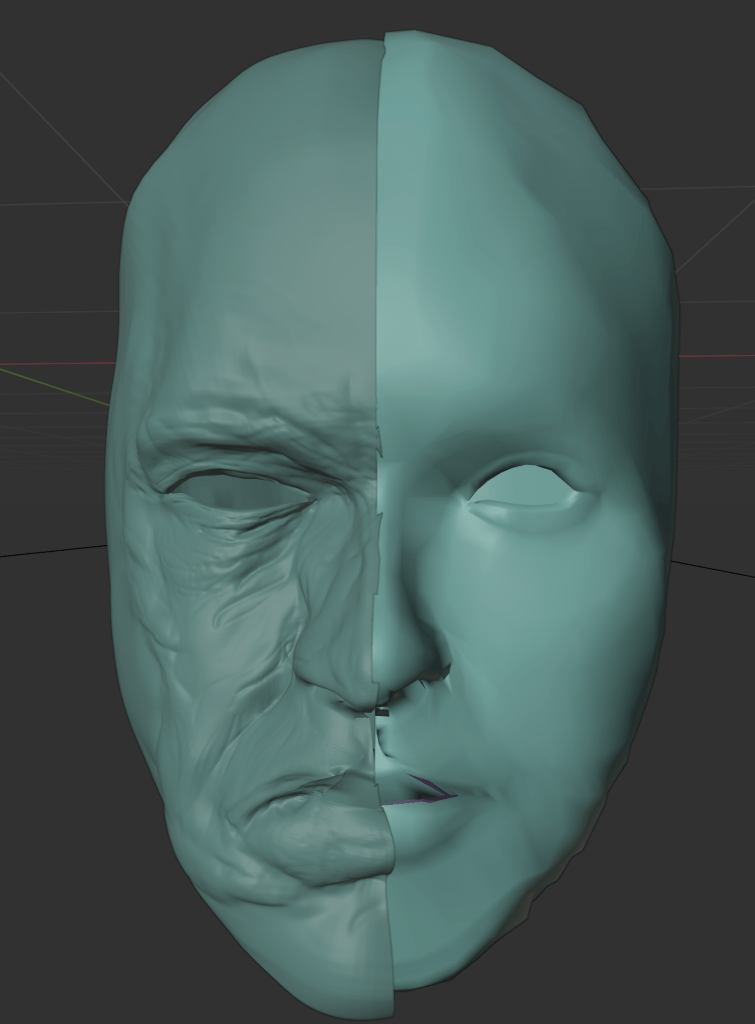
As a result of retopology of Persephone, basic facial features were created, but I found it looks too simple. It seems it needs more characteristics. One idea that came to my mind was that I could describe a CCTV antagonist as looks an authoritarian and conservative male. Therefore, I increased bone structures such as the jaw, and I added some extra wrinkles to make look him an old person.
The character’s face was especially inspired by Hitler. I sculpted with the motif of the face of a Nordic person.
Mirror effect: Mirror effect was used in the process of retopology. Mirror literally helps to create a retopology on the other side when retopology is performed on one side. In particular, in the case of a face, the left-right is almost the same, so after using the mirror effect, you can make some changes. There was a problem though. Another mesh made with a mirror and an existing mesh must be connected, but I do not know how to connect.
UV editing for texturing
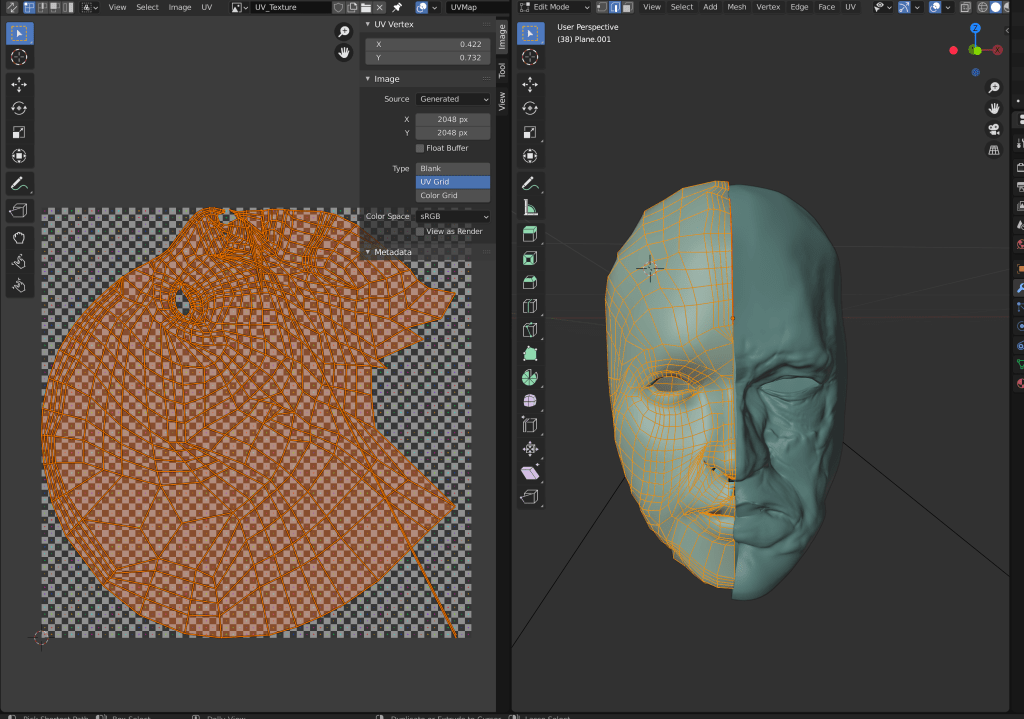
After retopology, the number of particles in the mesh has been reduced, so I can now give the mesh more effective texture. For example, a mesh without retopology can be given a simple color and so on. On the other hand, the mesh to which retopology is applied can be linked with Adobe substance, so more specific texturing is possible such as skin. I think UV editing is a process of converting folded paper into flat paper. Since flat paper is 2D, texturing is simpler than 3D .
But there is a problem. Some meshes need some modification. For example, 3D sphere-shaped paper is not converted to 2D form. To solve this, use the mark_seam scissors in edit mode. If UV editing is applied to the character’s face shape, usually mark_Seam is used on the character’s back head. Also mark_seam is useful for decomposing facial structures. This allows me to apply a texture to each of the decomposed meshes. For example, through mark_seam, I can separate human skin color and lip color. However, my CCTV character doesn’t need mark_seam. This is because, after using the mirror mode, each of the two faces has not been combined.
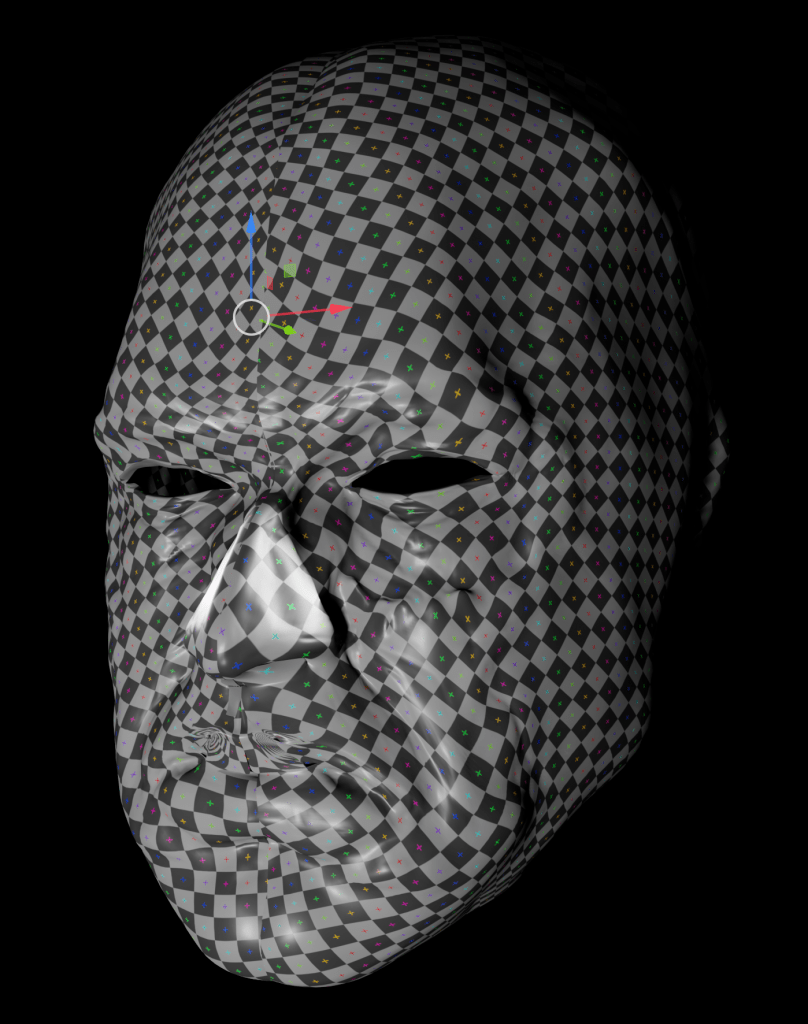
I have finished UV editing. First, the mesh is wrapped in a square. Here is the stage that the face mesh can be exported to an Adobe substance.
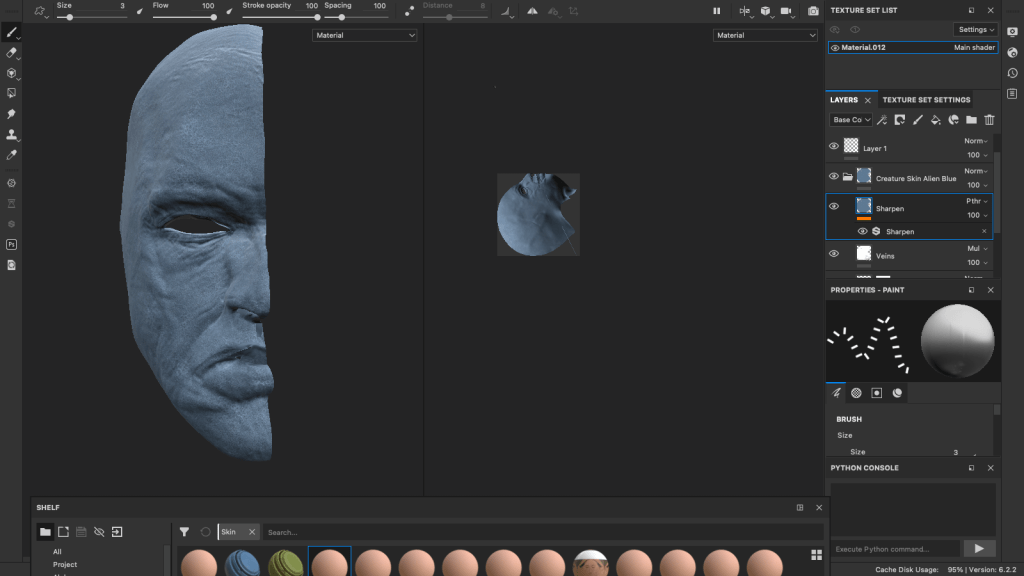
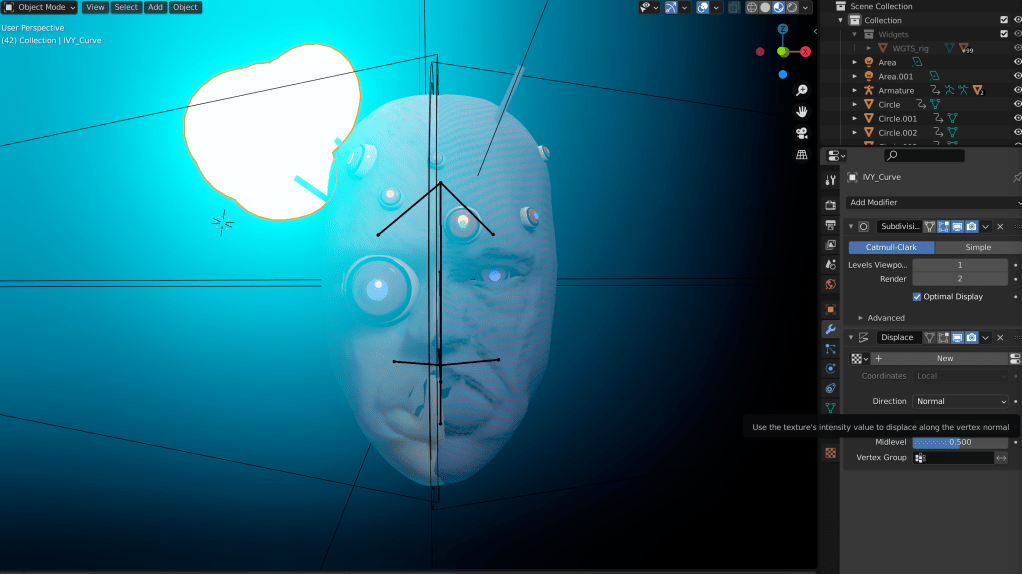
Using the blender shading mode, I can create bump-like textures. However, to use a more irregular or specific texture, I downloaded Adobe’s substance. Substance is a software that applies a texture to a mesh made in 3D software such as Maya, Blender, ZBrush, etc. It was simple to use because it can implement complicated skins, metal effects, etc.
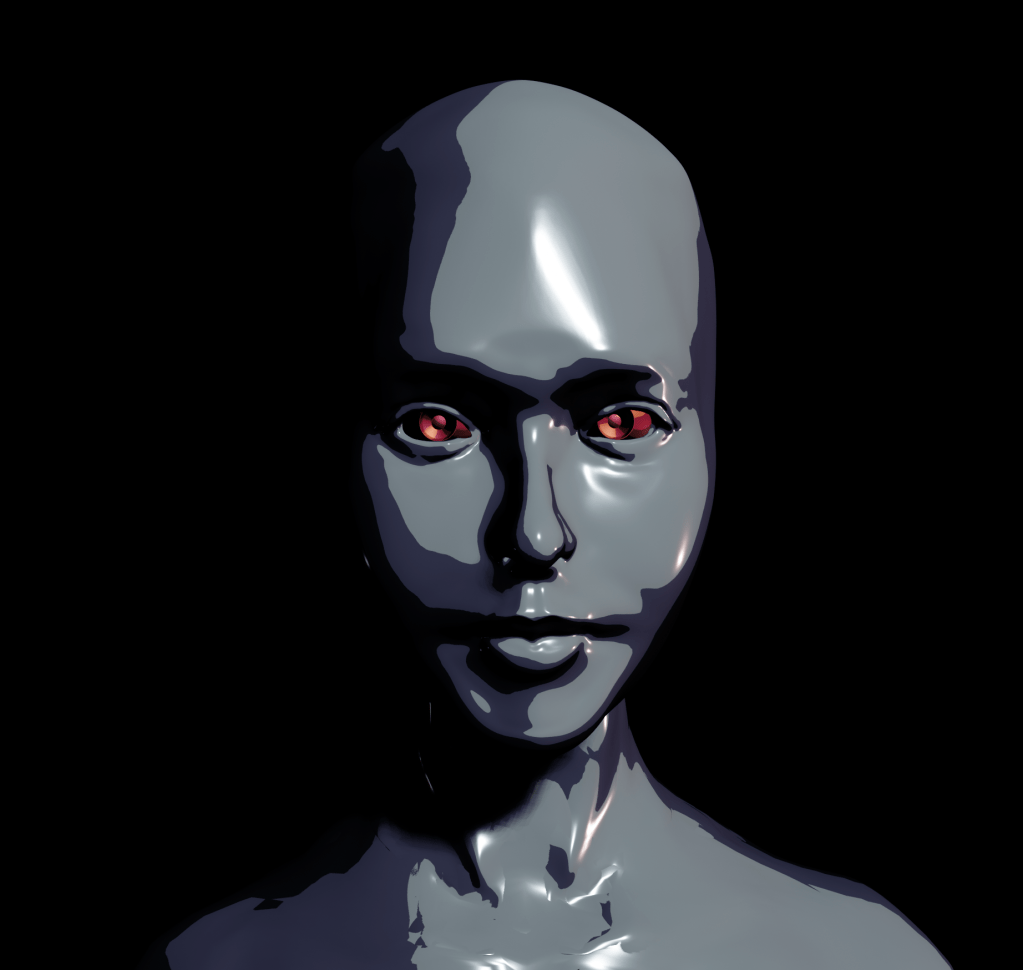
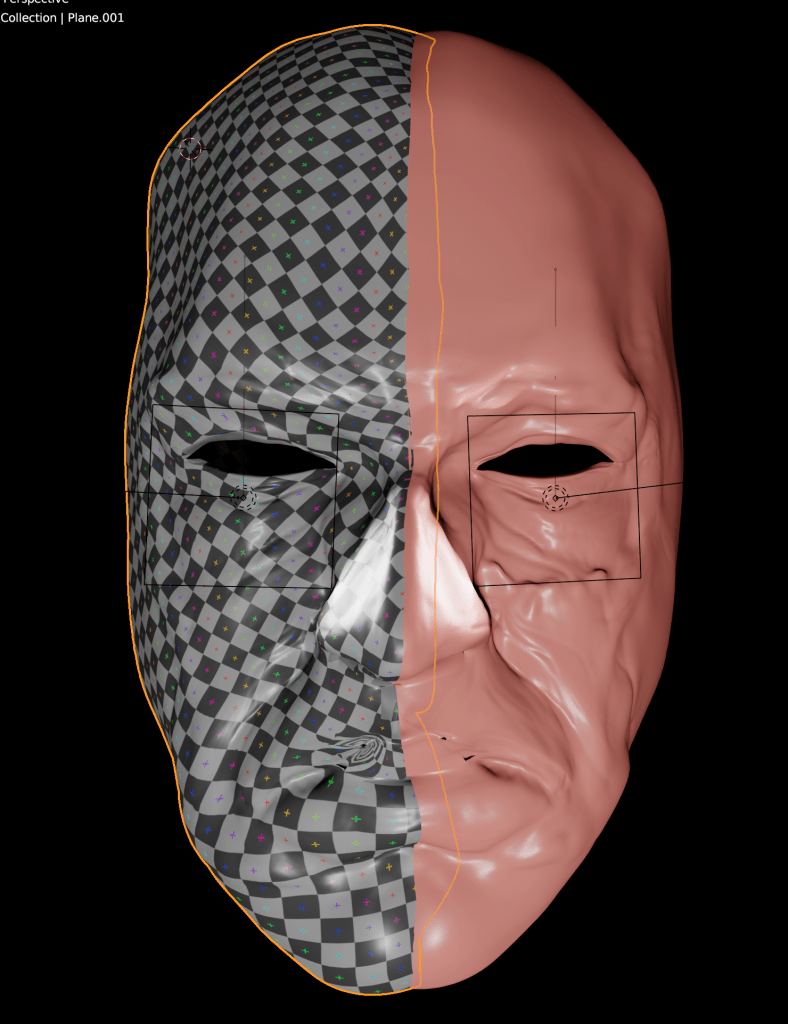
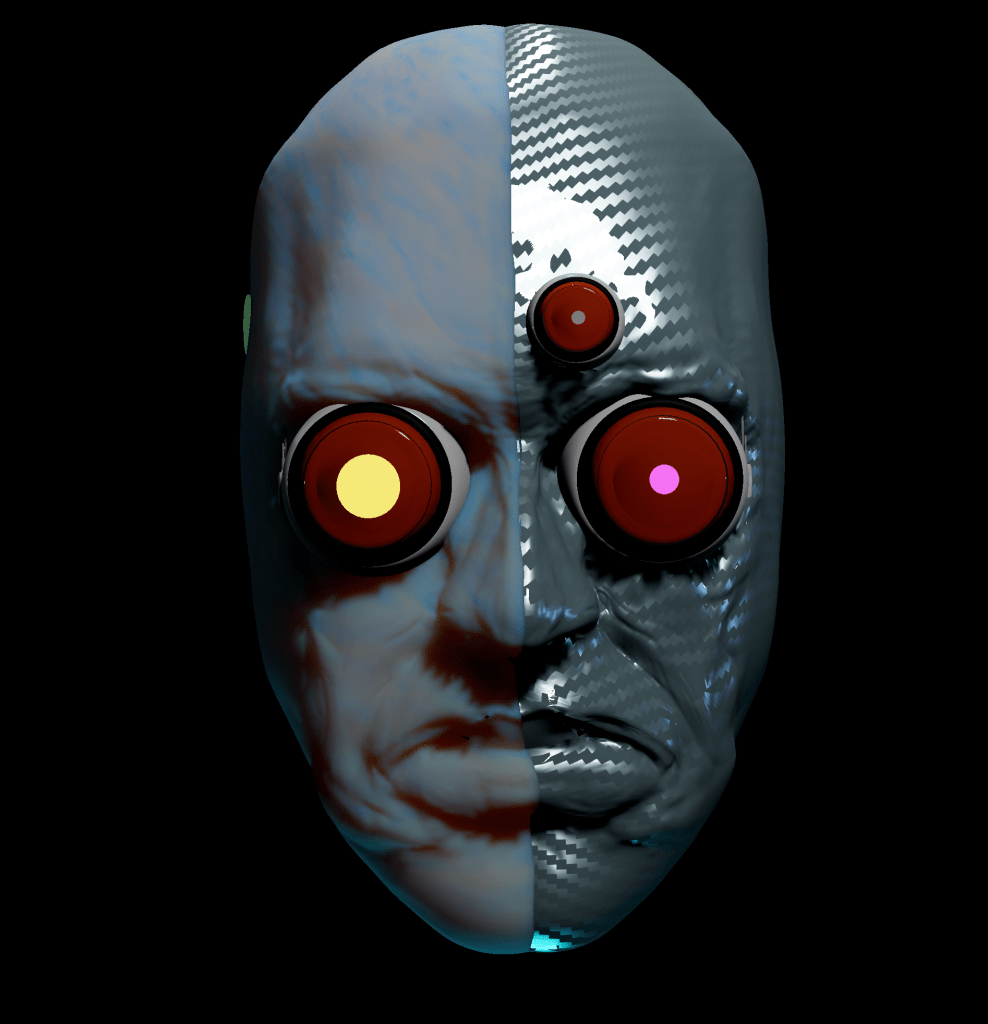
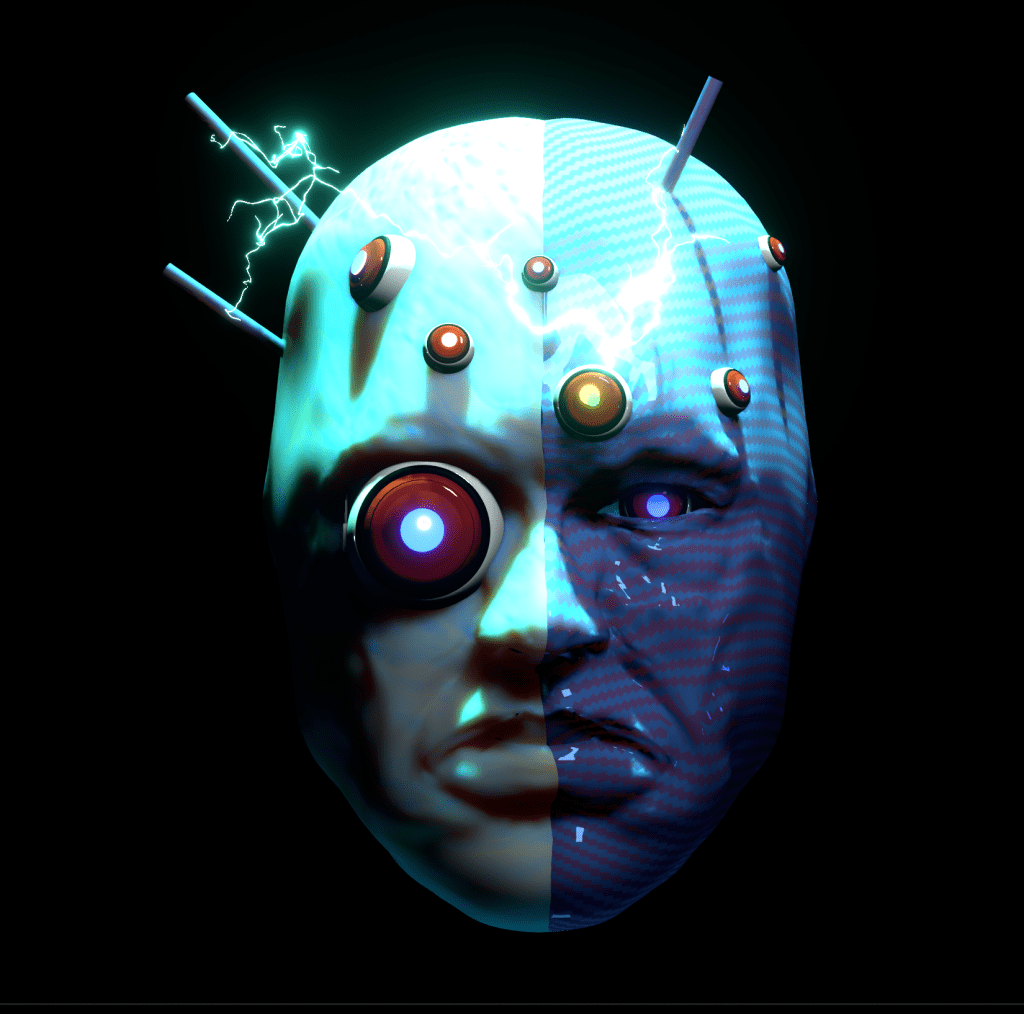
The characters were designed as half humans and half robots, like Count Asura of Mazinger Z. The human skin texture was used, but to give the feeling of dead skin, I coloured a skin blue.
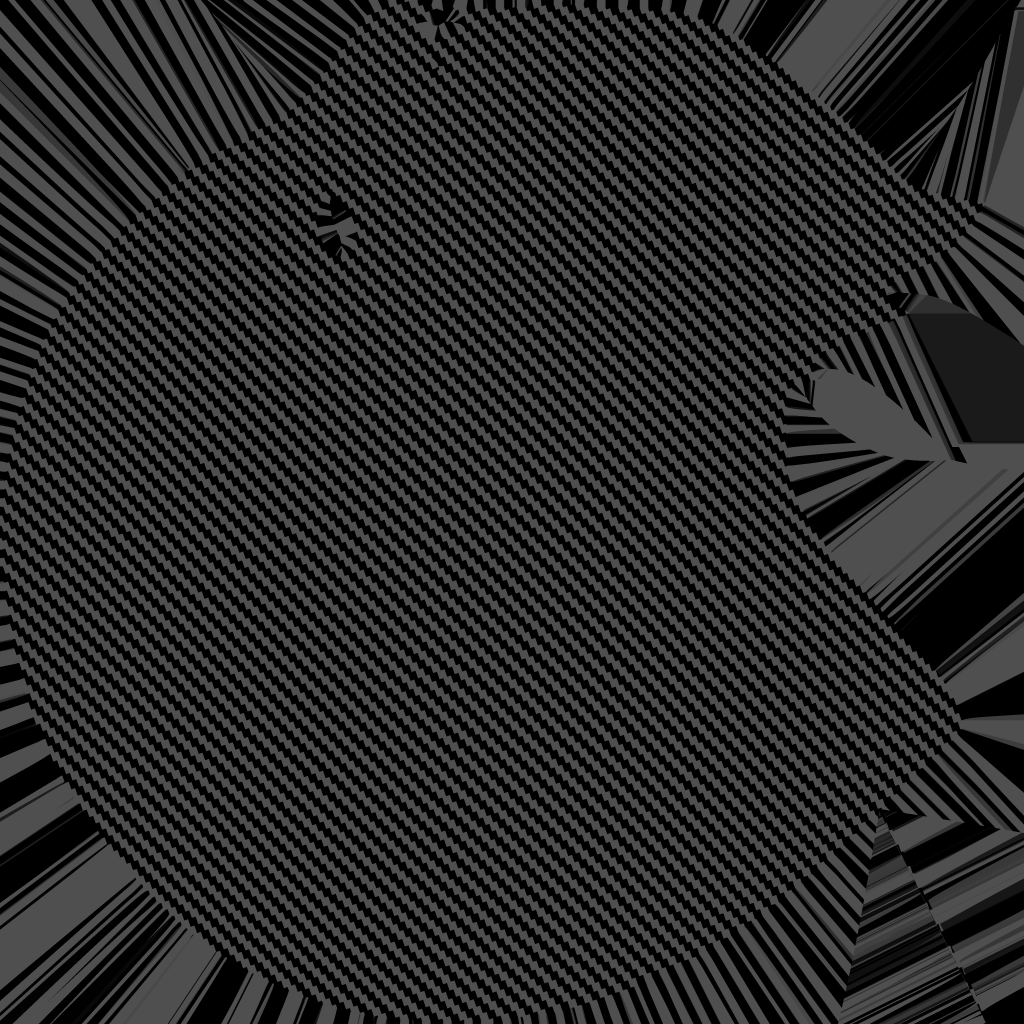

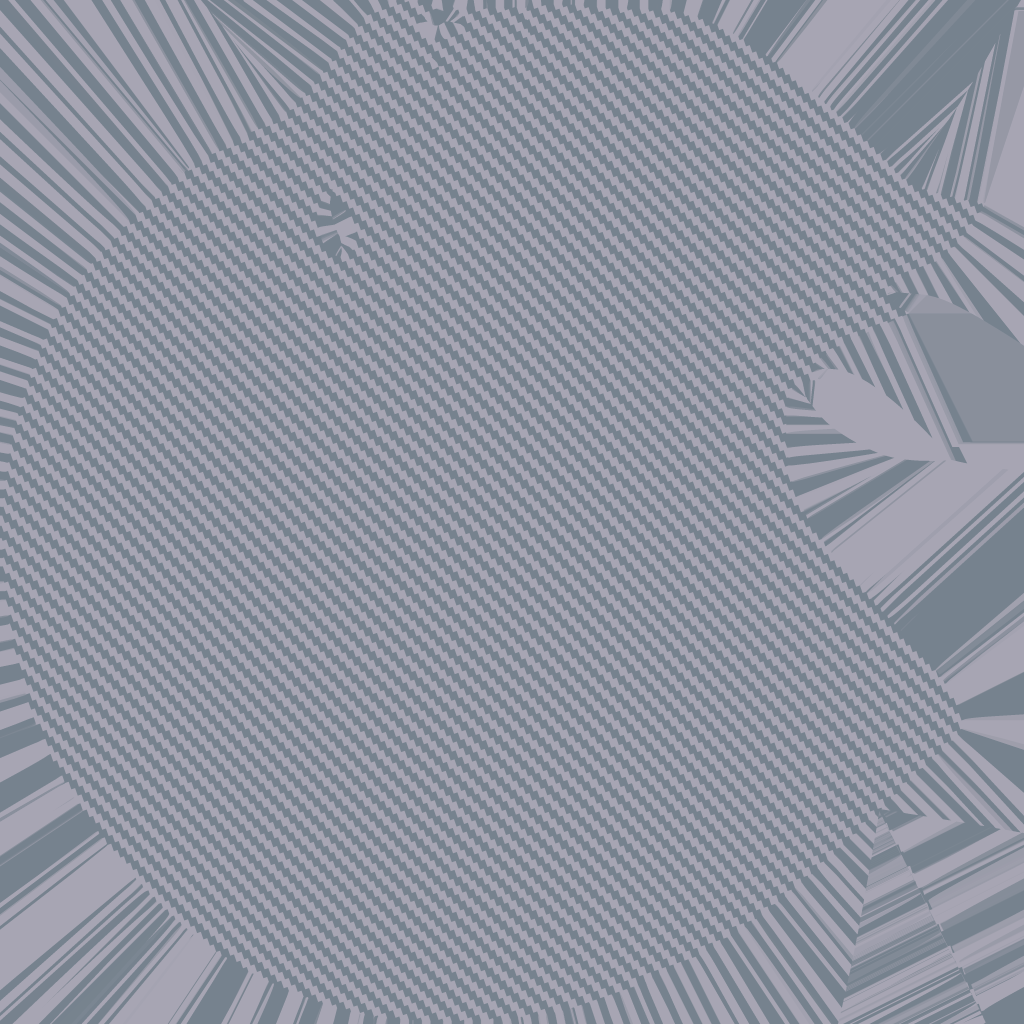
Once I have applied the texture to the mesh in the Substance, I can export it back to Blender. At this time, 2D png images can be exported. These images are like paper, and they are wrapped in a blender 3D mesh.
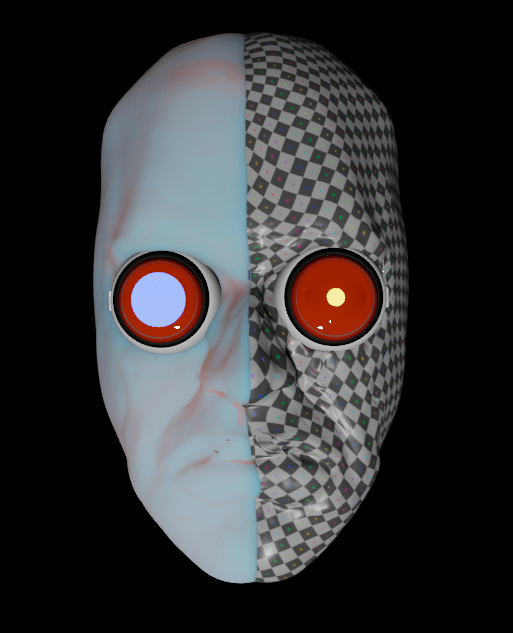
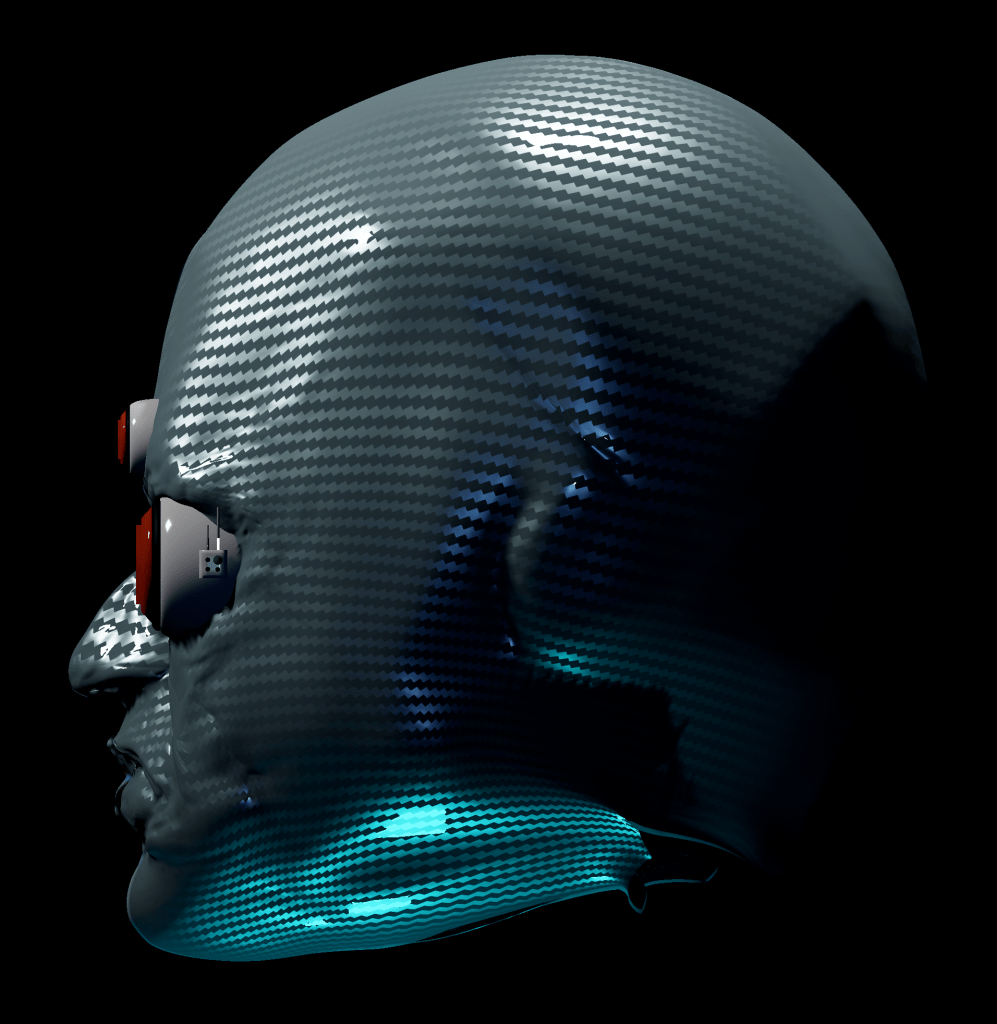
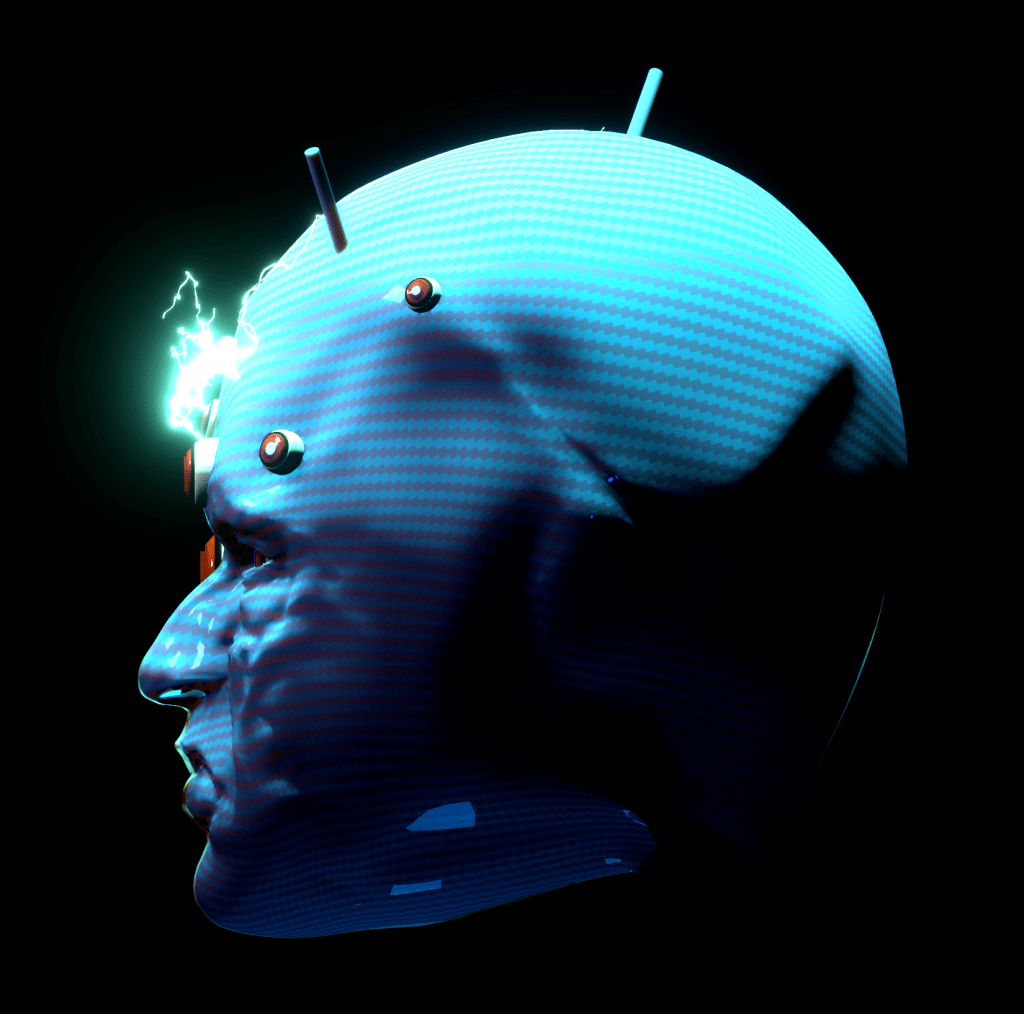
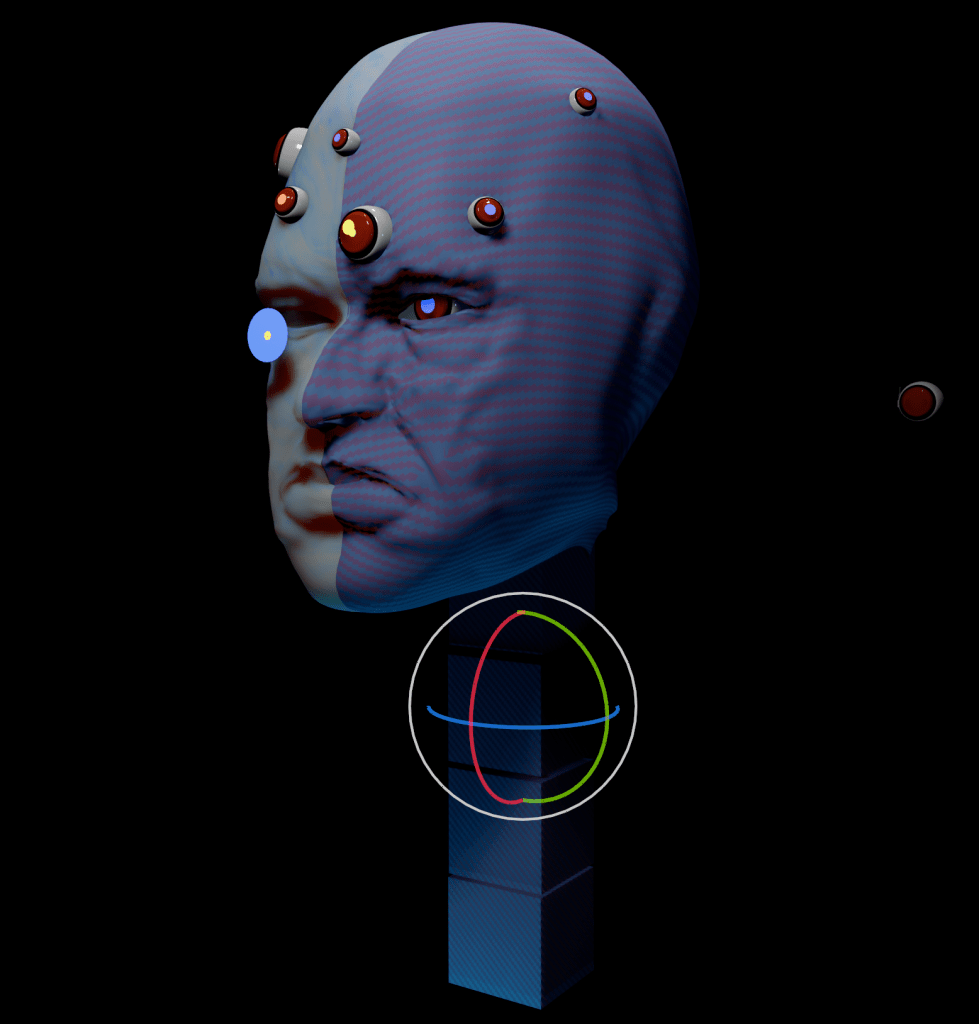
In the same way, the other face was also exported as a substance, and the skin was set to look like a machine. The facial texture was produced by substance, but it was unrealistic, therefore, I give a mesh texture in blender by my self. The machine face was also made to look more mechanical, with an additional’metalic’ setting in Blender.
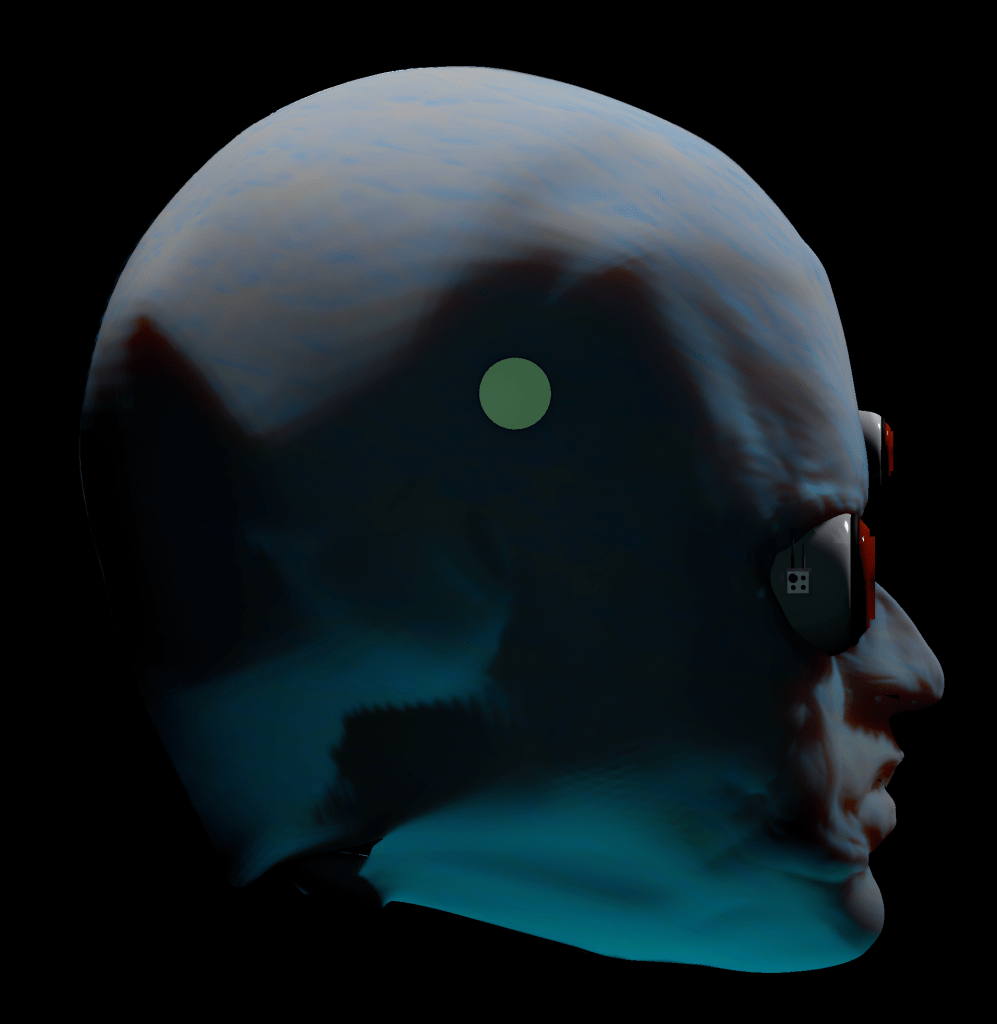
I chose the inner side of the skin as red to represent the muscles and strains, and the outer side of the skin is transparent and blue to describe the cold skin. I’m really satisfied with the result as it looked like silicone skin. * If I apply skin colour directly into a mesh, then a skin would be looked like though and translucency concrete.
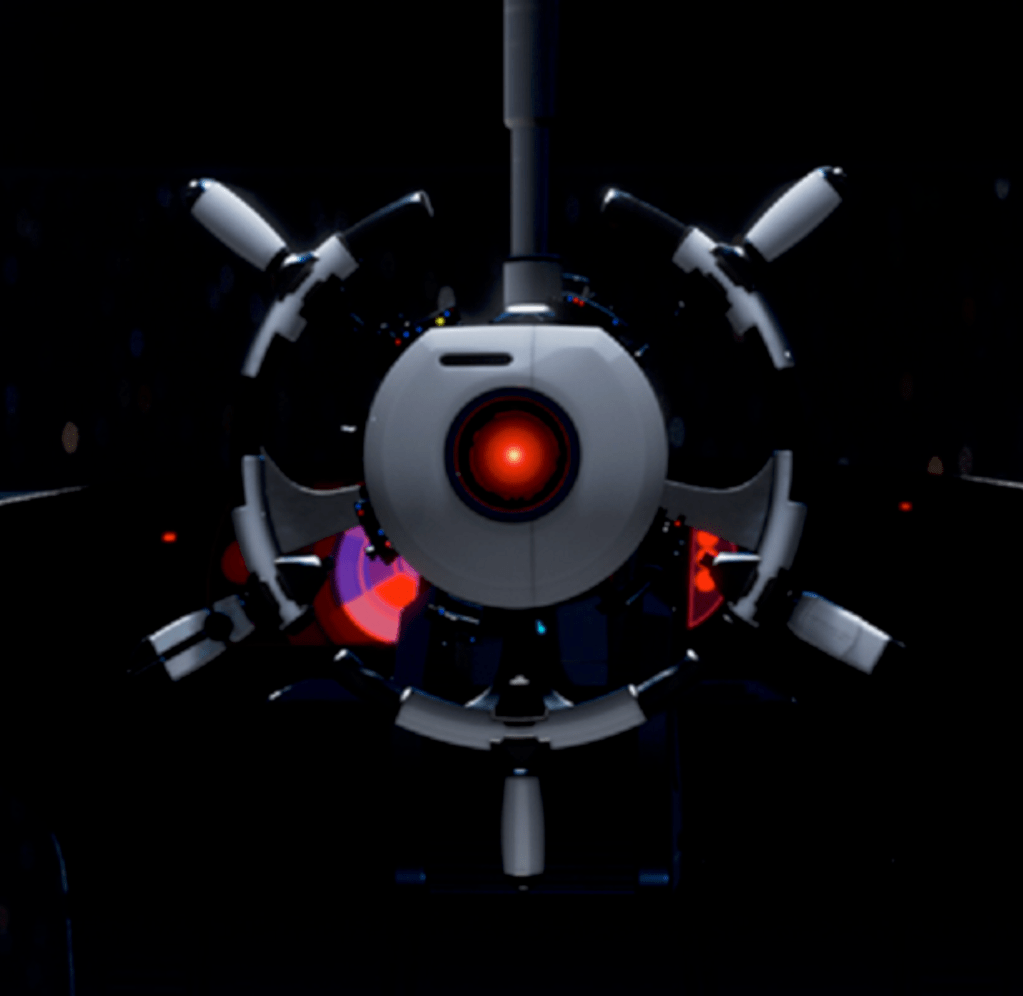
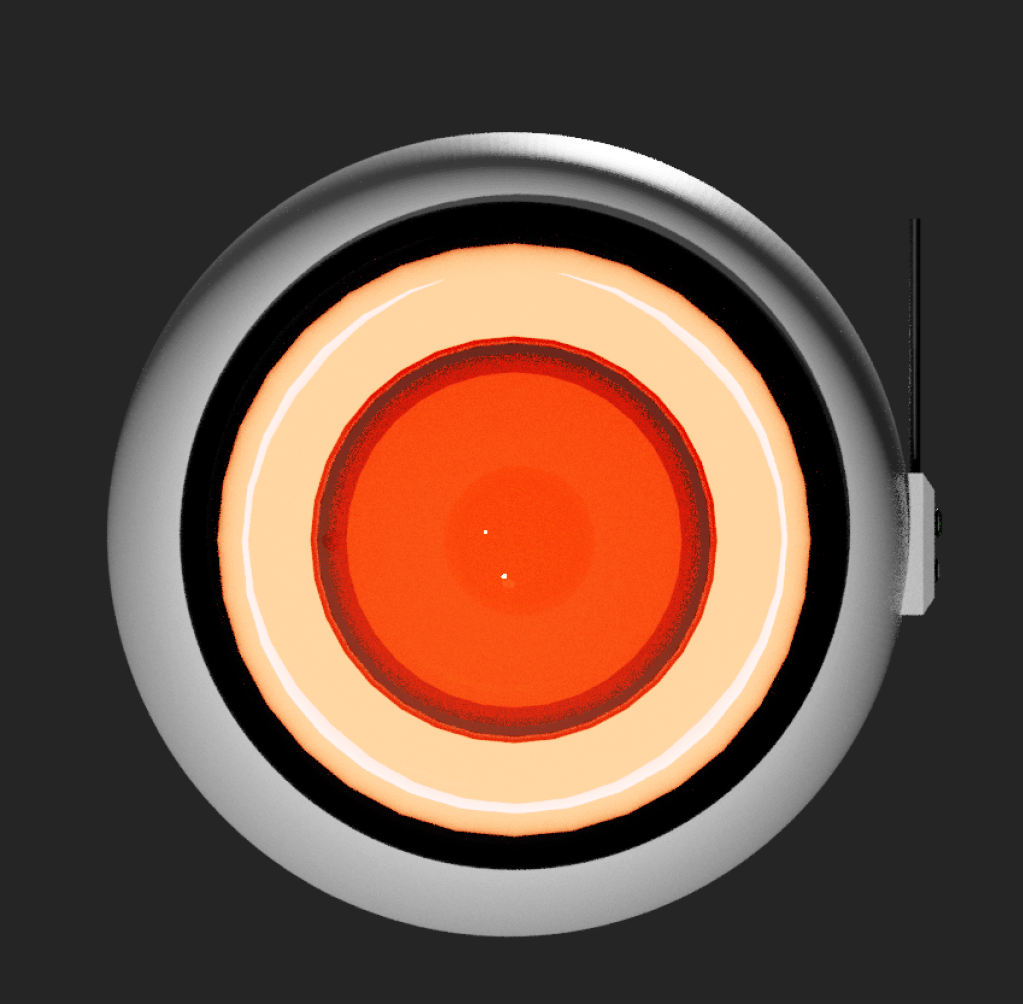
Auto
Wall-E
HAL 9000
2001: space odyssey
-not a genuine photo
The character’s eyes were inspired by wall-e’s auto and space odyssey’s HAL-9000. The element of performing a task given to AI machine has a reason to have a hostile relationship with the protagonist.
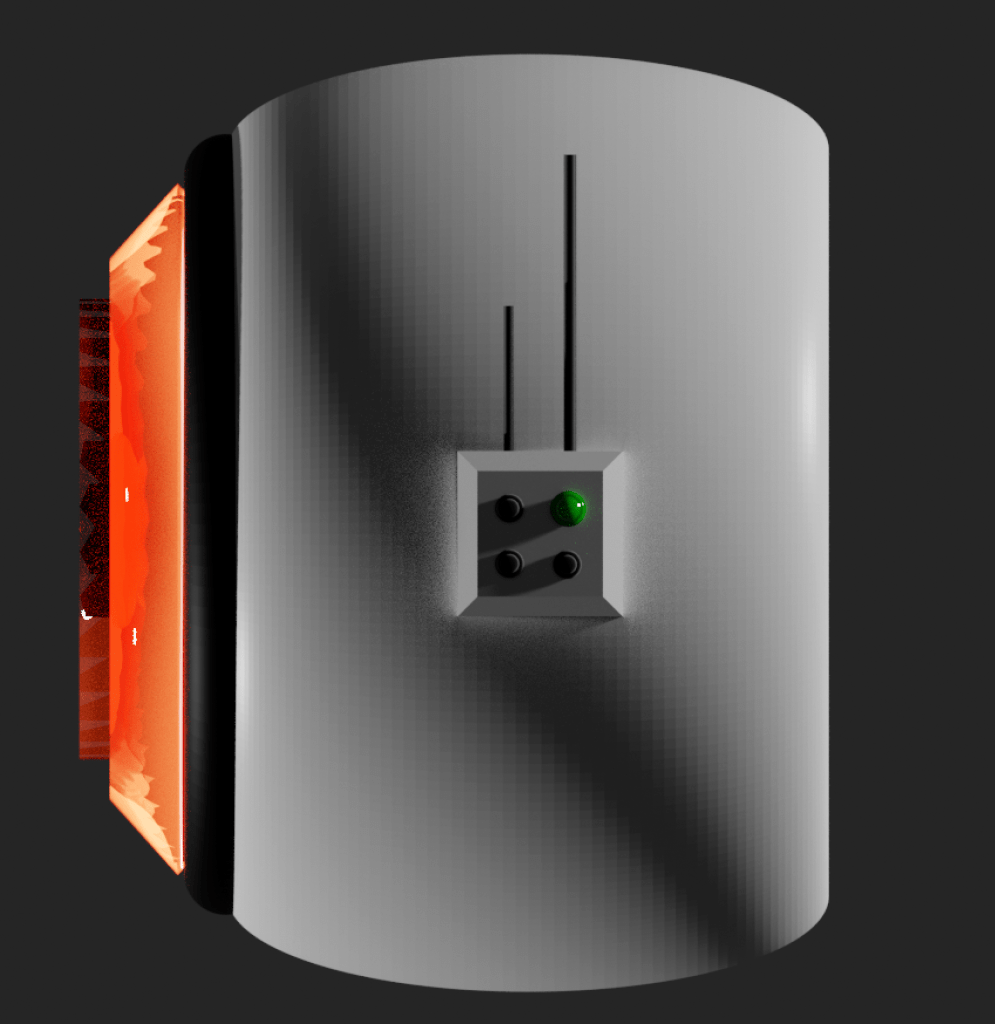
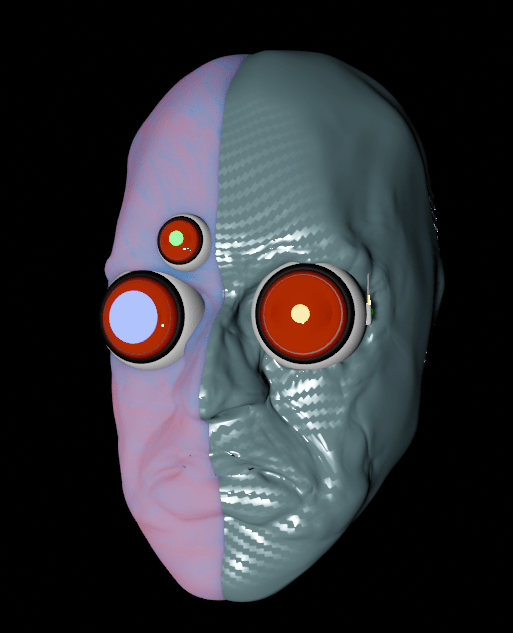
I made the eyes of CCTV. I tried to get inspiration from the image from the actual CCTV camera, but it was produced in a simple meshes considering the production time. The pupil was designed to shine by using ‘Emission’.
Final character
Rigging
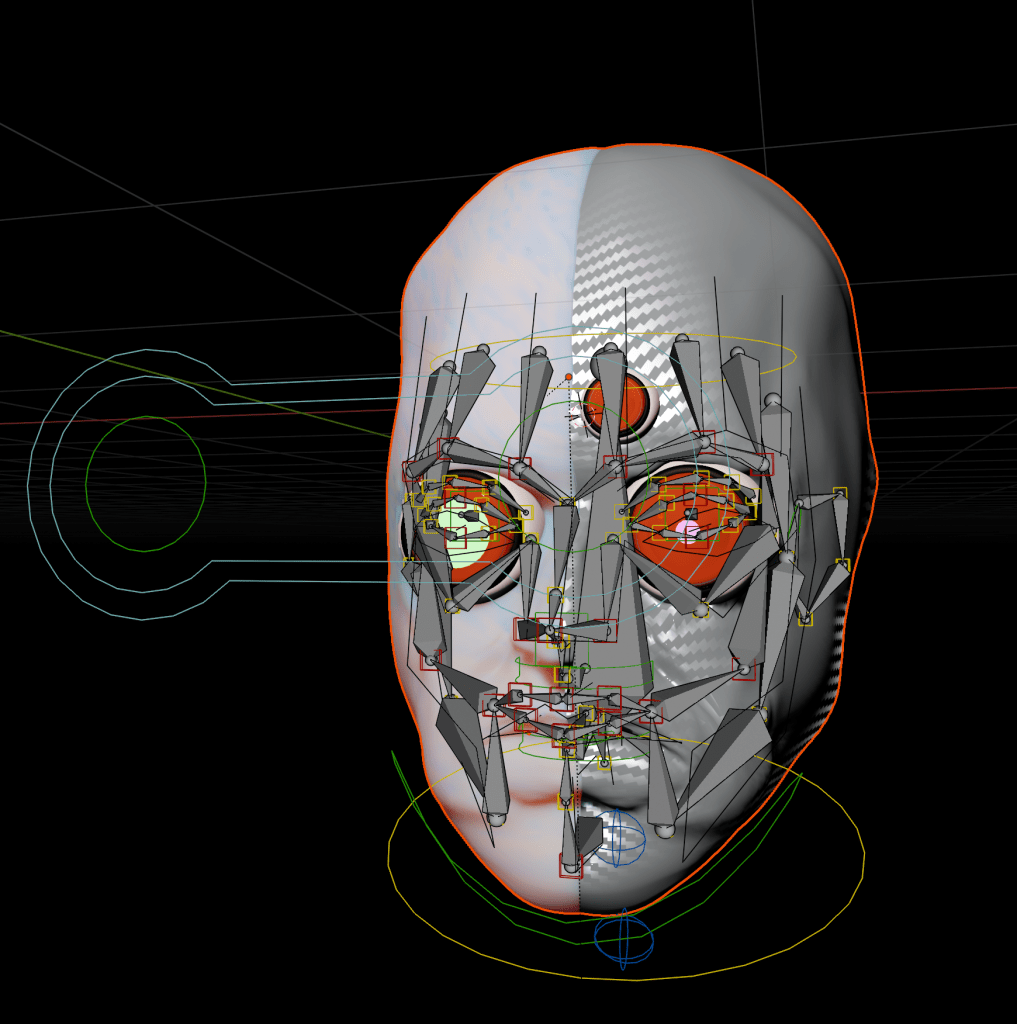
Basic Blender facial bones – Problem 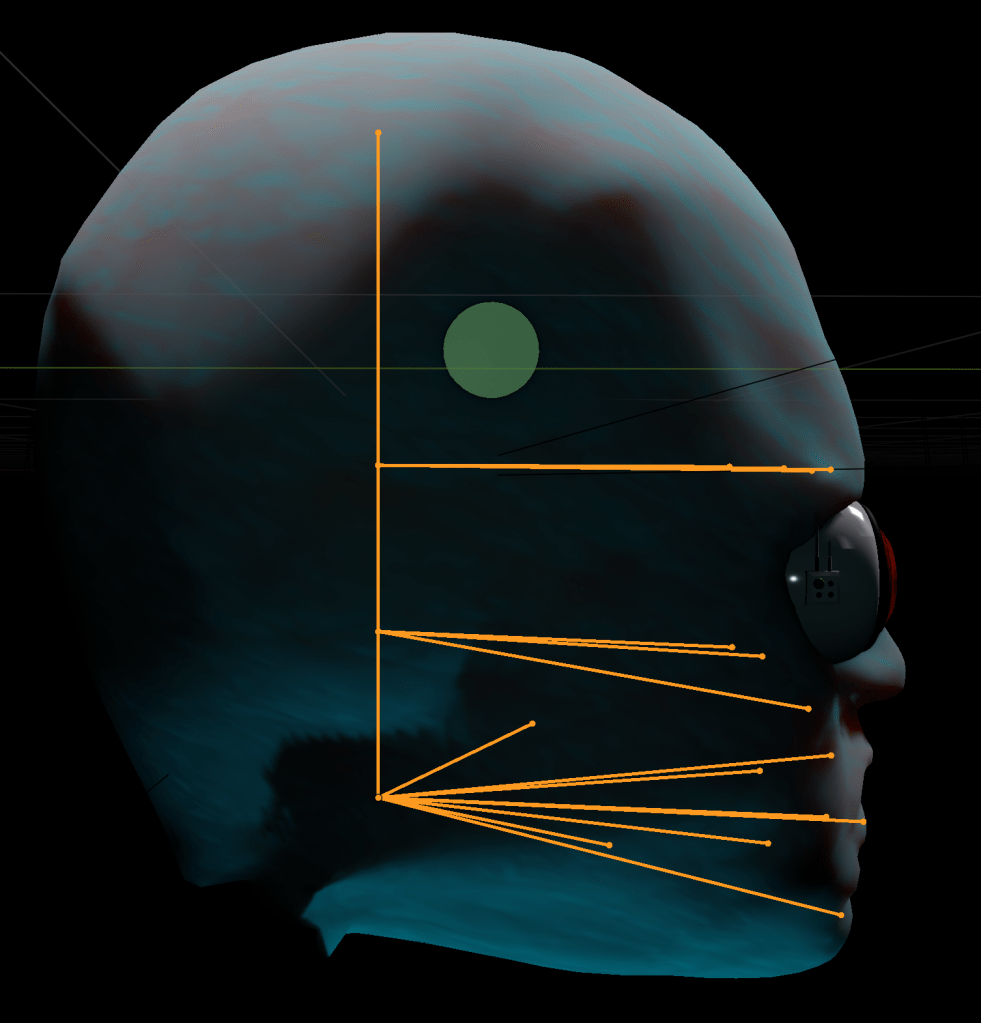
Simple facial bone I made
1 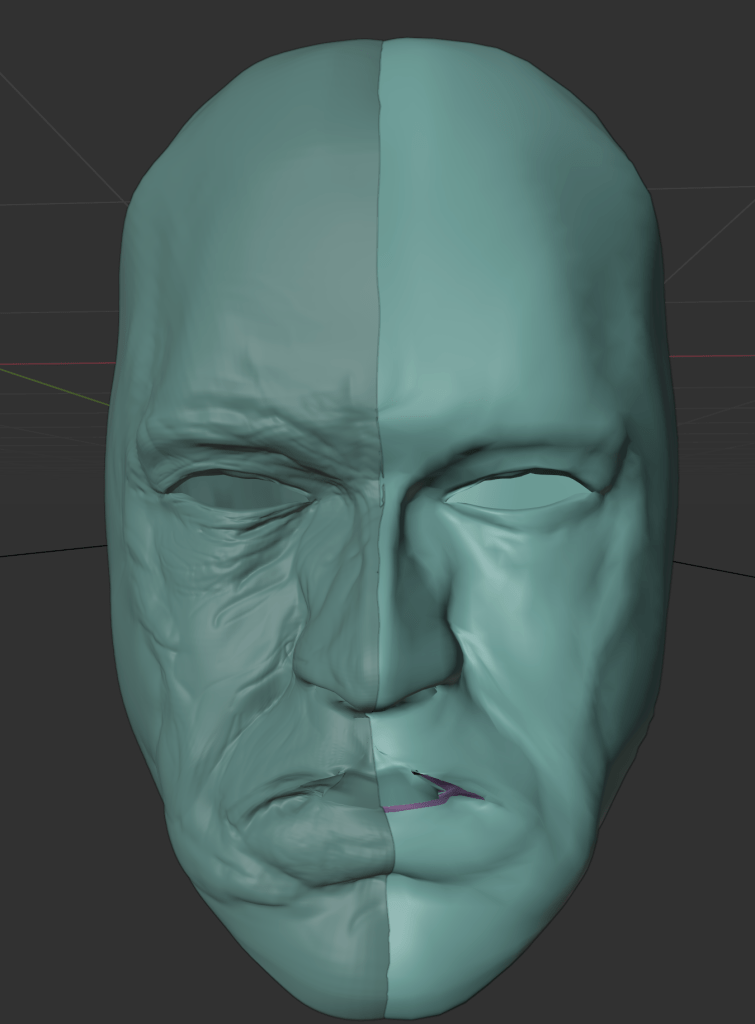
2 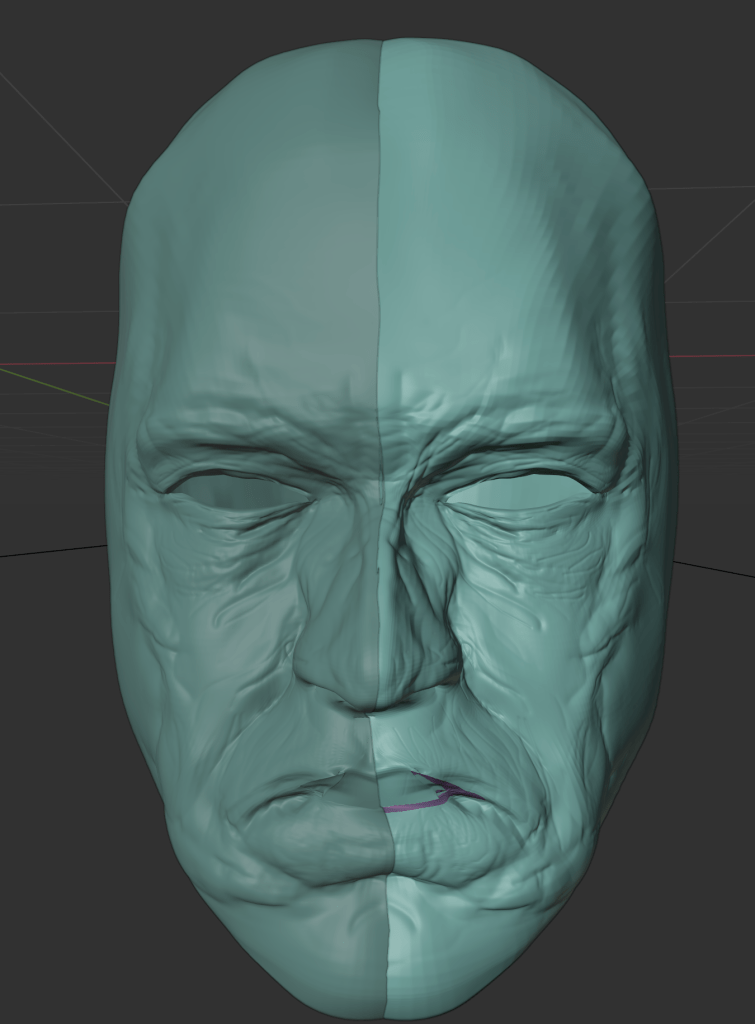
3
The number of particles in the mesh in photo 1 is so small that it is difficult to recognize the shape of the man, whereas the face in photo 3 has the man’s wrinkles well implemented. However, the number of man 3 has too many particles in the mesh, and an error may occur during the rigging process for use in animation or games.
Therefore, while being able to recognize the shape of the male, I chose 2, which has a relatively small amount of mesh particles.
Camera – operated
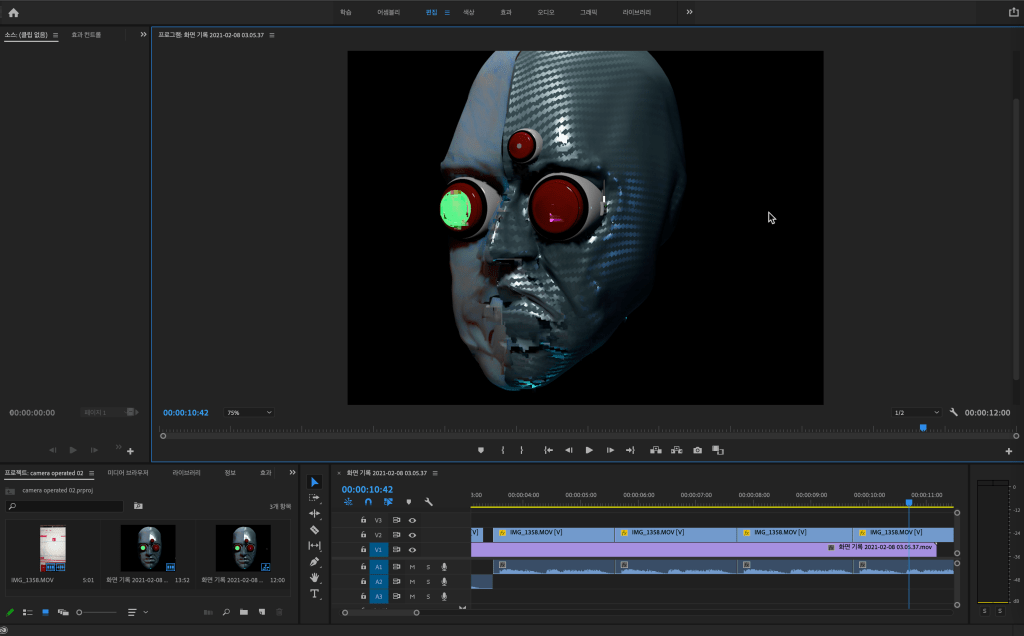

In order to make the CCTV robot look speaking like “camera operated”, I created an animation by adjusting the character’s mouth frame by frame. After that, I typed “camera operated” on Google Translate and recorded the sound with my cell phone. Using Premiere Pro, I combined two videos (one is a CCTV that moves only the mouth, and the second is a recorded sound). *One problem is that the sound produced using Google Translate sounded more like a human voice than a machine sound. I solved this problem by using an application that produces mechanical sounds.
Thumbnail drawing
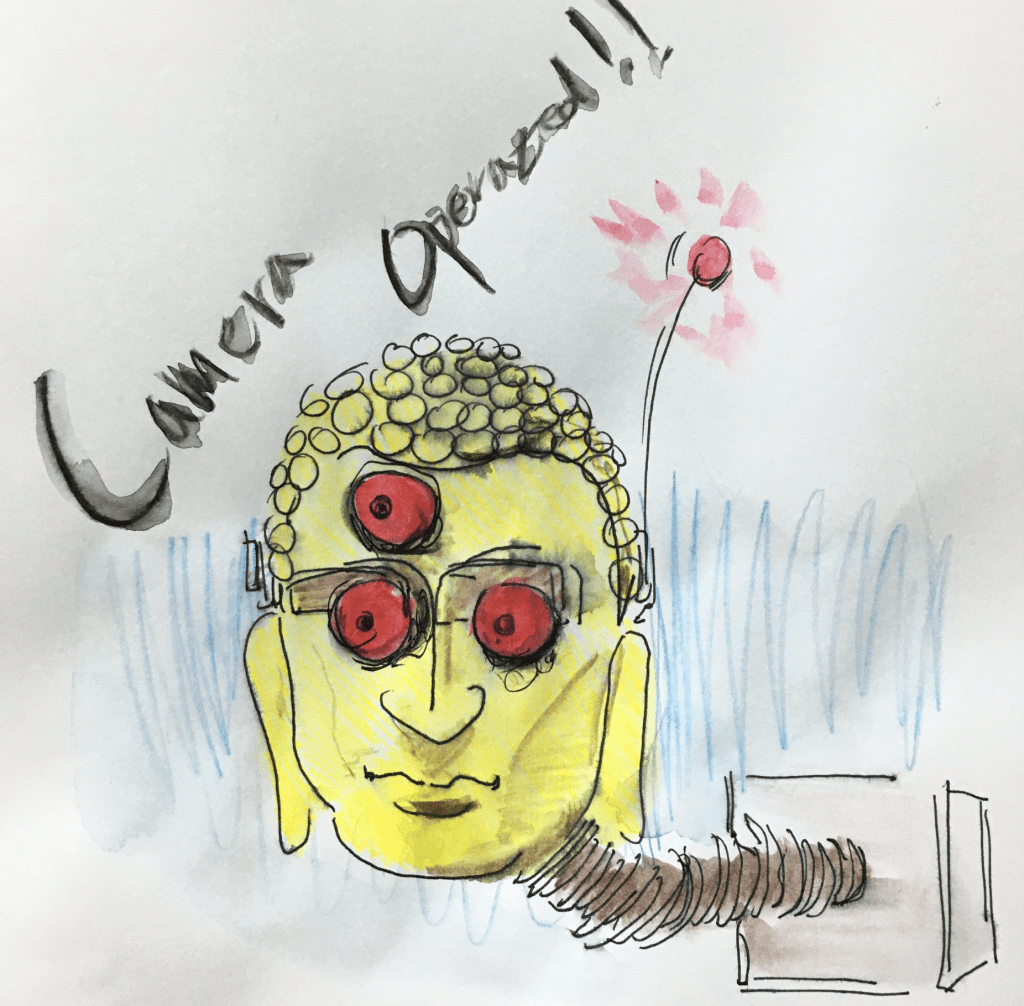
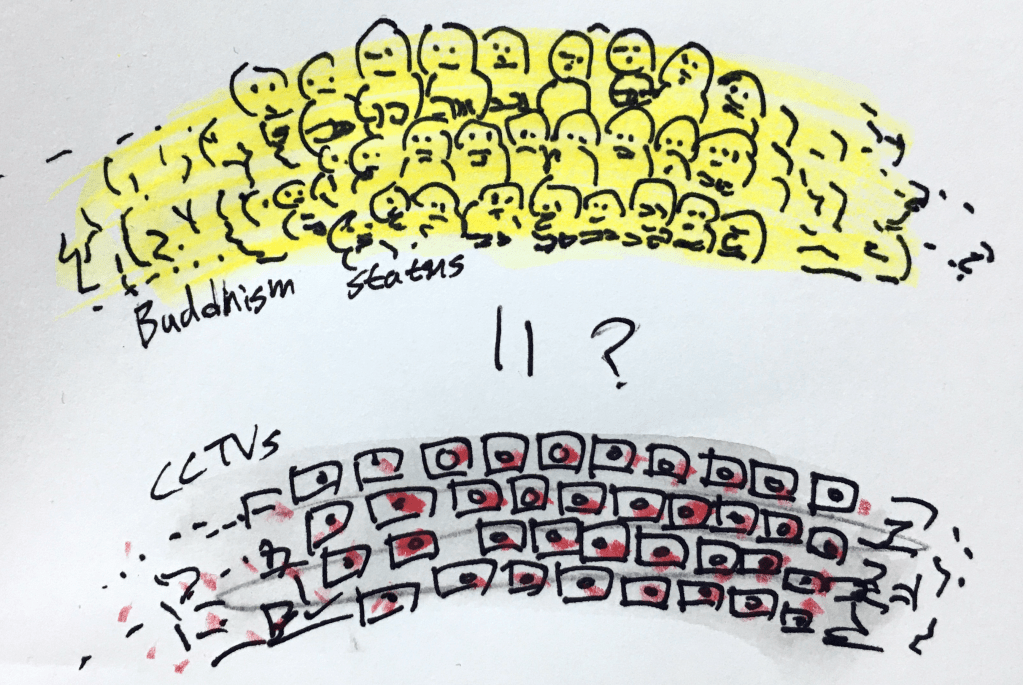
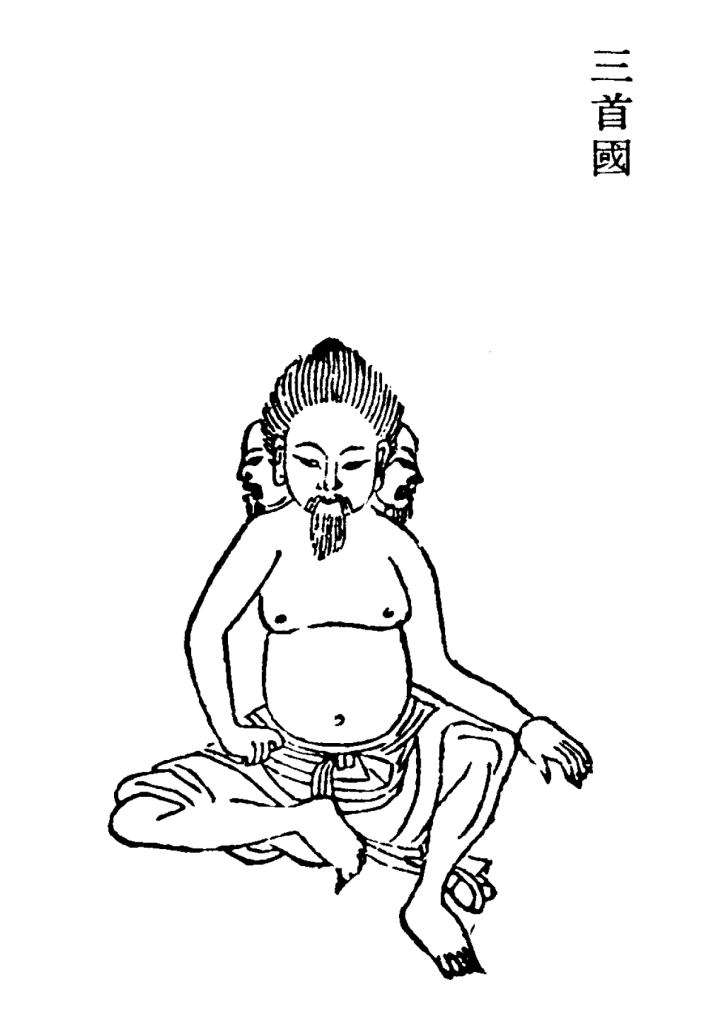
Buddha. I thought that gods include Buddha can monitoring us. My idea is to create Buddha surveillance camera.
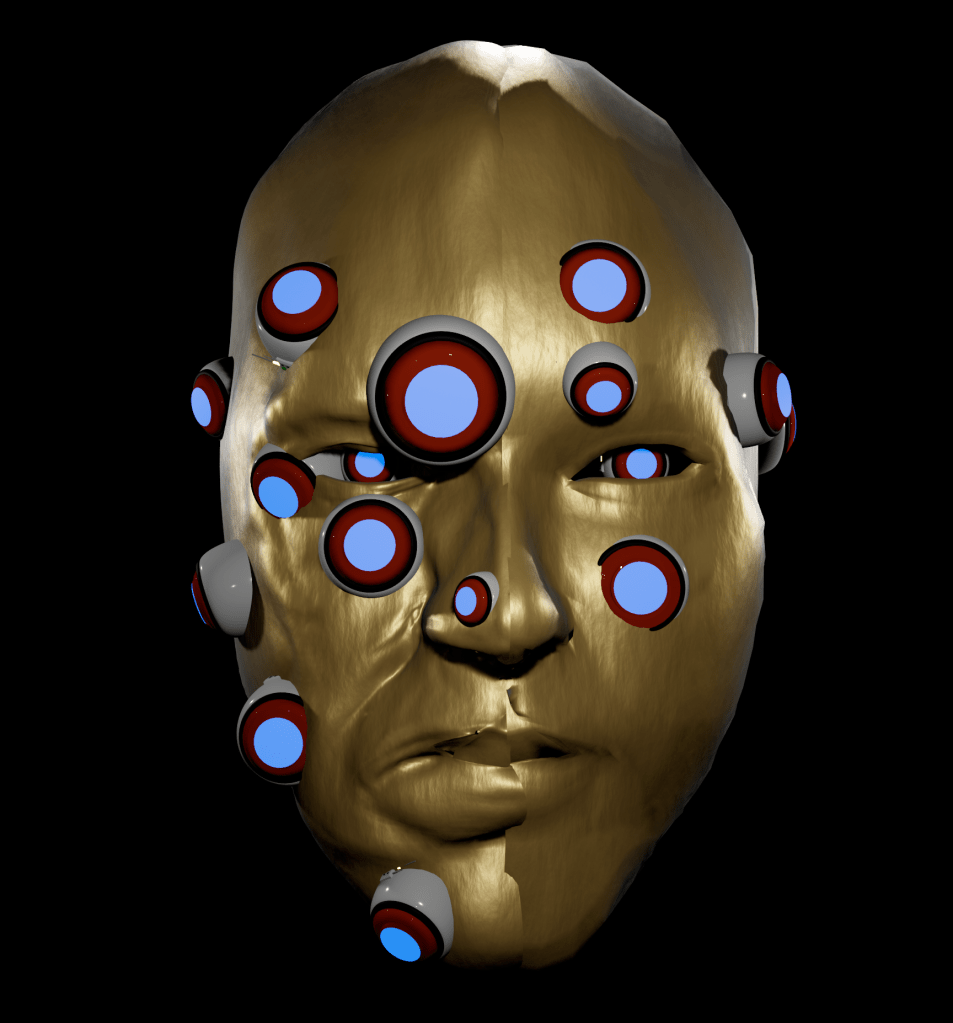
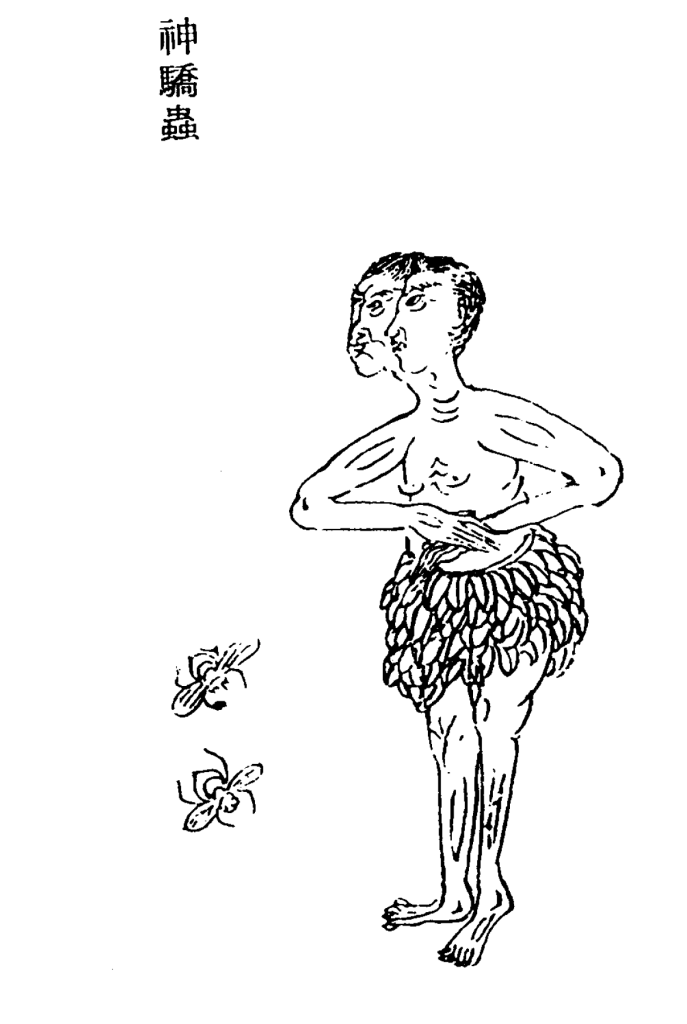
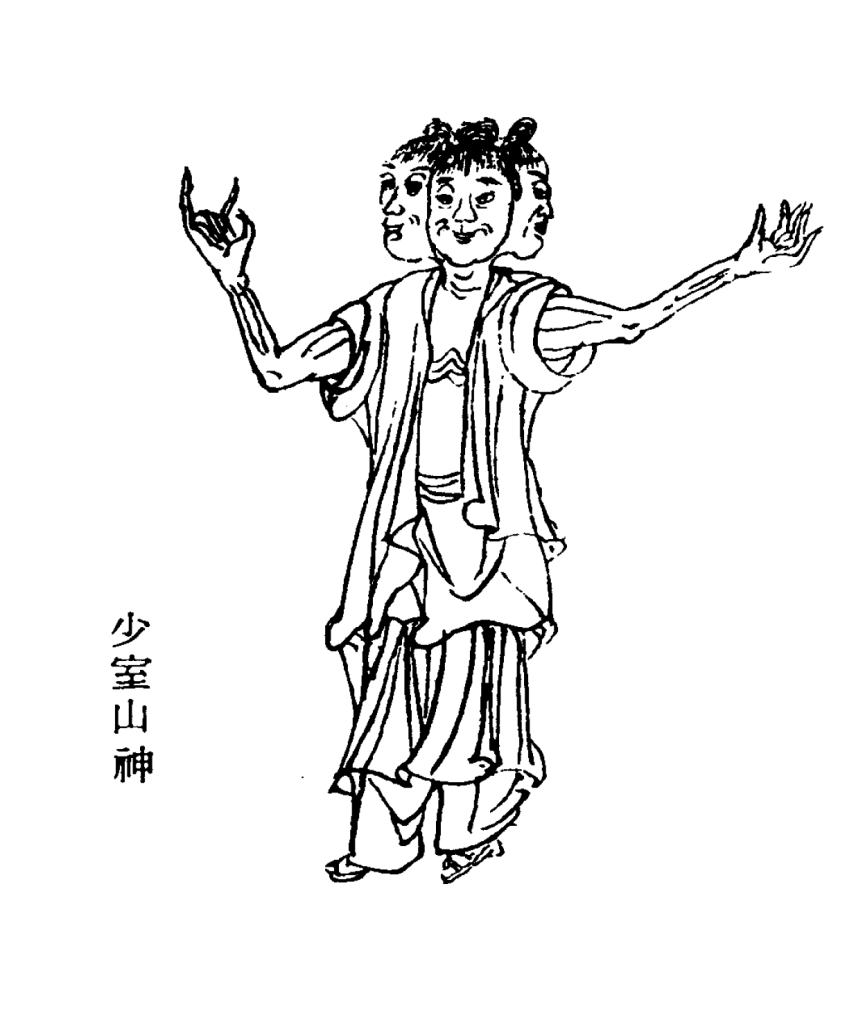
Previous characters had the same male figure on the left and right. This seemed a little boring, so I made a Buddha in the shape of a man on the left and a woman on the right. To highlight the character, the number of cameras was increased. Moreover,
inspired by the images of Buddha statues, the exterior of the CCTV was set to look like gold.
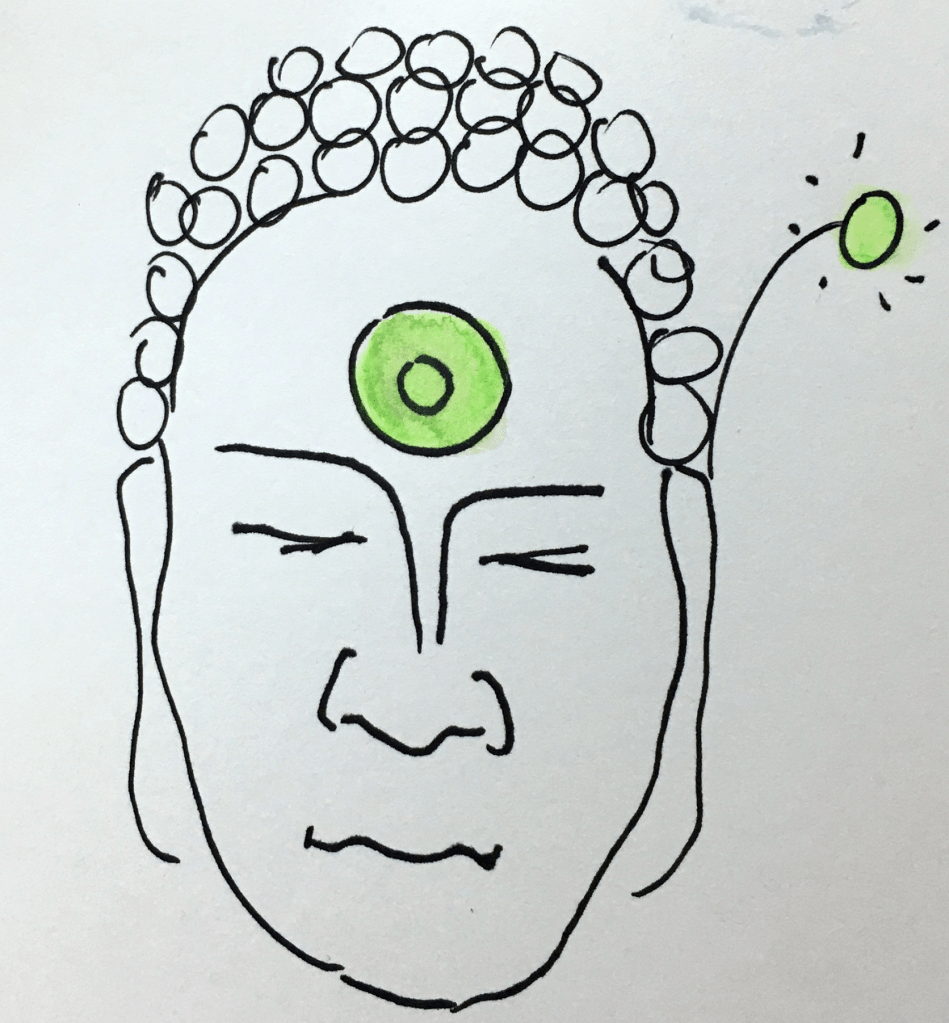
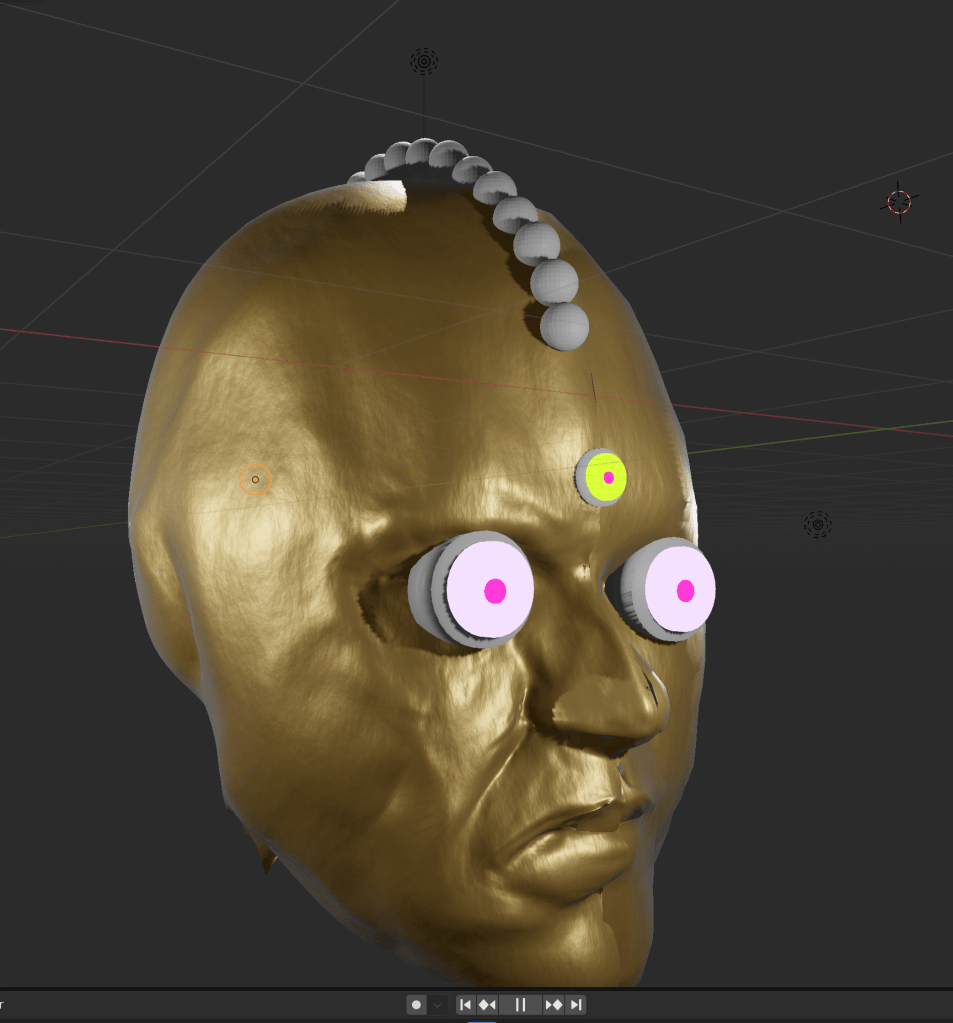
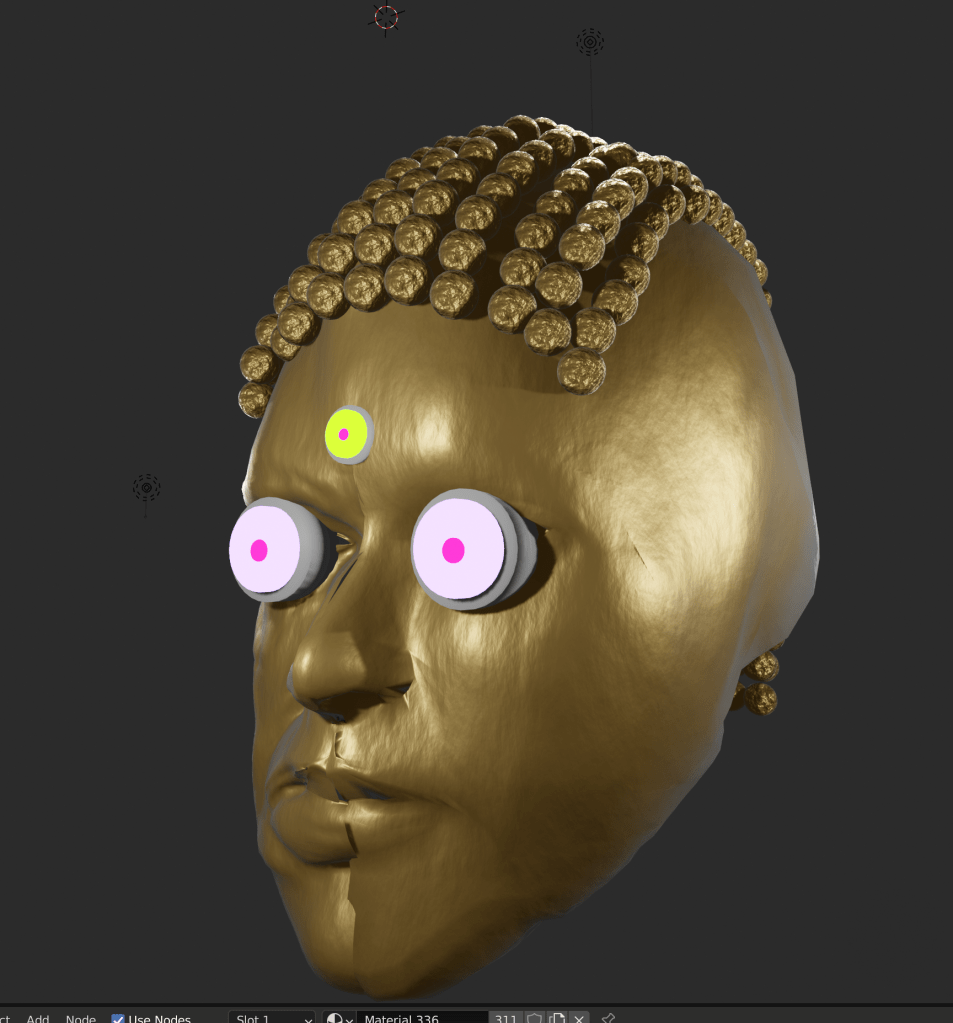
I thought the head and hair were the most distinctive features that distinguished the Buddha from the common statue. Most Buddhas close their eyes with enlightenment. In addition, the Buddha’s hair is shaped like a turban, which symbolizes the wisdom of the Buddha. As seen in Seokguram Buddha in South Korea, all Buddhas around the world have hair.
* It will take a lot of time to close the eyes by sculpting an existing sculpted mesh with open eyes. As a result, the Buddha’s eyes were kept open, but I tried to implement the conch-shaped Buddha’s hair.
Final character
Although I spent a lot of time making the Buddha’s figure, I figured out one of several ways to shape the interesting character while sculpting. I think it is ‘irregularity’. In my character, Some differences were applied to the left and right of the CCTV character’s face. For example, the face on the left is shaped like a human, while the face on the right is a machine.
Electricity effect
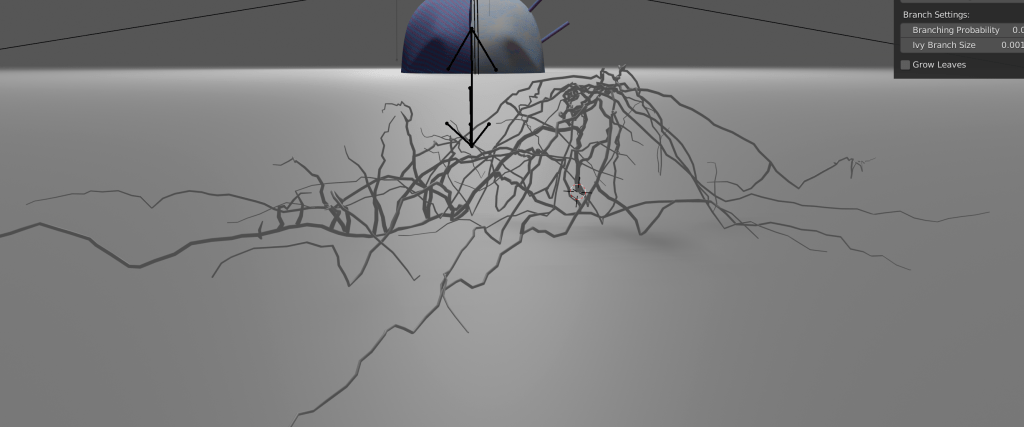
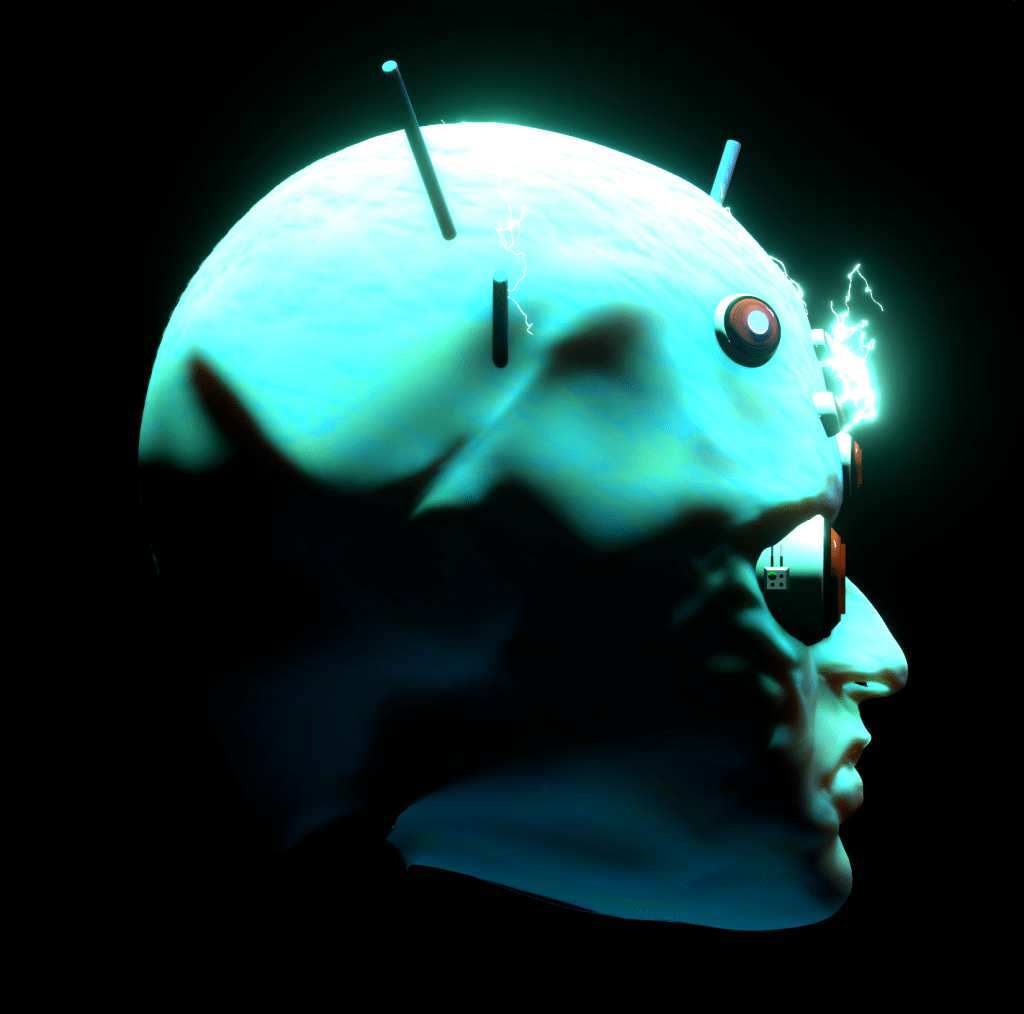
I created an electric effect in Blender to highlight that the character is a machine. If I applied to the game the the character will be: 1. CCTV can be destroyed by the player. 2. When a CCTV is damaged, it generates an electric effect with smoke.
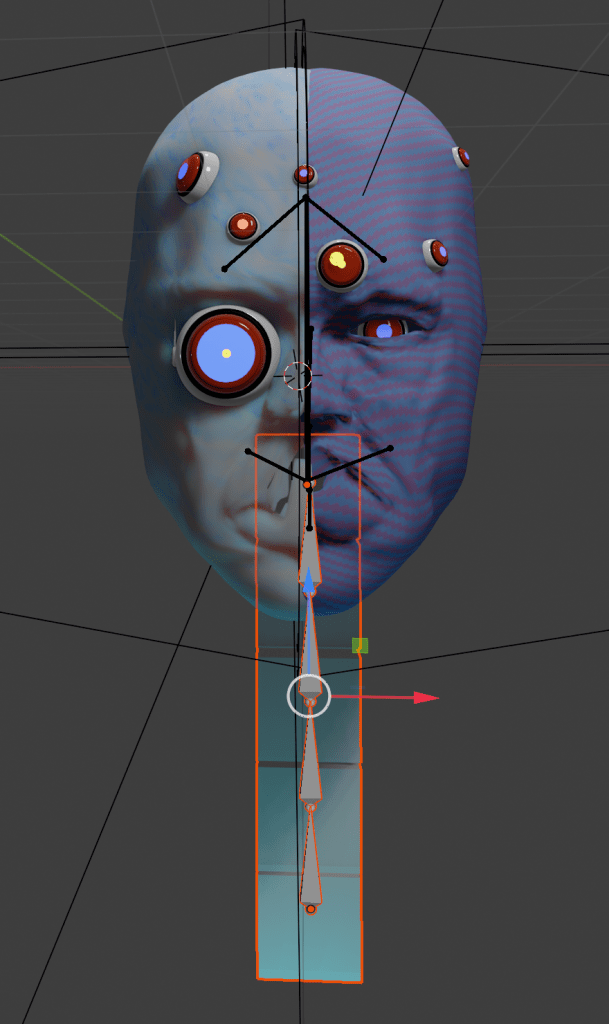
Failed neck
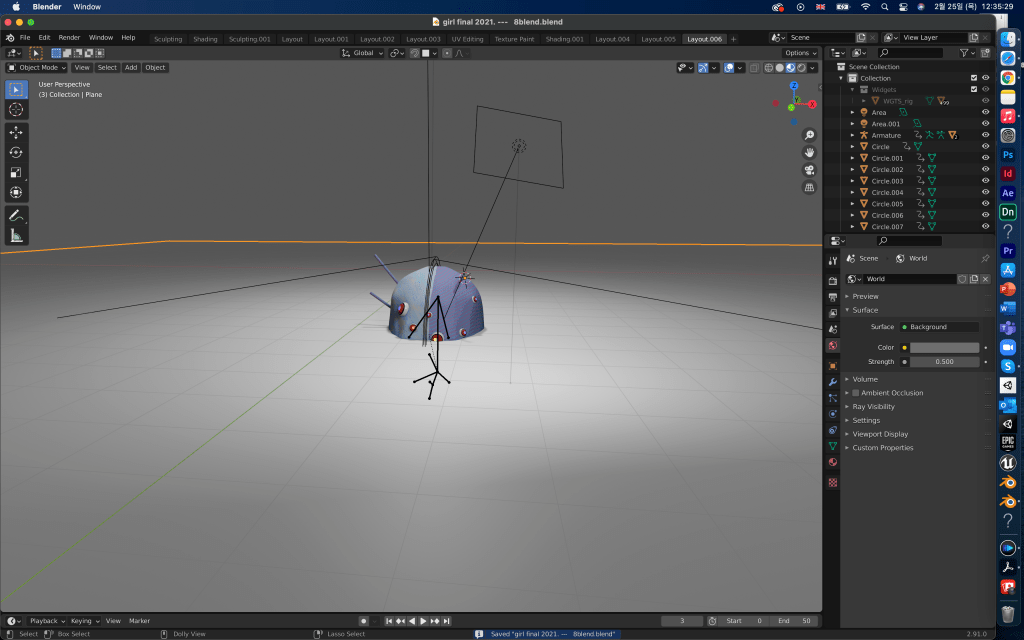
Rendering
Evaluation
Through Unit 12 part one and two, I had time to understand the topic ‘nightmares and dreamscape’ and studied more ‘skill research’. In part one, I learned how to expot the created blender animation to the Unity game Engine, In addition, by creating a virtual reality game, I investigated the operating principle and implementatino method of virtual reality. As for specific skill research, I learned about VR teleport, VRobject gribbing, Haptic vibration signals, VR behavior mirroring, Unity engine physics, and Unity lightening. The advantage of Part one is that I made a realizable VR game, and all of the meshes implemented are of great signigicance as I made them myself. Moreover, by reading books and watching documentaries about VR and dreams, I became curious about VR and as well as dreams. The downside of Part one is that it can’t implement UI design in the game, therefore there is no beginning or end of the game, there is no difficulty, and it is a bit boring to play. To comensate for this, I decided to build a CCTV robot in part two to make the player feel much difficult to play the game.
Part two is an extension of Part One, however more focused on the ‘Skill research’. Here, ‘skill’ focuses on virtual reality and UI design. By creating a CCTV antagonist character, I produced a high quality fact mesh that can be used in games and animations. To do this, I studied the operating principles and differences of Blender’s ‘retopology’ and ‘merge by distance’. Moreover, apart from Blender shading, Adobe substance painter, a software that can use ‘UV editing and texturing’ of high detail such as skin tissue, can be used in conjunction with Blender. I implemented ‘face rigging’ that I haven’t tried before, and used sophisticated facial muscle movements. By controlling the number of particles using ‘retopology’, I was able to animate the quality mesh that is more suitable for spring. Besides, I implemented the Blender electrictity effect. The adcantage of Part Two is thta it has studied and implemented ‘retopology’ that reduces the number of particles while maintaining the quality of meshes with many particles. I also learned the concept of UI design. The downdide is that it was not possible to implement the CCTV characters in Unity VR. In addition, it is true that the concept of UI and the investigation up to execution are insufficient.
